
It’s time! The whole reason I learned leatherworking!
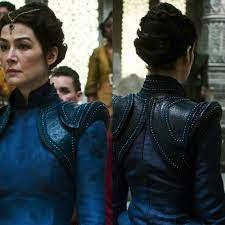

This all started with Hazariel posting a video on Youtube of her leather Moiraine bolero. While I pretty much ignored her construction process, she did offer something invaluable – a free pattern! That gave me a base to alter and start fitting.
I started with paper to get the general gist of what what happening, and to my shock it was already pretty close (and I have extremely narrow shoulders, so I’m still baffled as to how close this was).
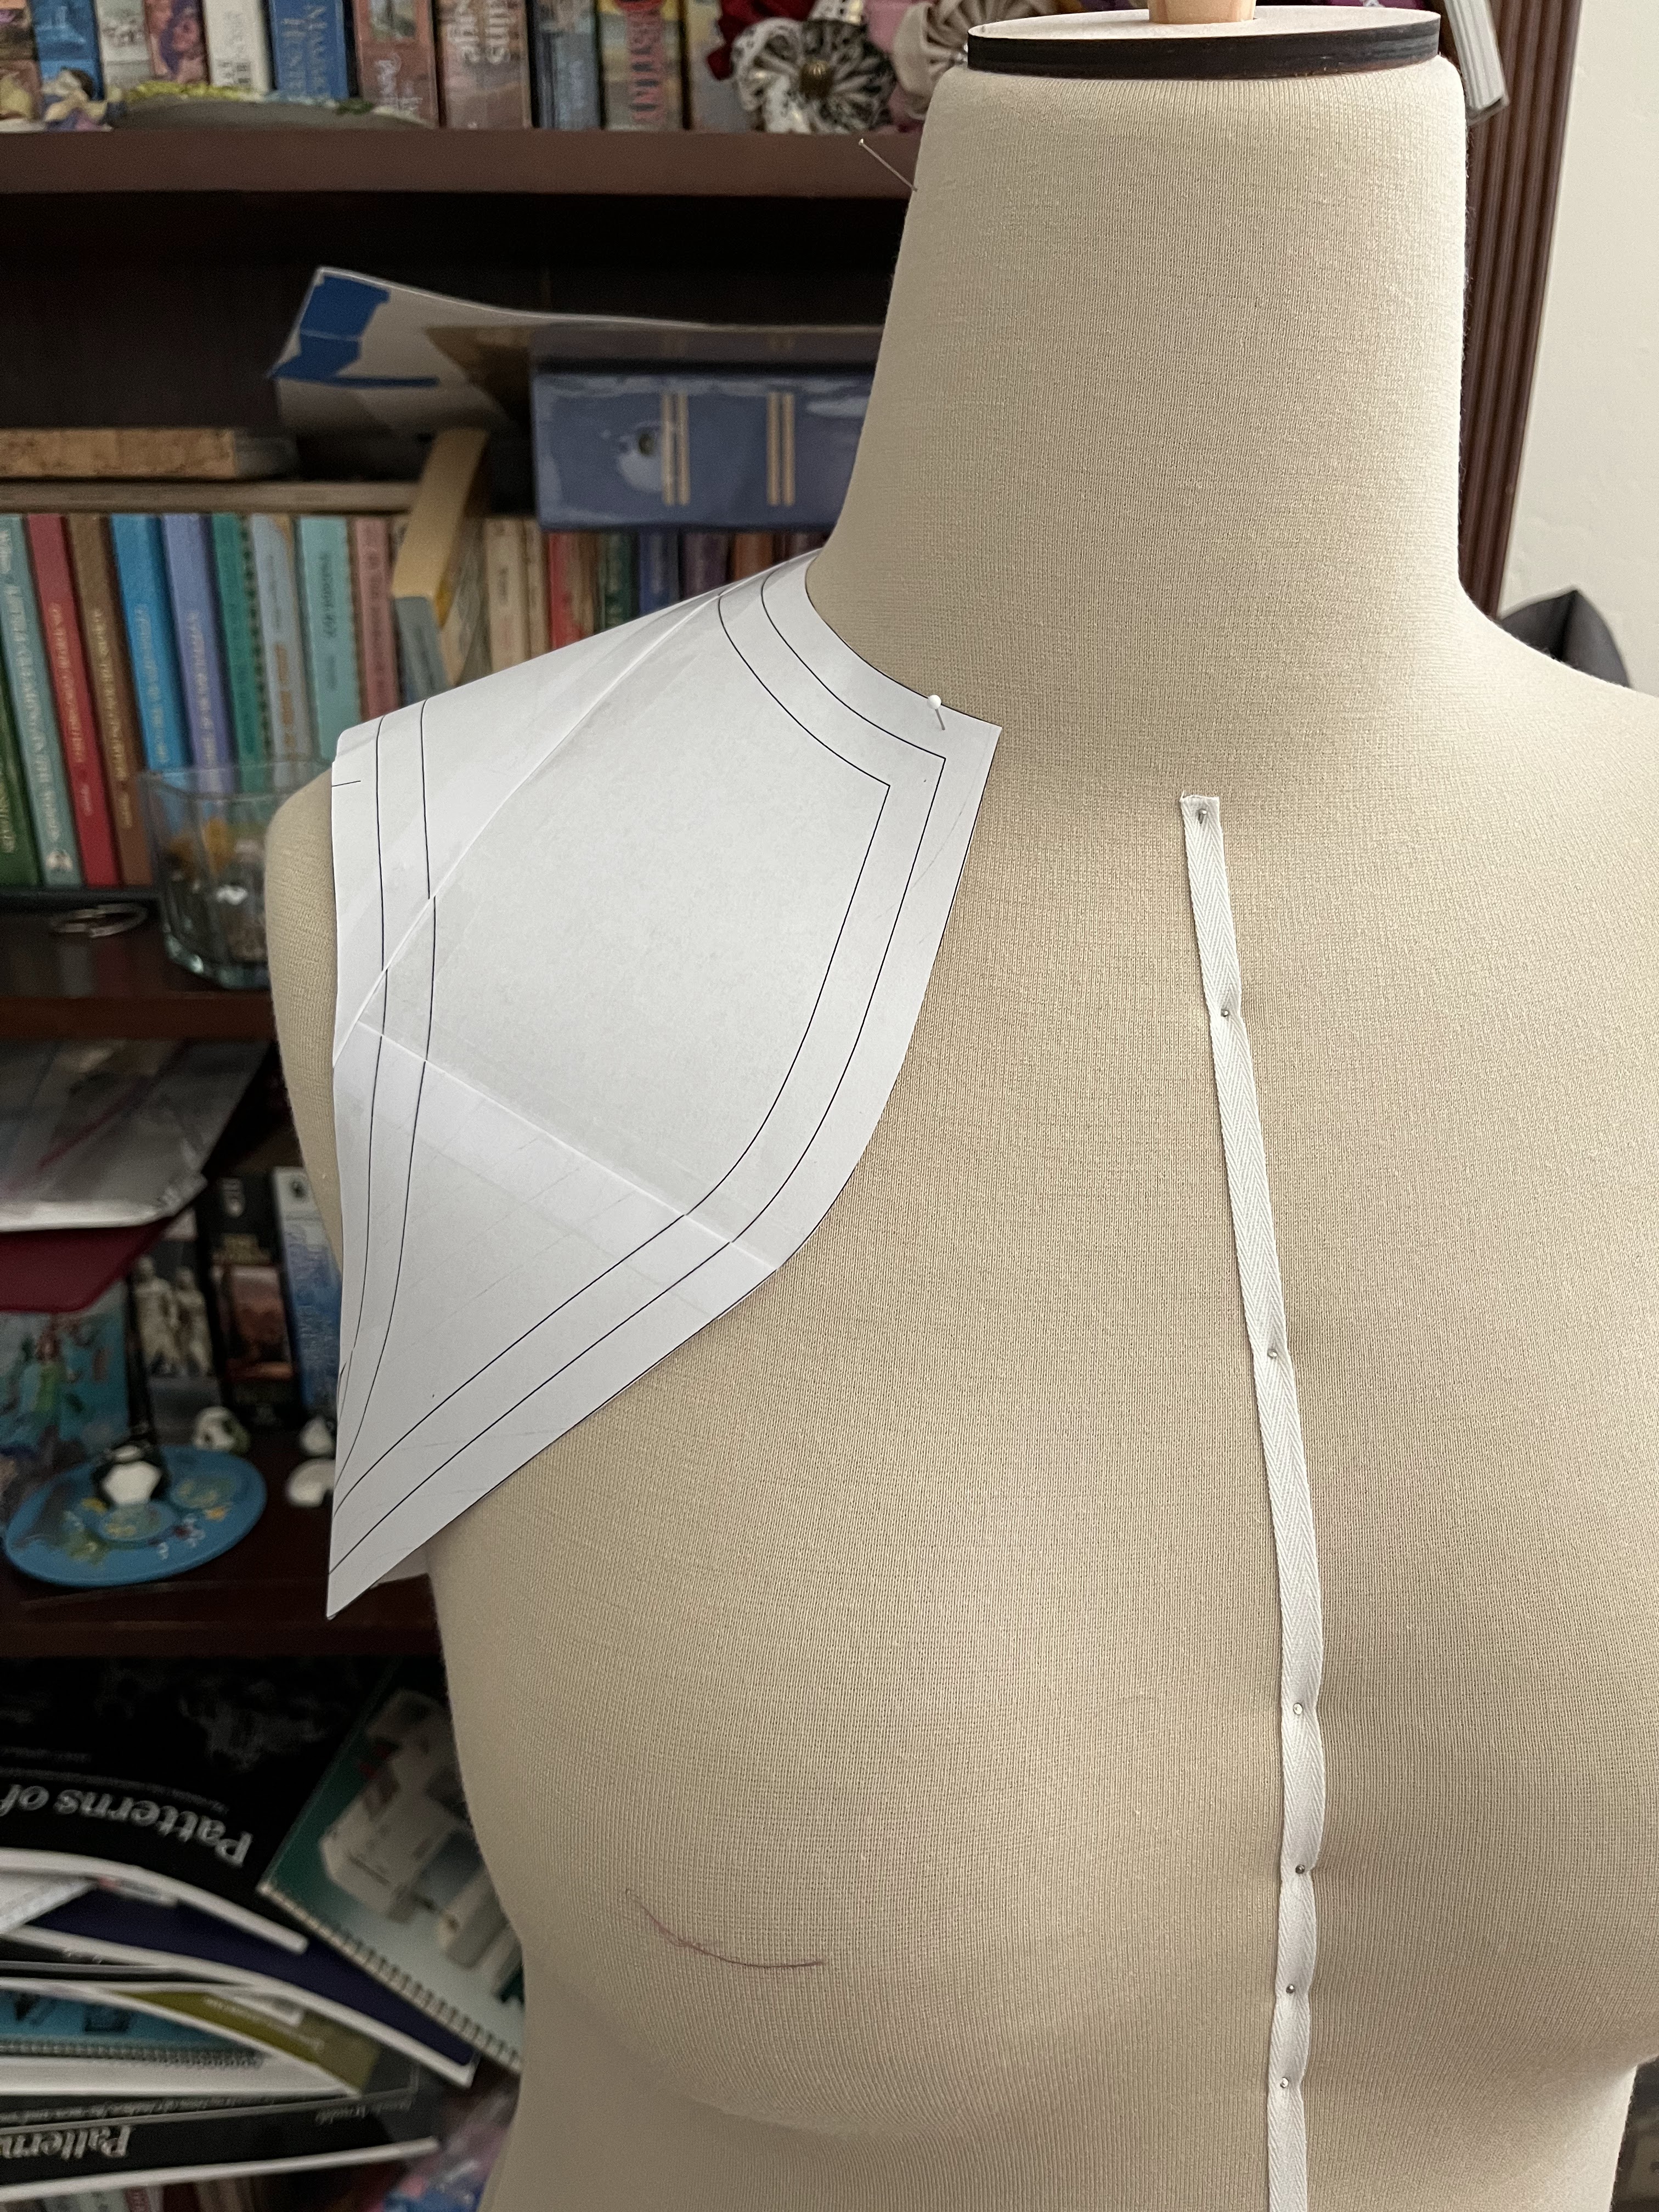
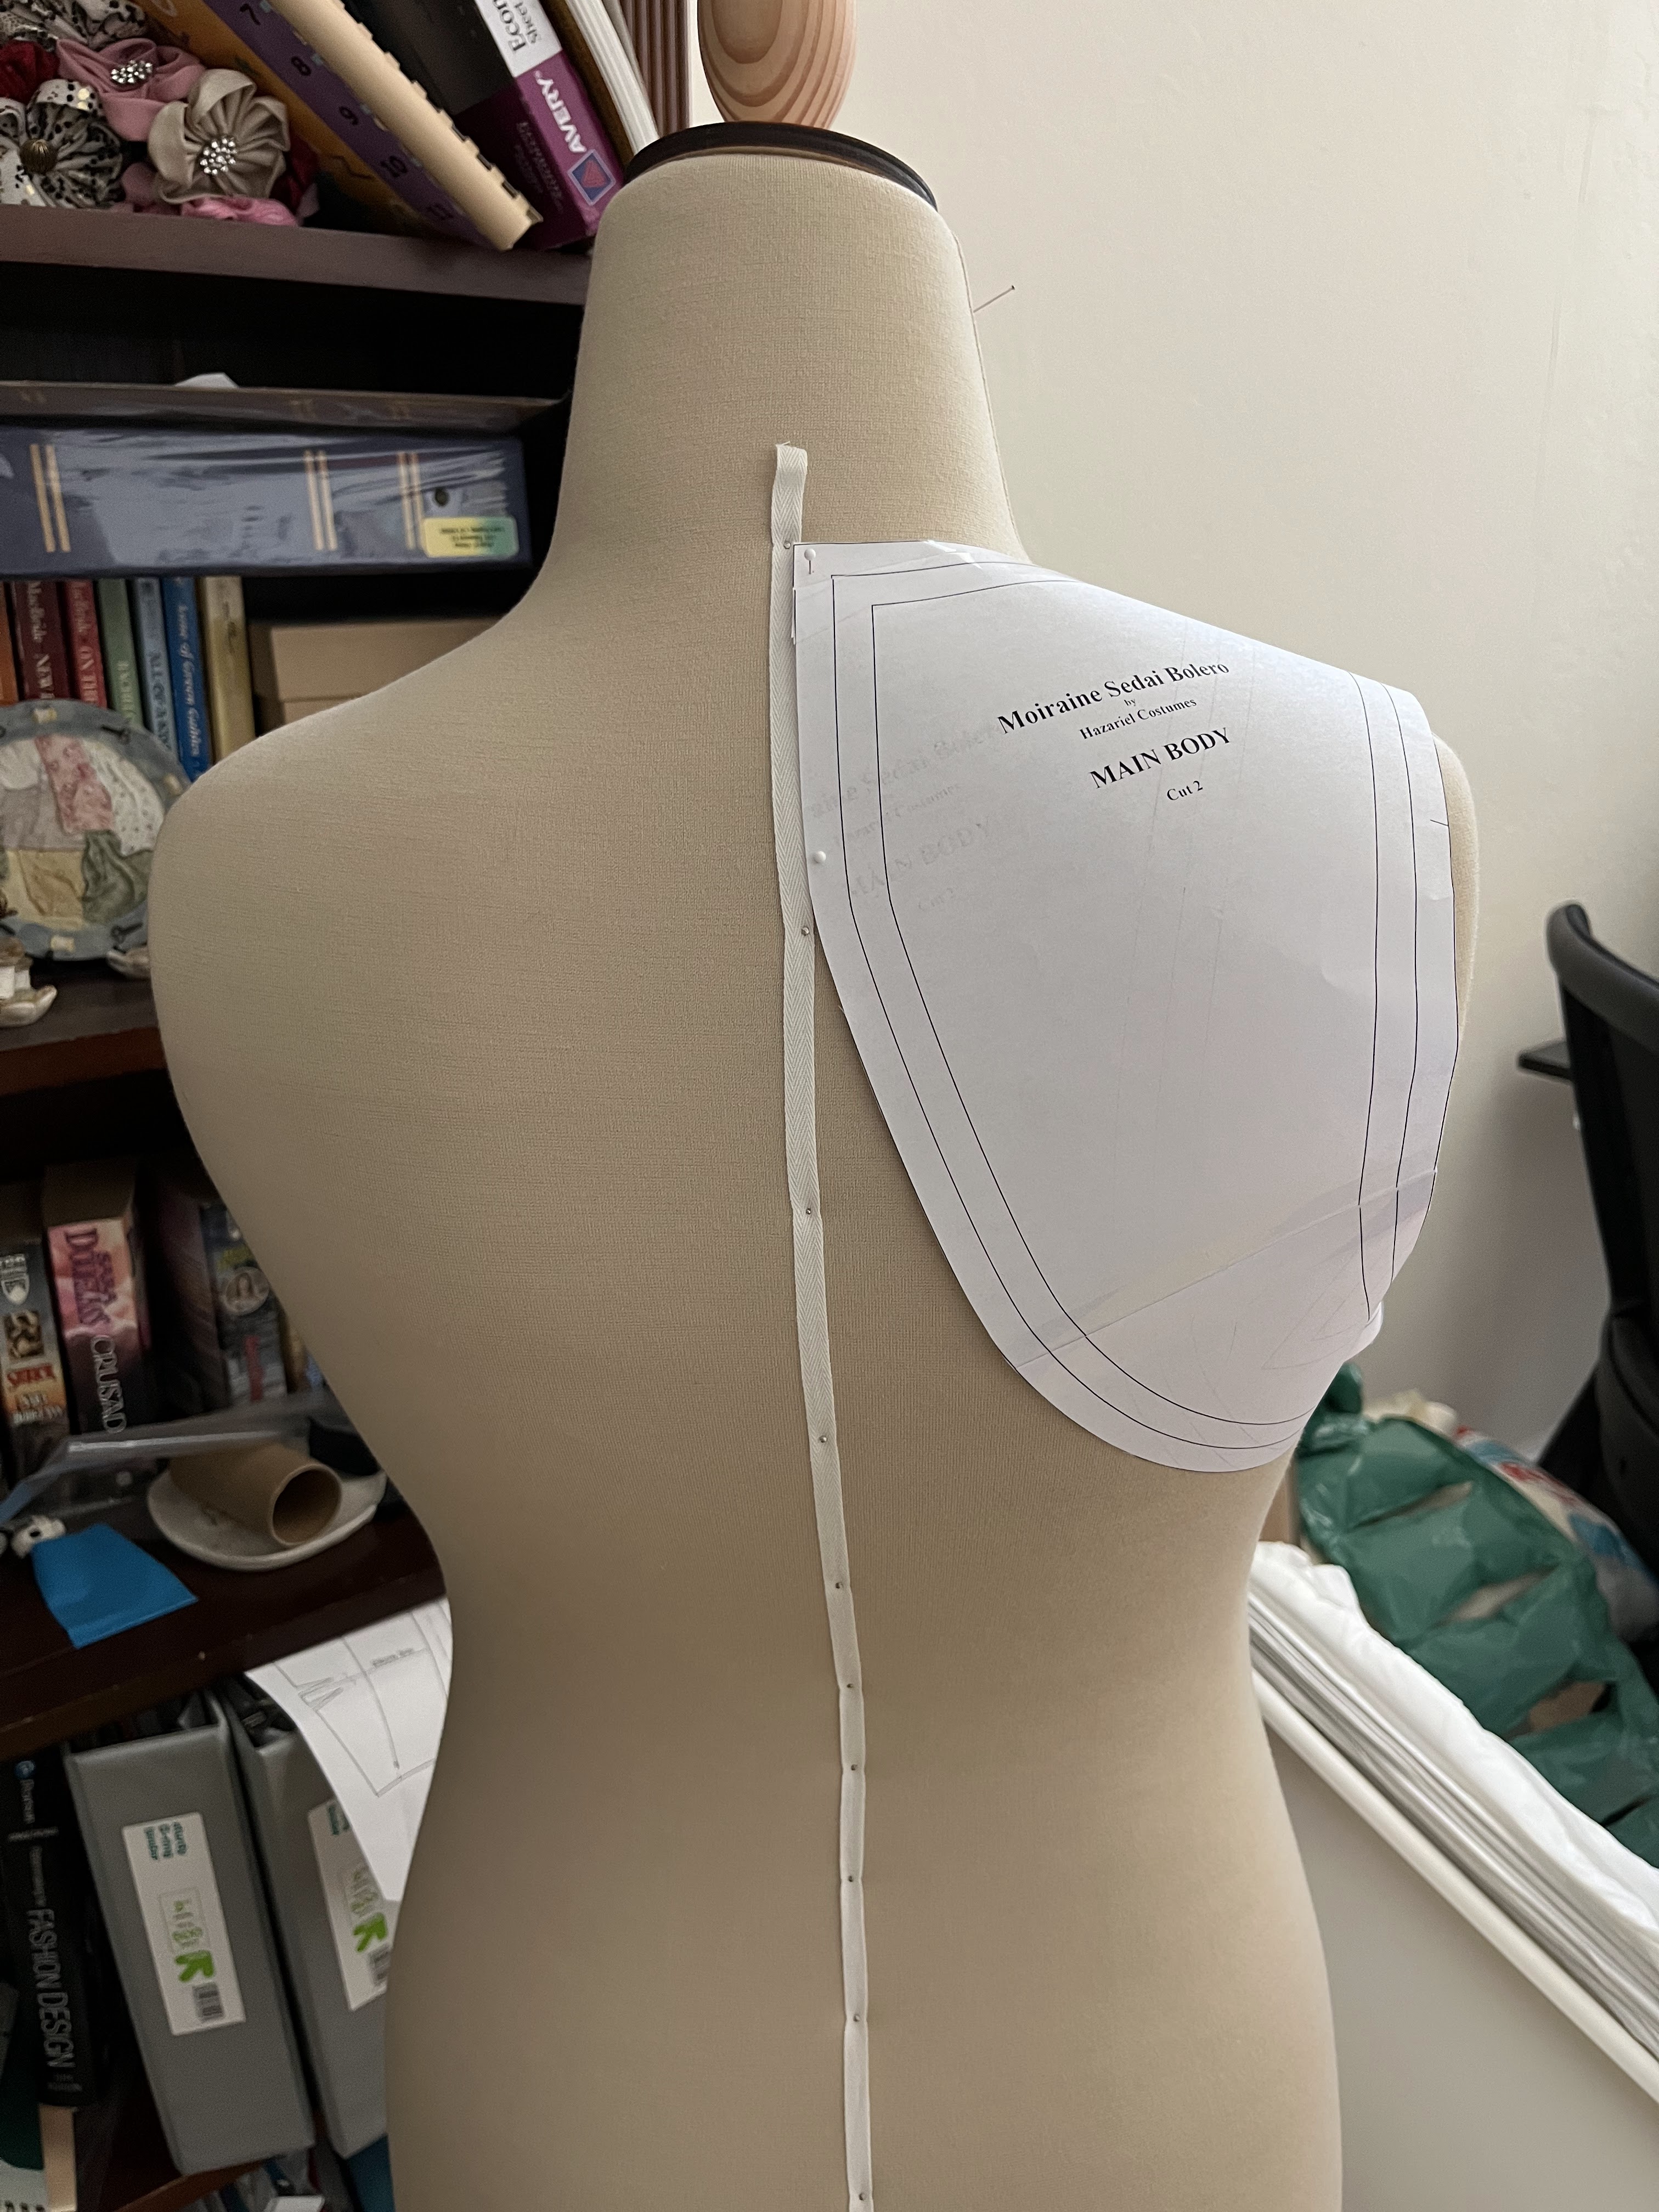
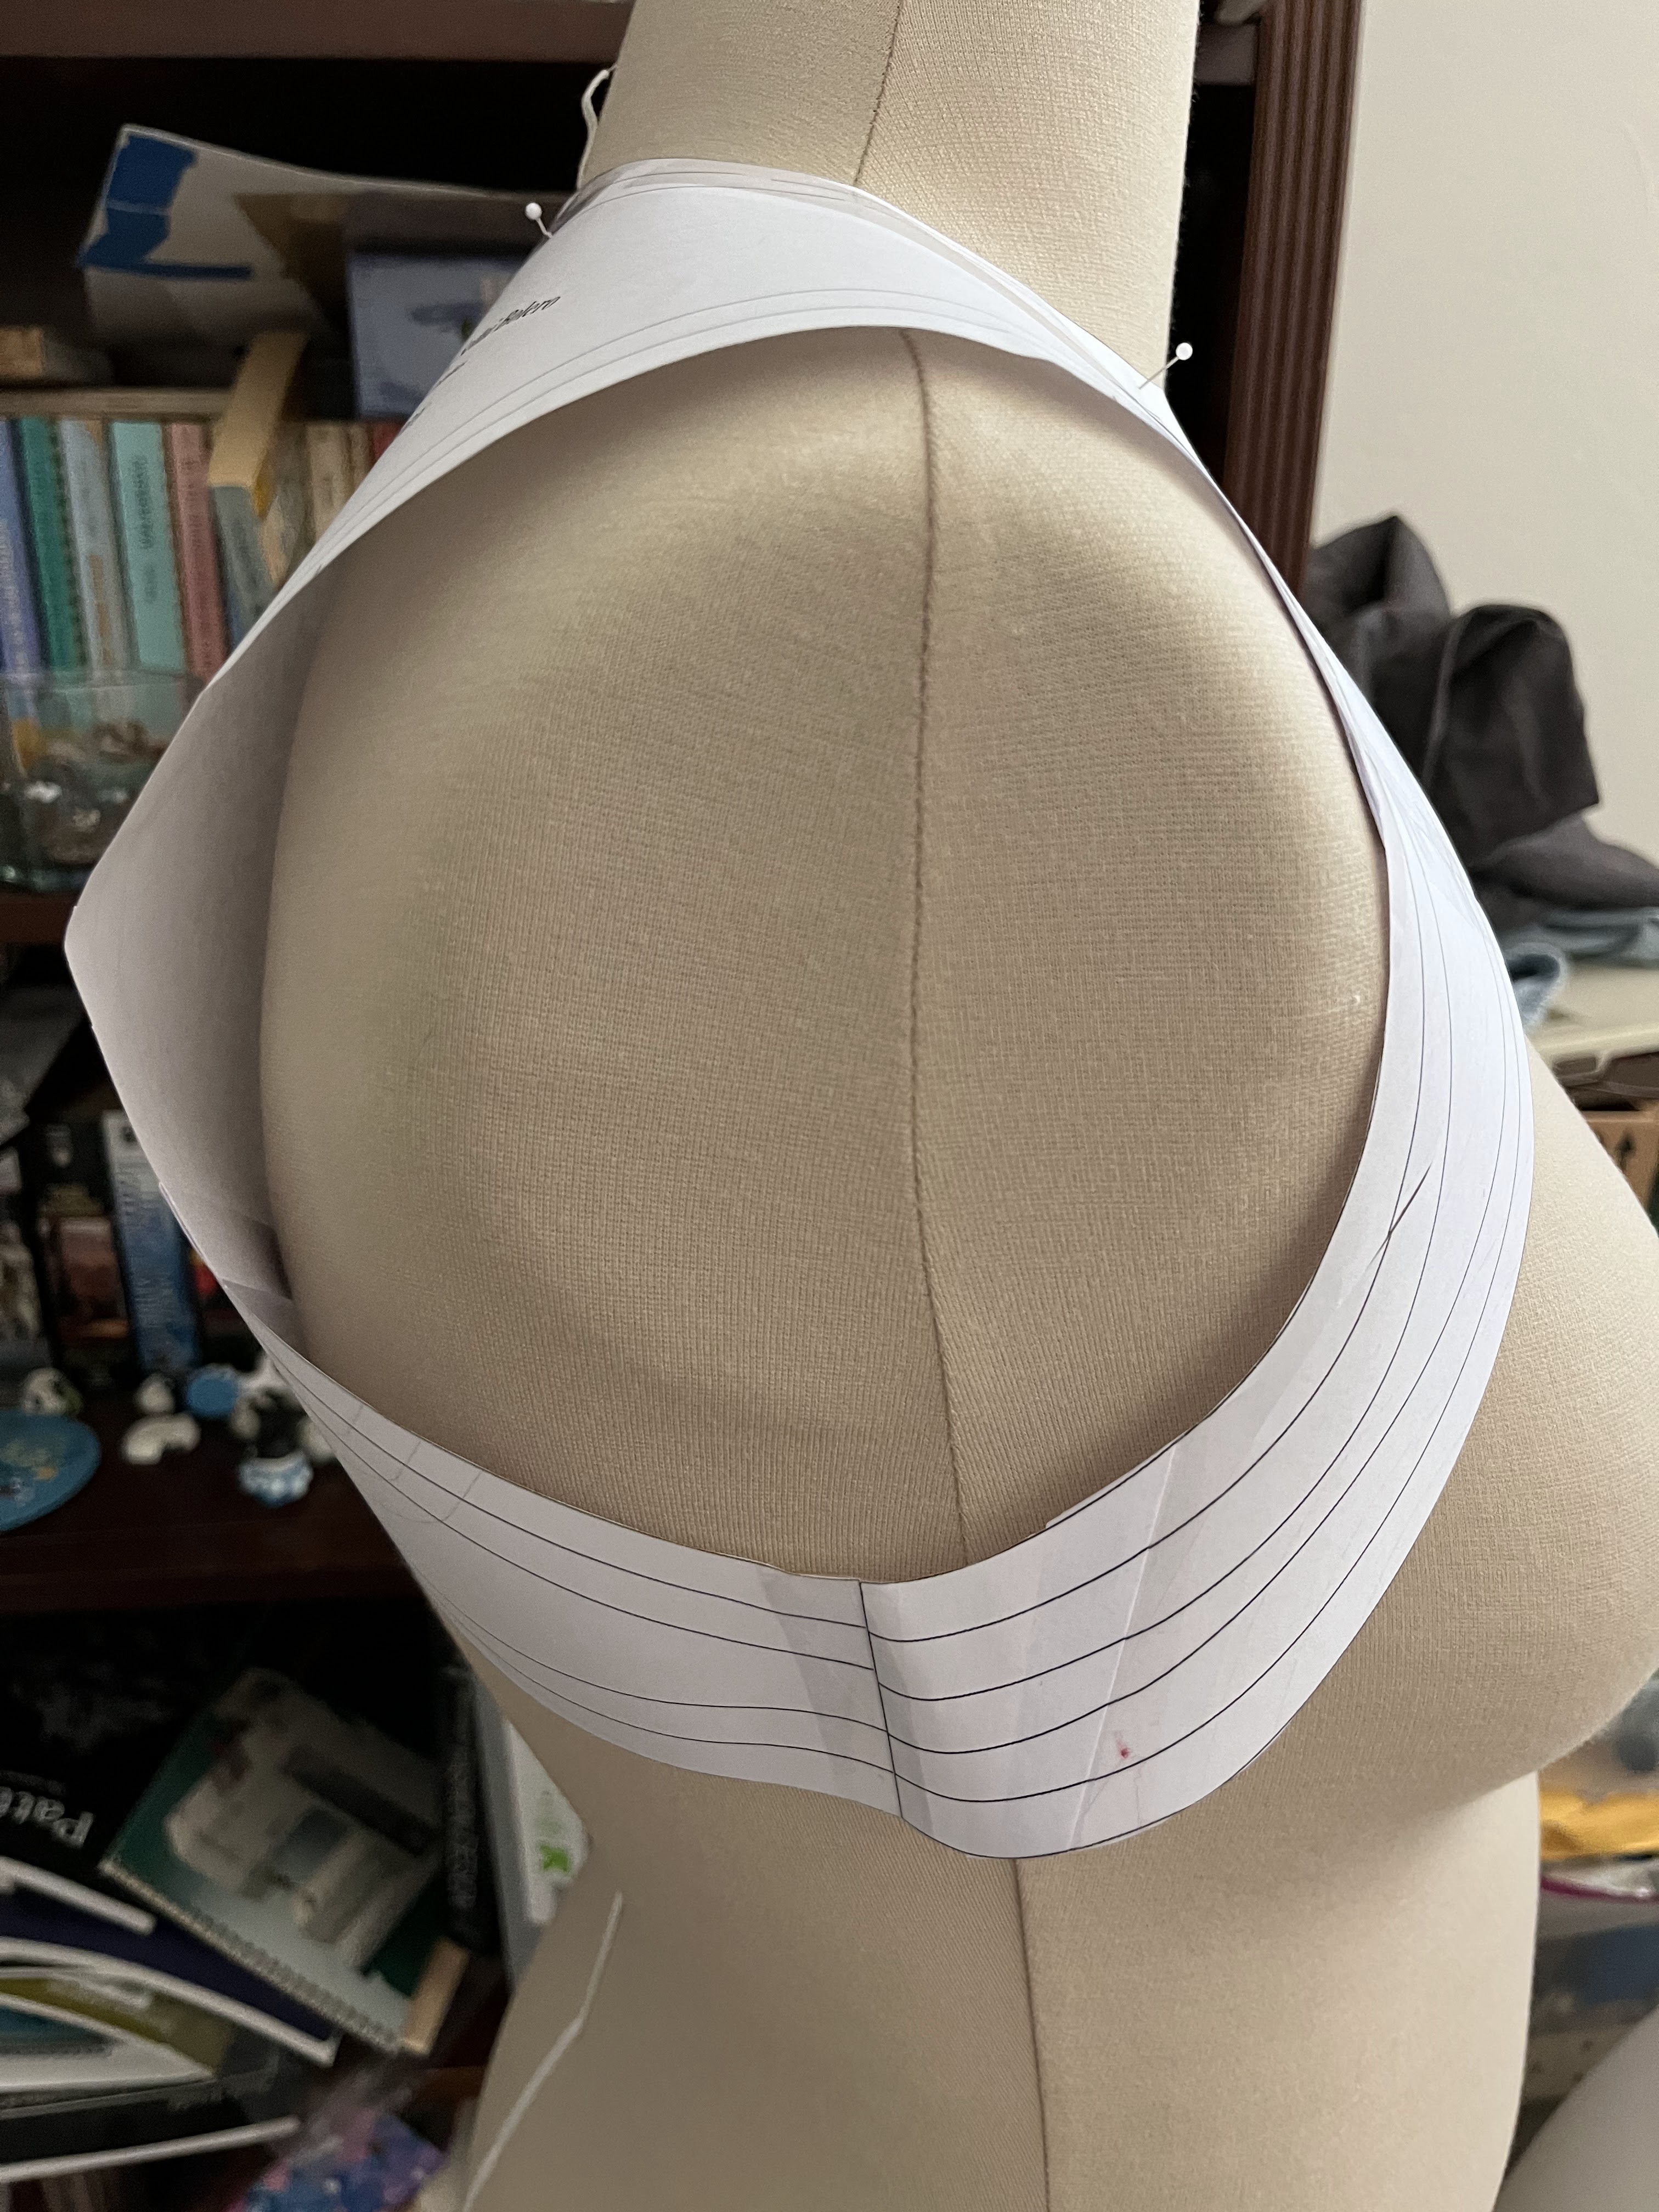
I took in a few “darts” in the paper to narrow the armscye, although I really wasn’t sure how much wearing ease this thing needed. For my first real mockup, I used some heavy foam interfacing since I already had some, but if I didn’t have any then foam would have been a fine substitute (you need something very substantial to mimic the weight of leather).
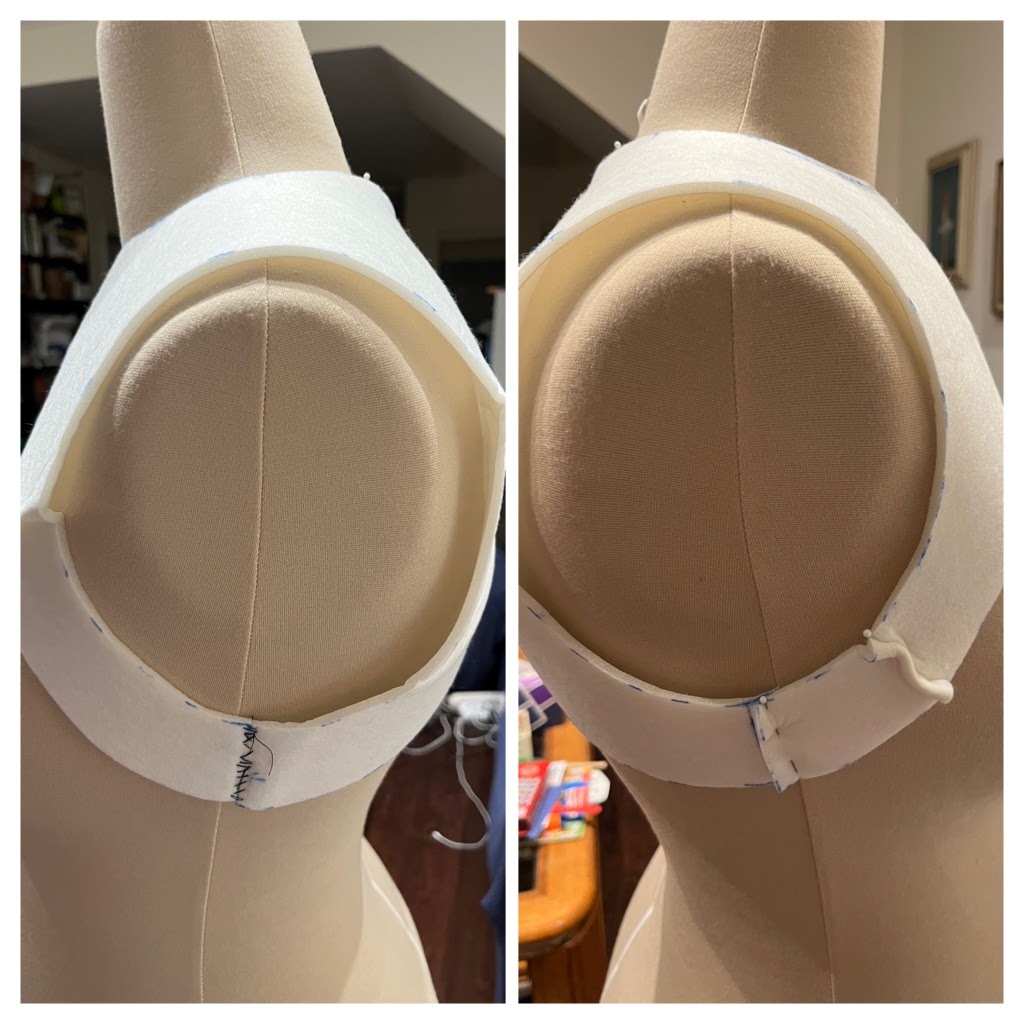
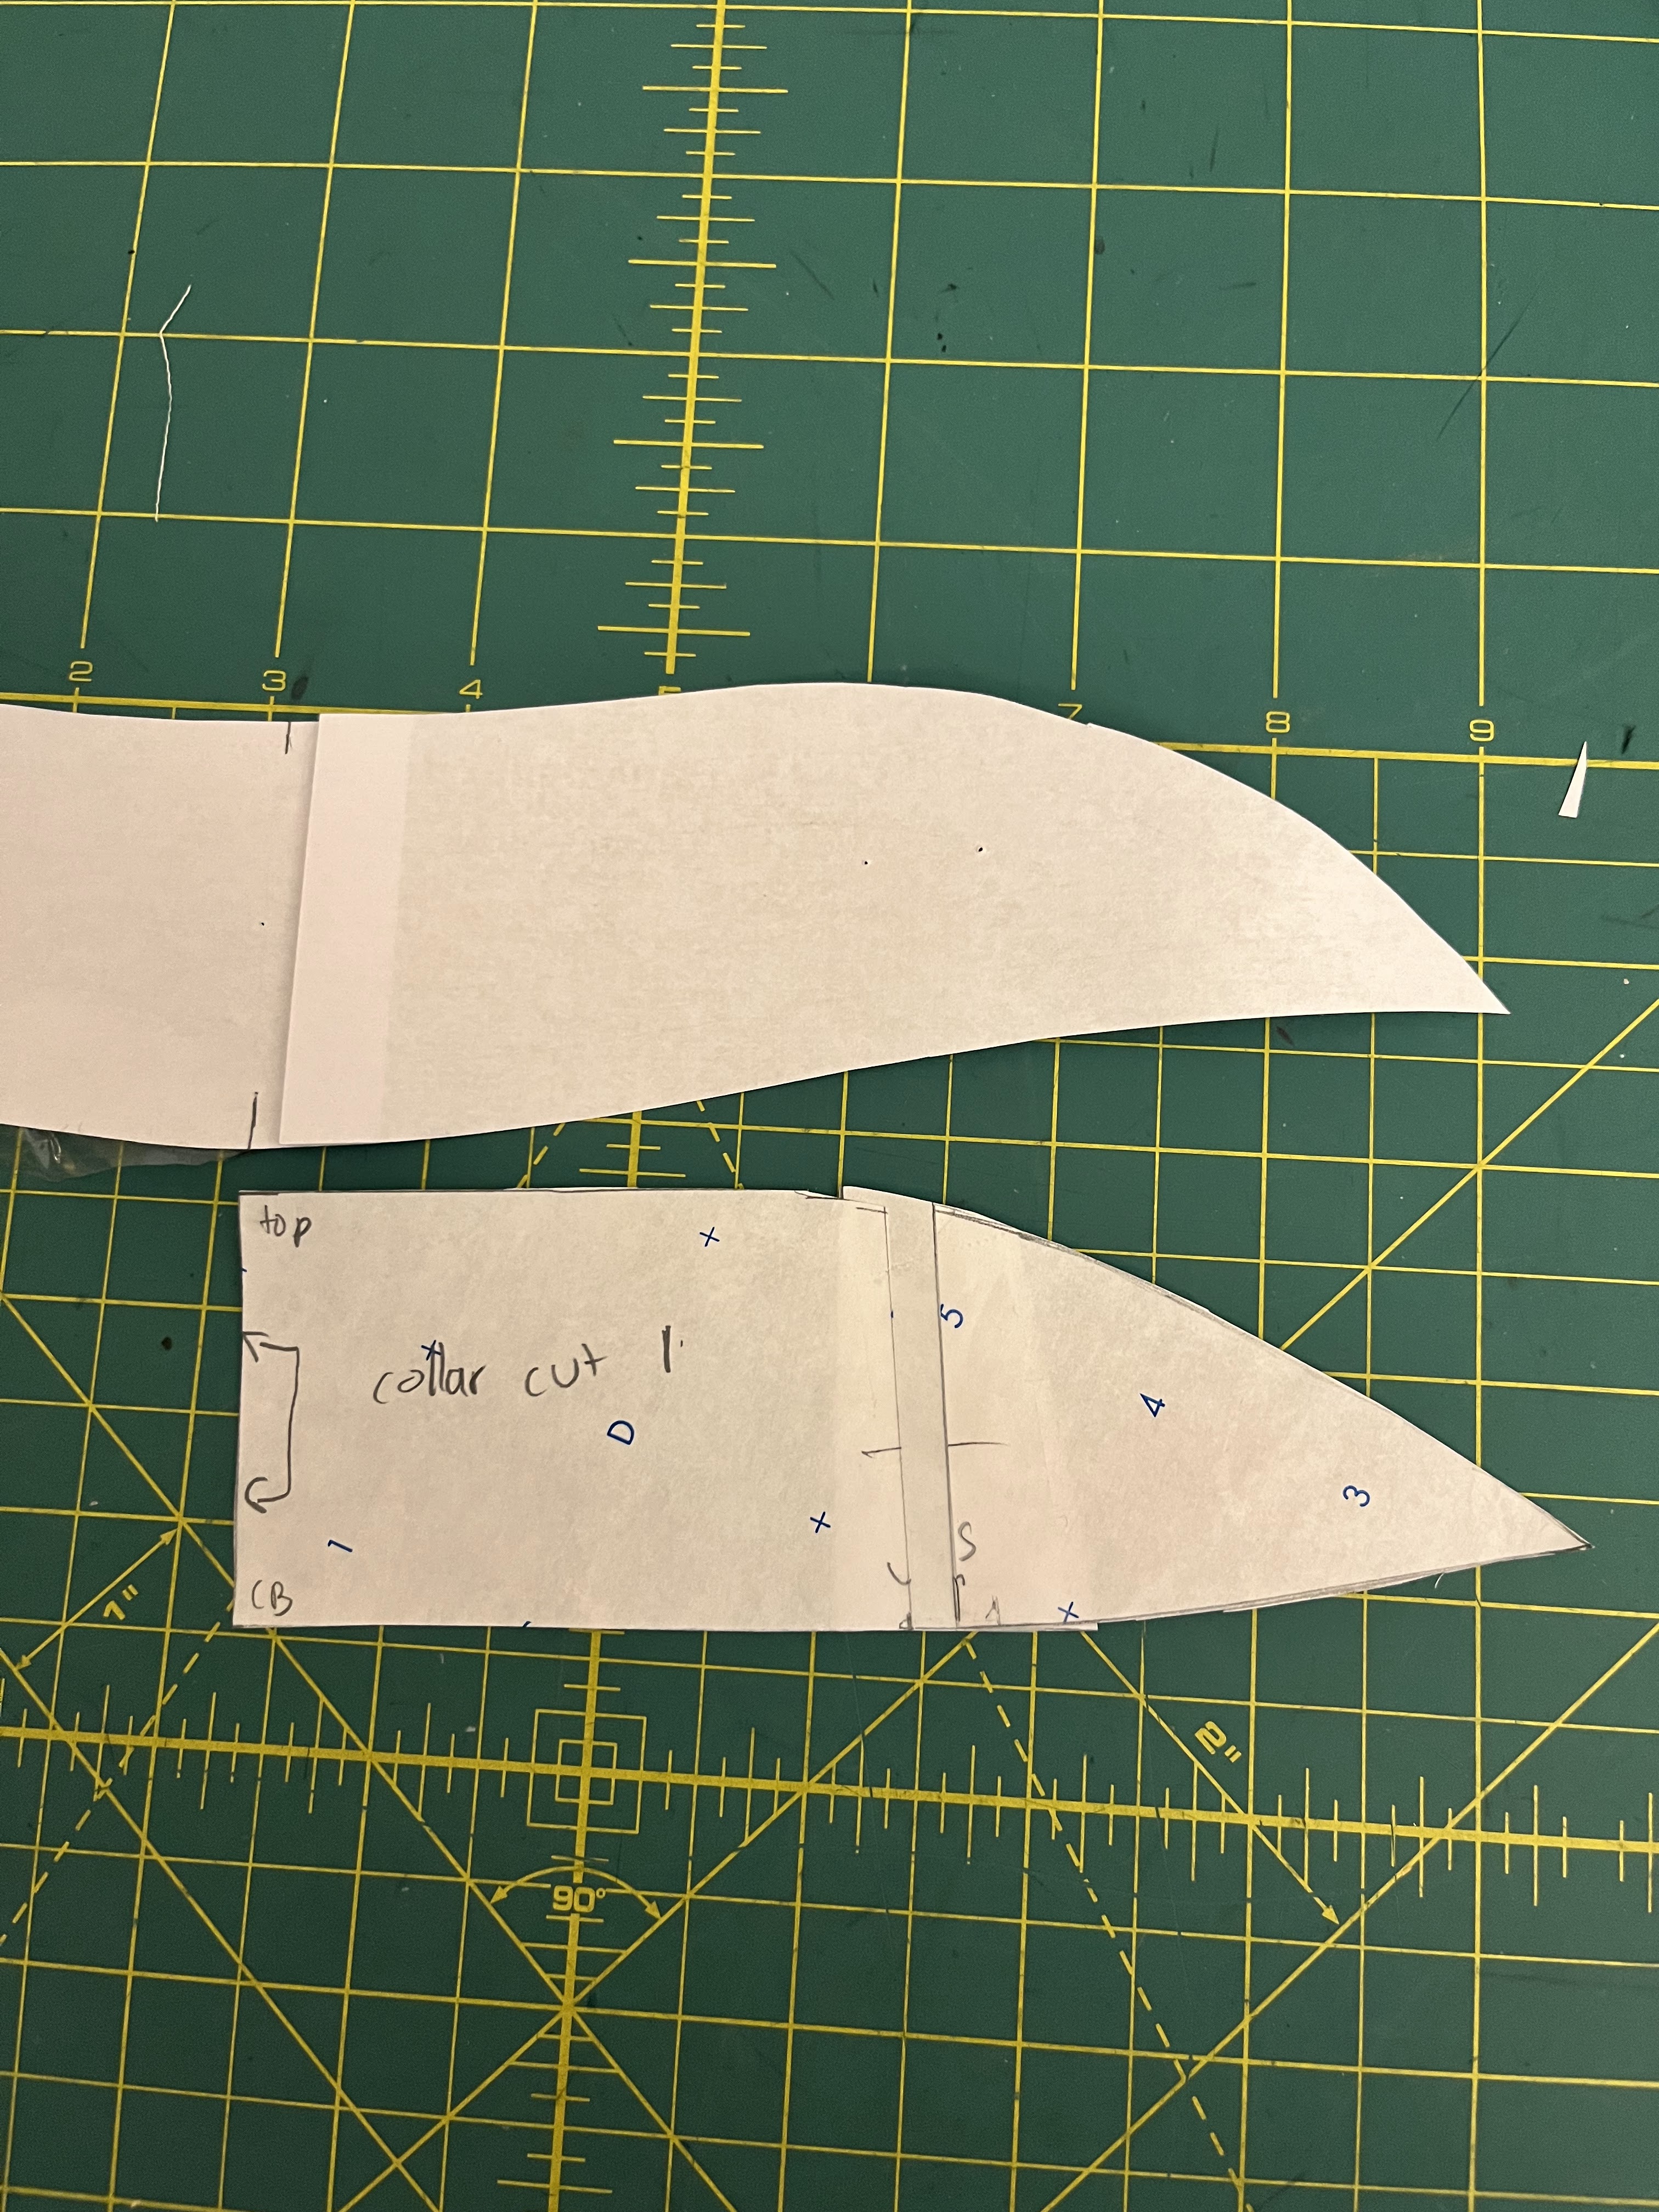
I redrafted the collar (first to be way shorter to accommodate my lack-of-neck), but also I have no idea why the provided pattern had that odd curve to it. I’ve never seen a mandarin collar have that shape.
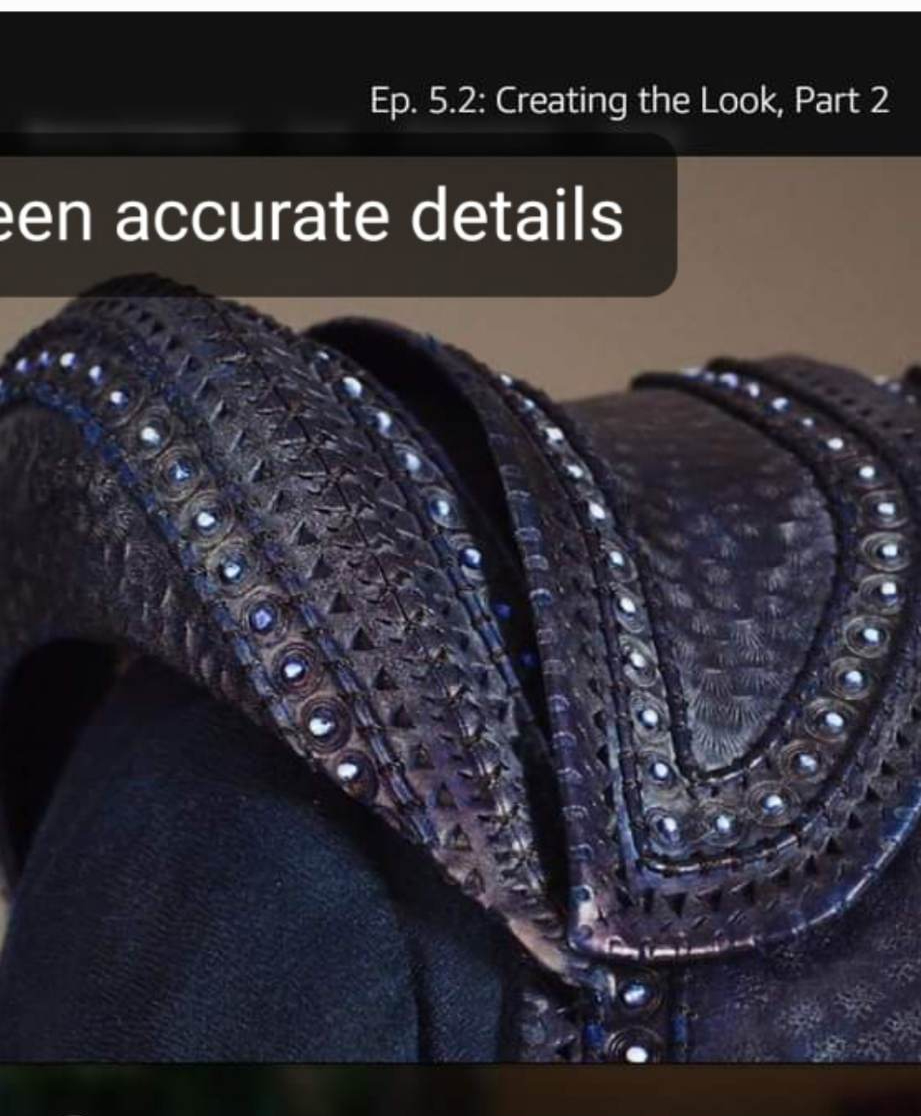
And then I needed to figure out the stamping pattern.

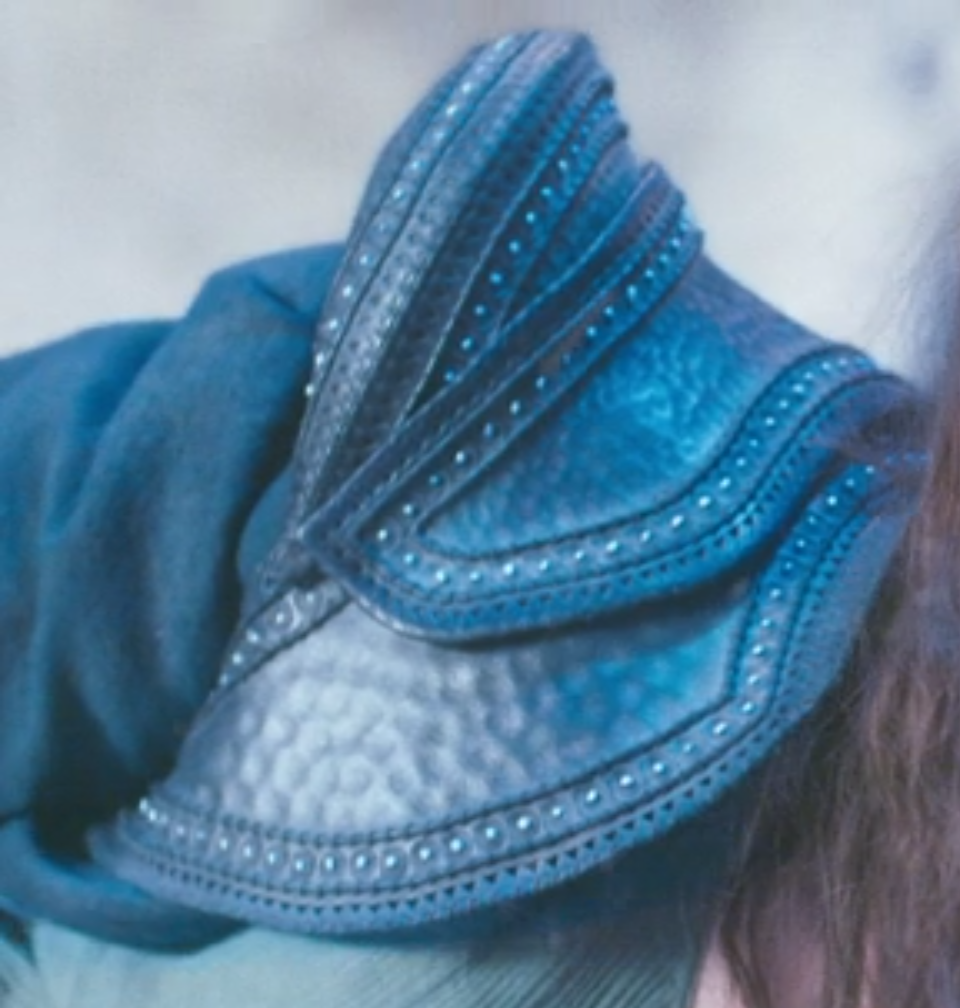
This involved HOURS of poring over grainy screencaps and super dark scenes to try and figure out what was going on. Here’s the problem – there are two main boleros shown in the show. One is the undyed sample bolero used in a behind-the-scenes video where it’s possible to see incredible detail. And then there is the one actually used in the show.
The main way to tell the difference is the sample one has additional couching over the shoulders. This doesn’t end up on the main one.
Some of the other differences:
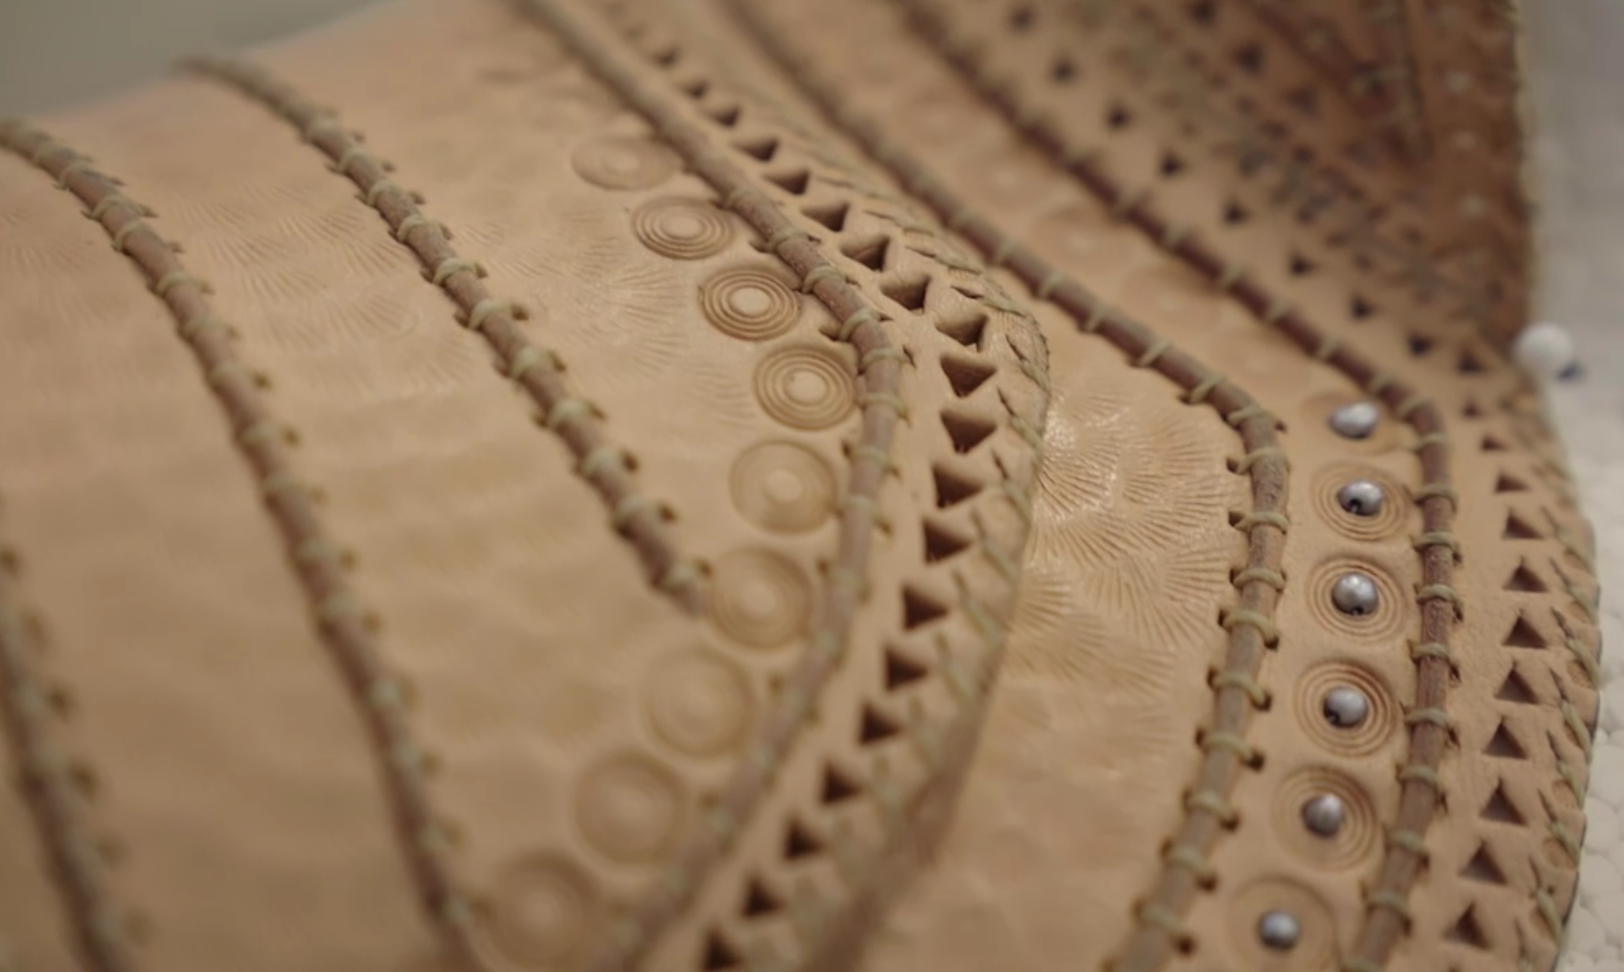
The sample one has triangles punched out fully, where I think the final bolero has them as stamps, but not full holes.
The sample one looks like it’s whipstitched along all edges in some versions, but the final one just uses a cross-hatched stamp on the edge which ends up looking like stitching from far away.
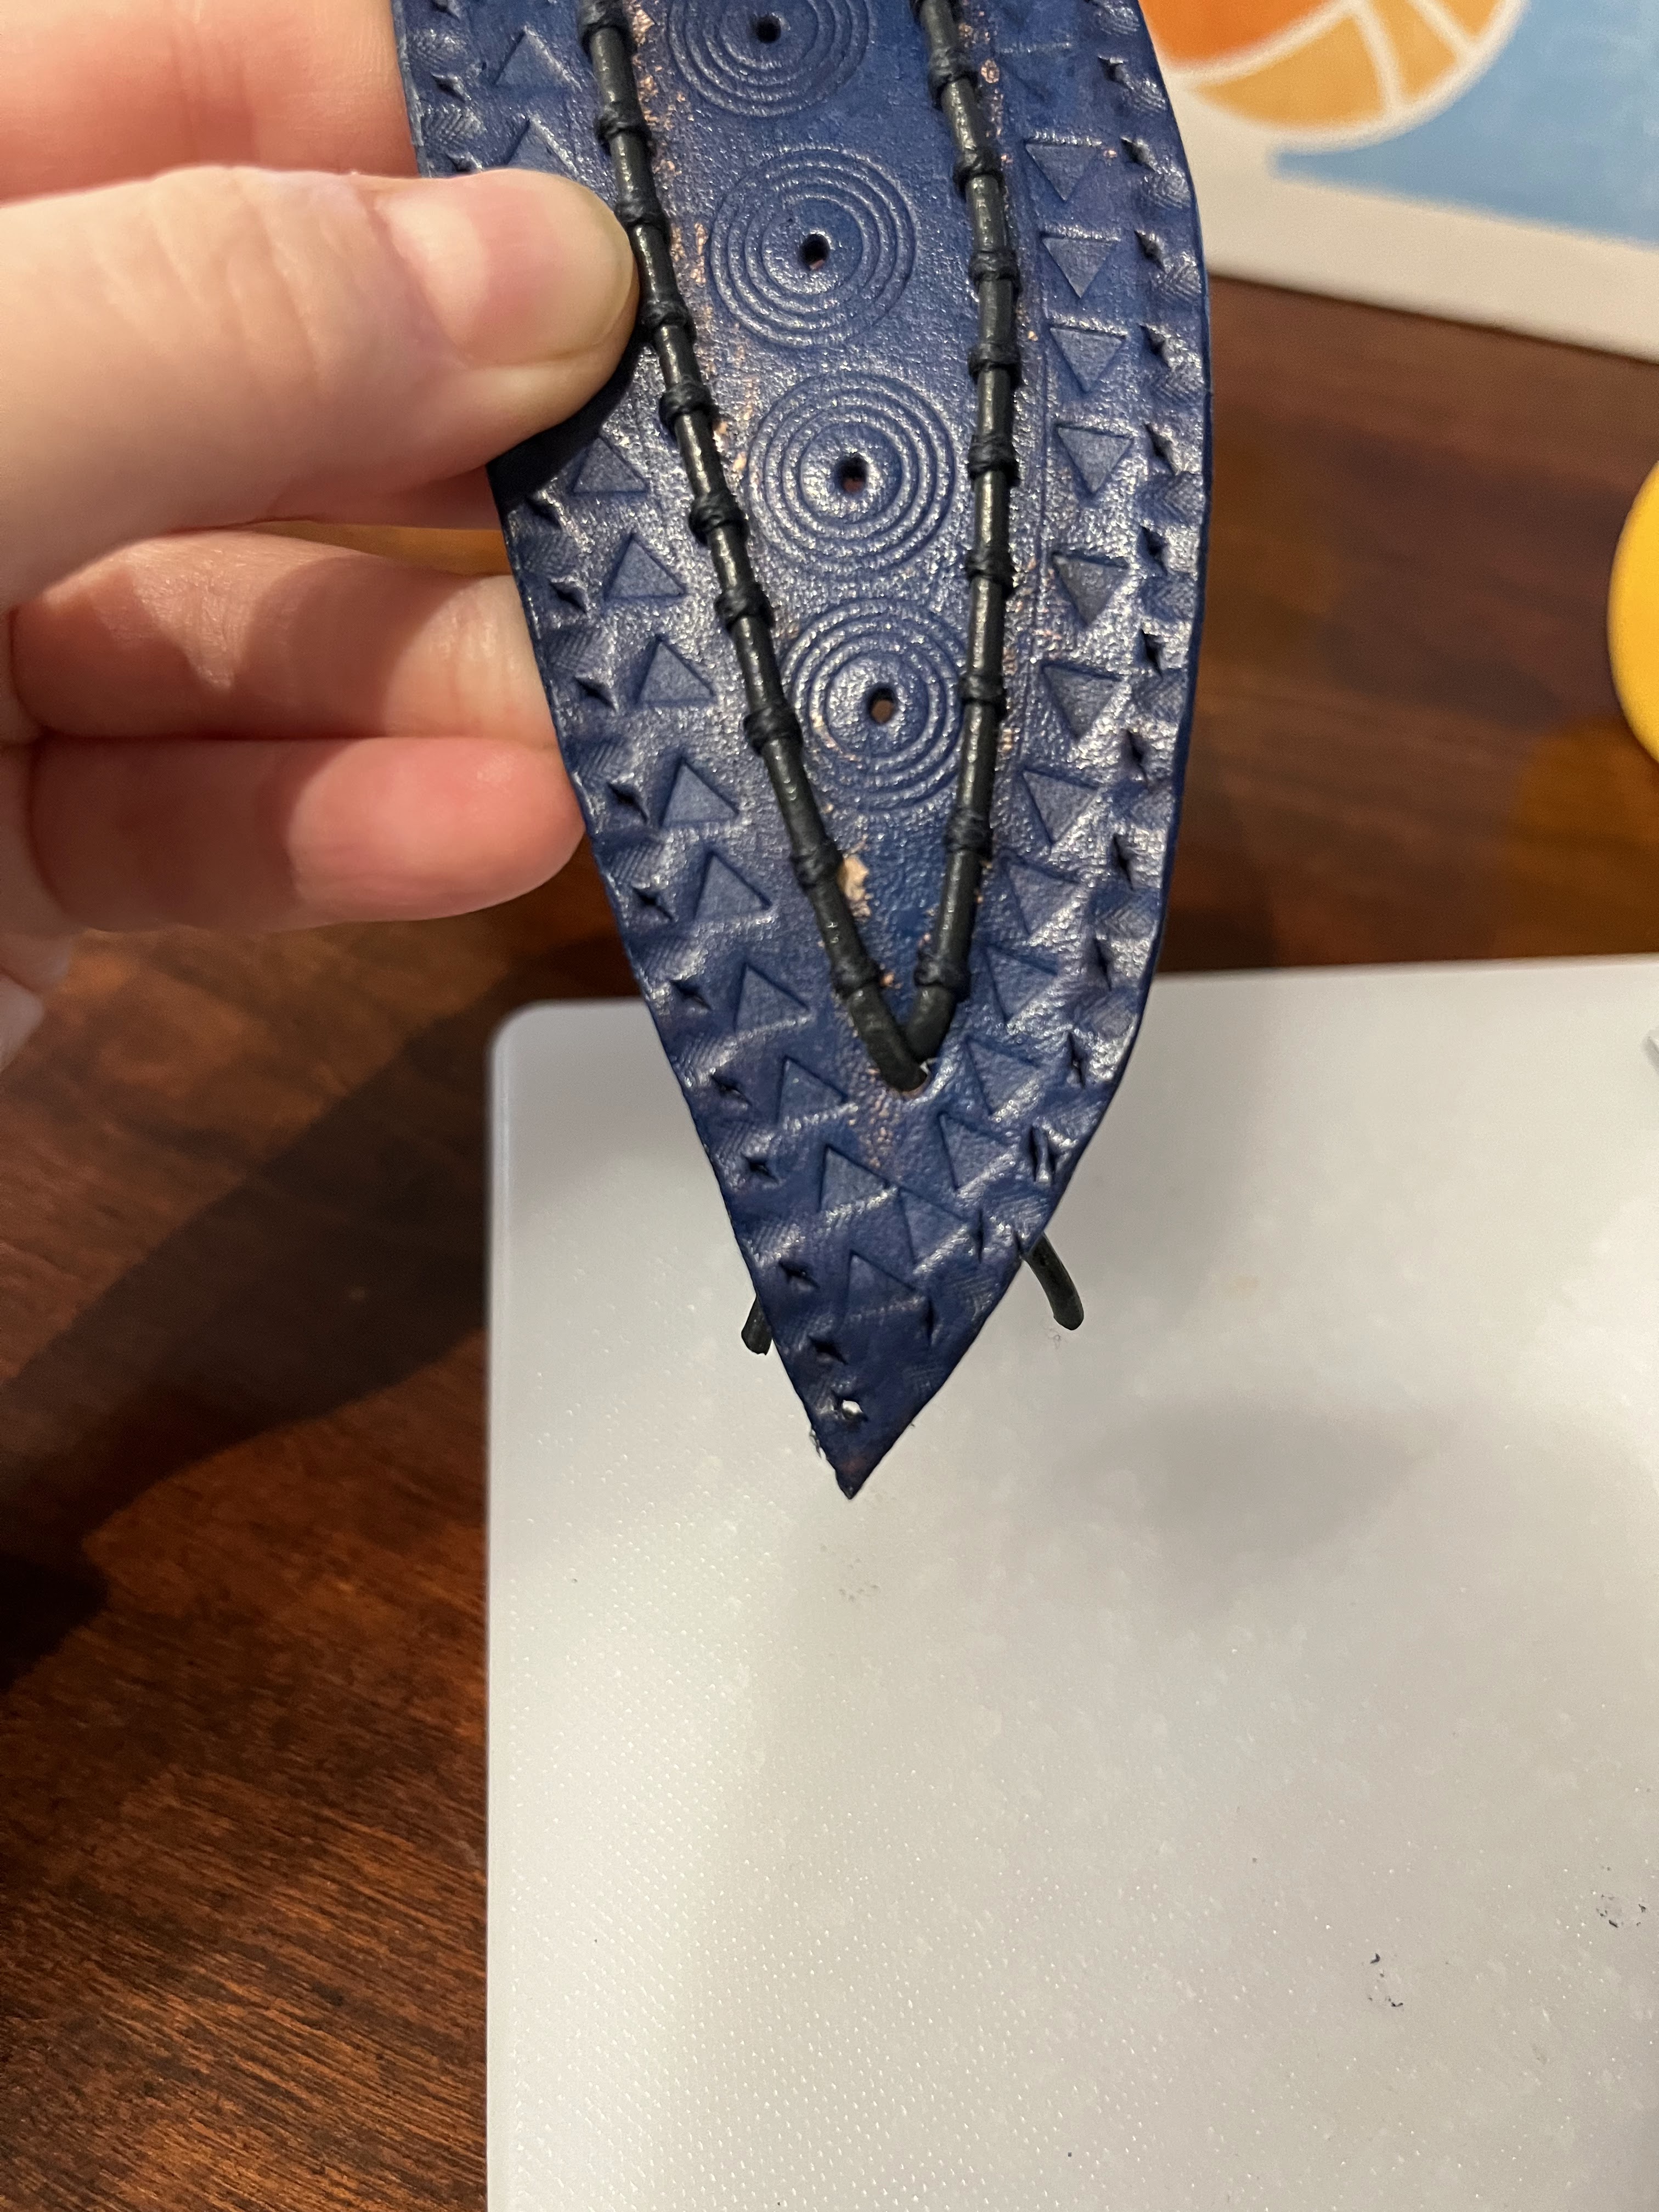
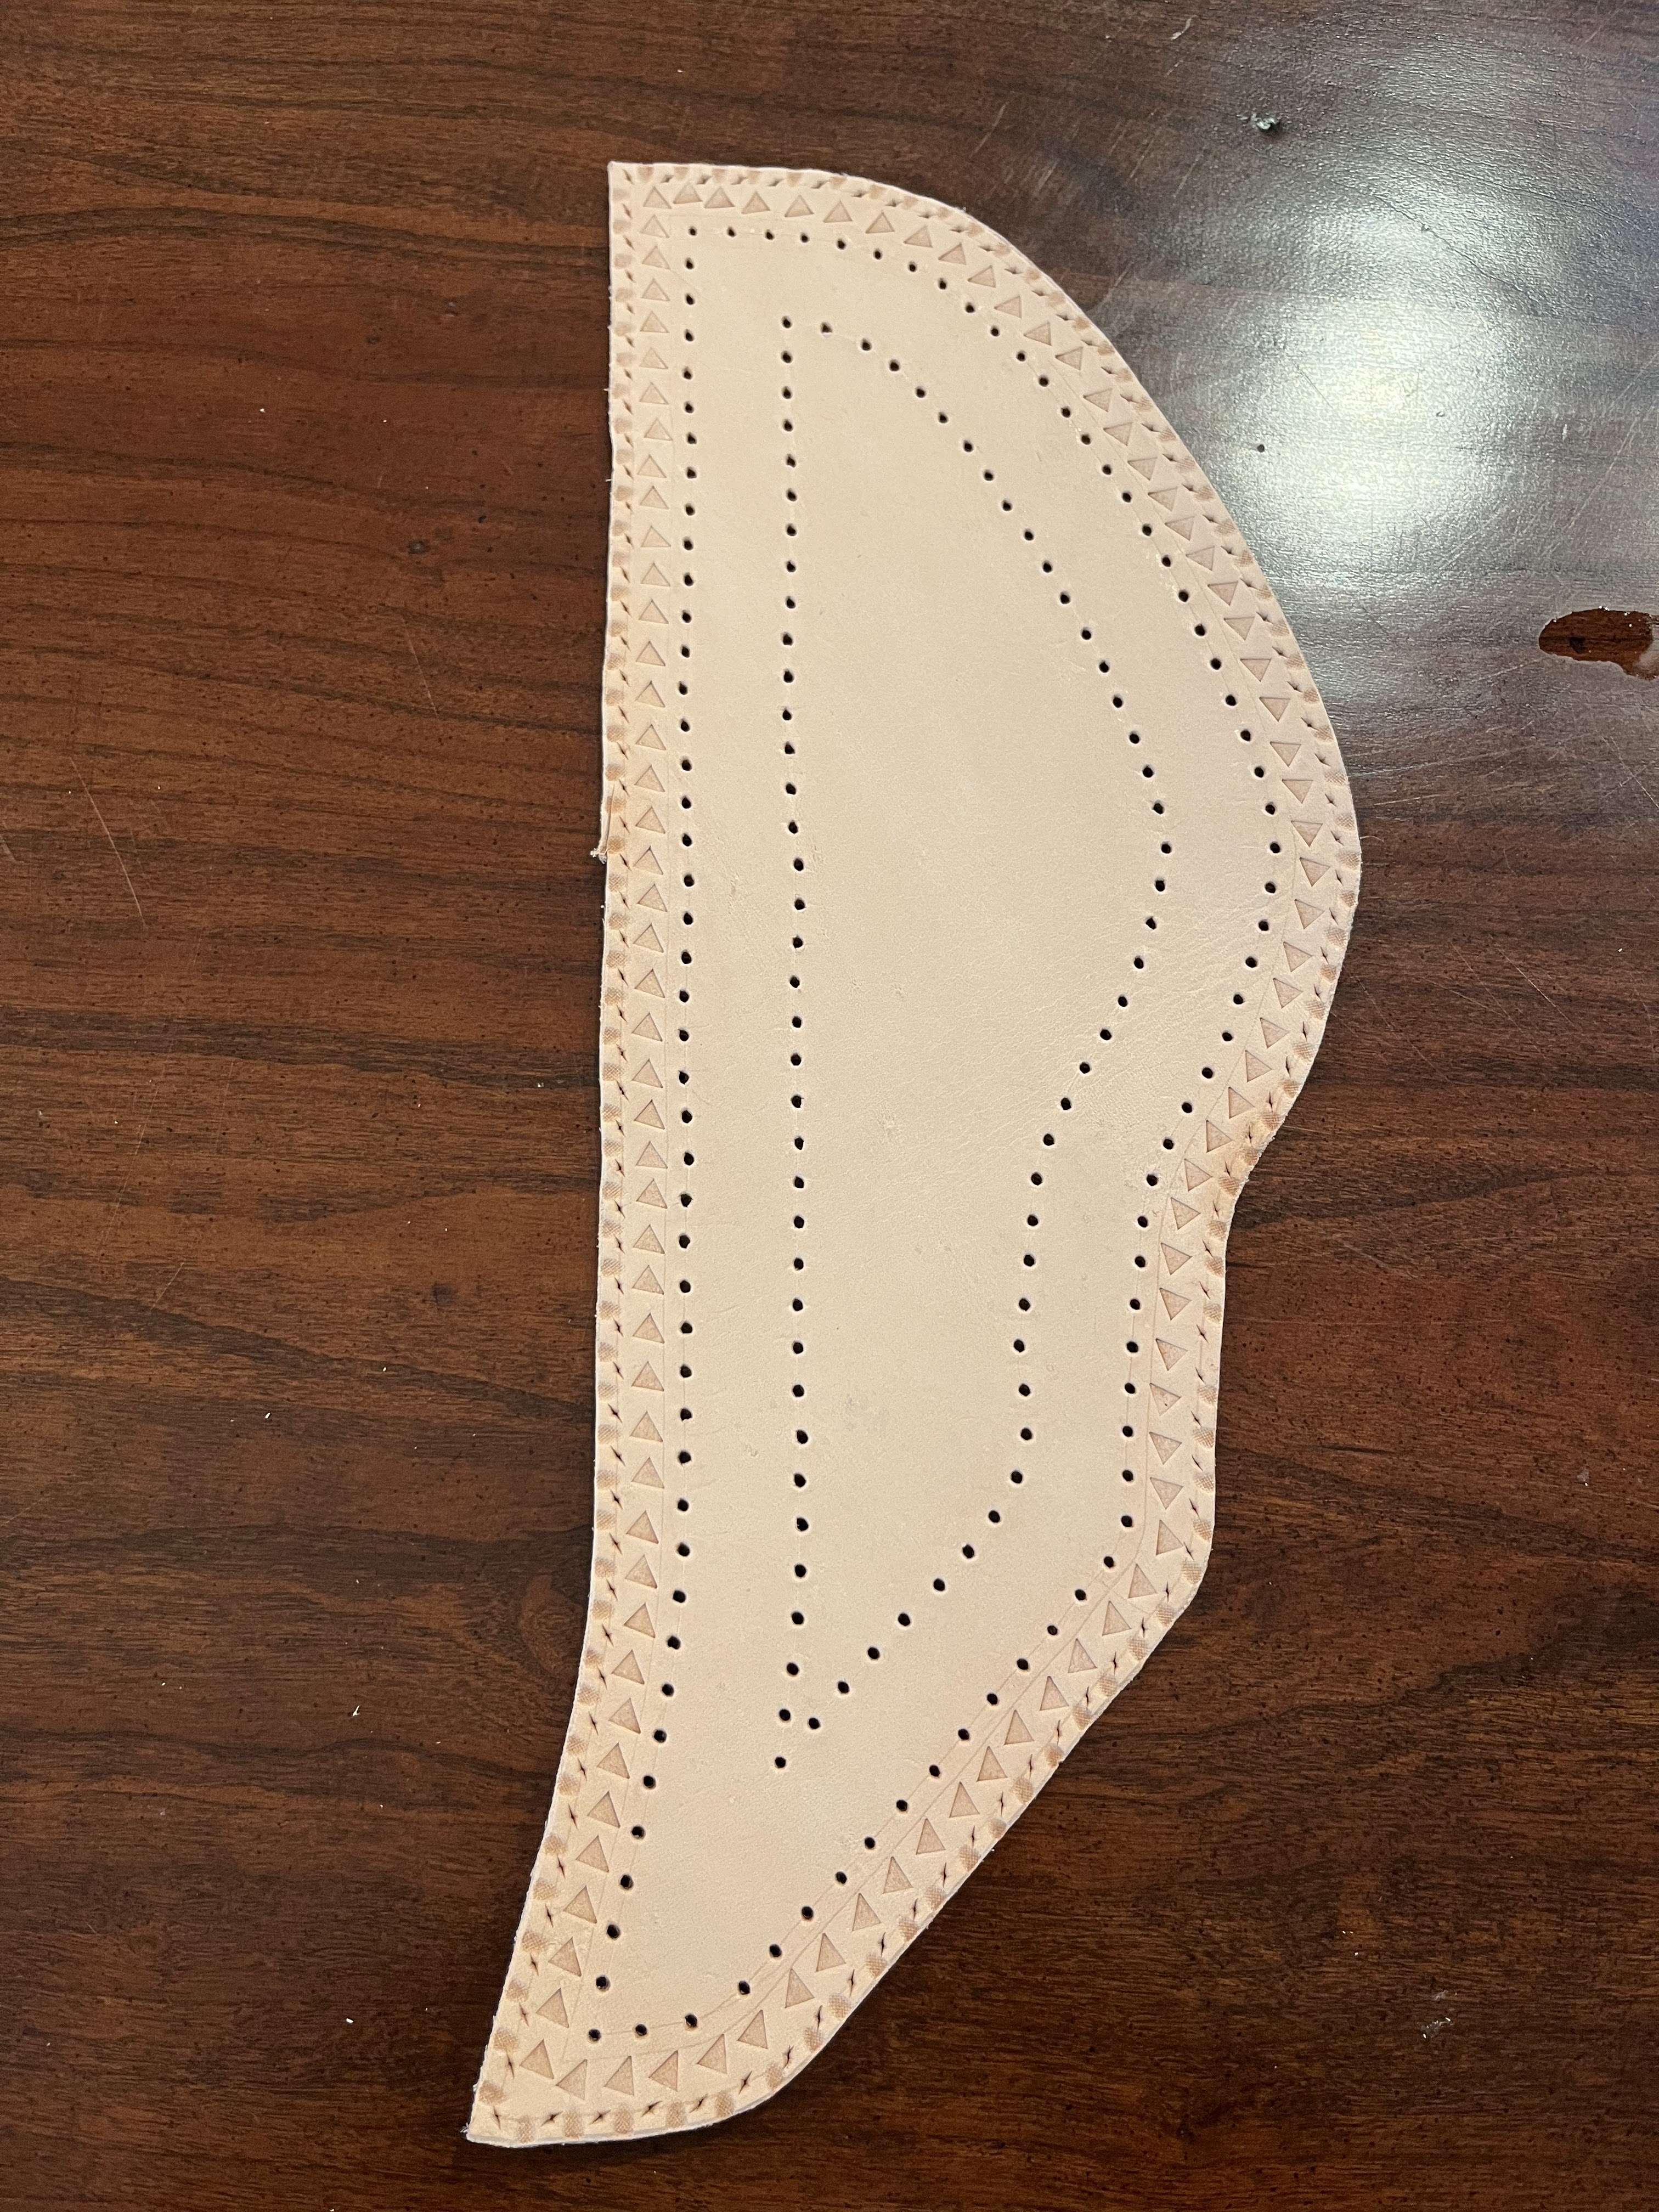
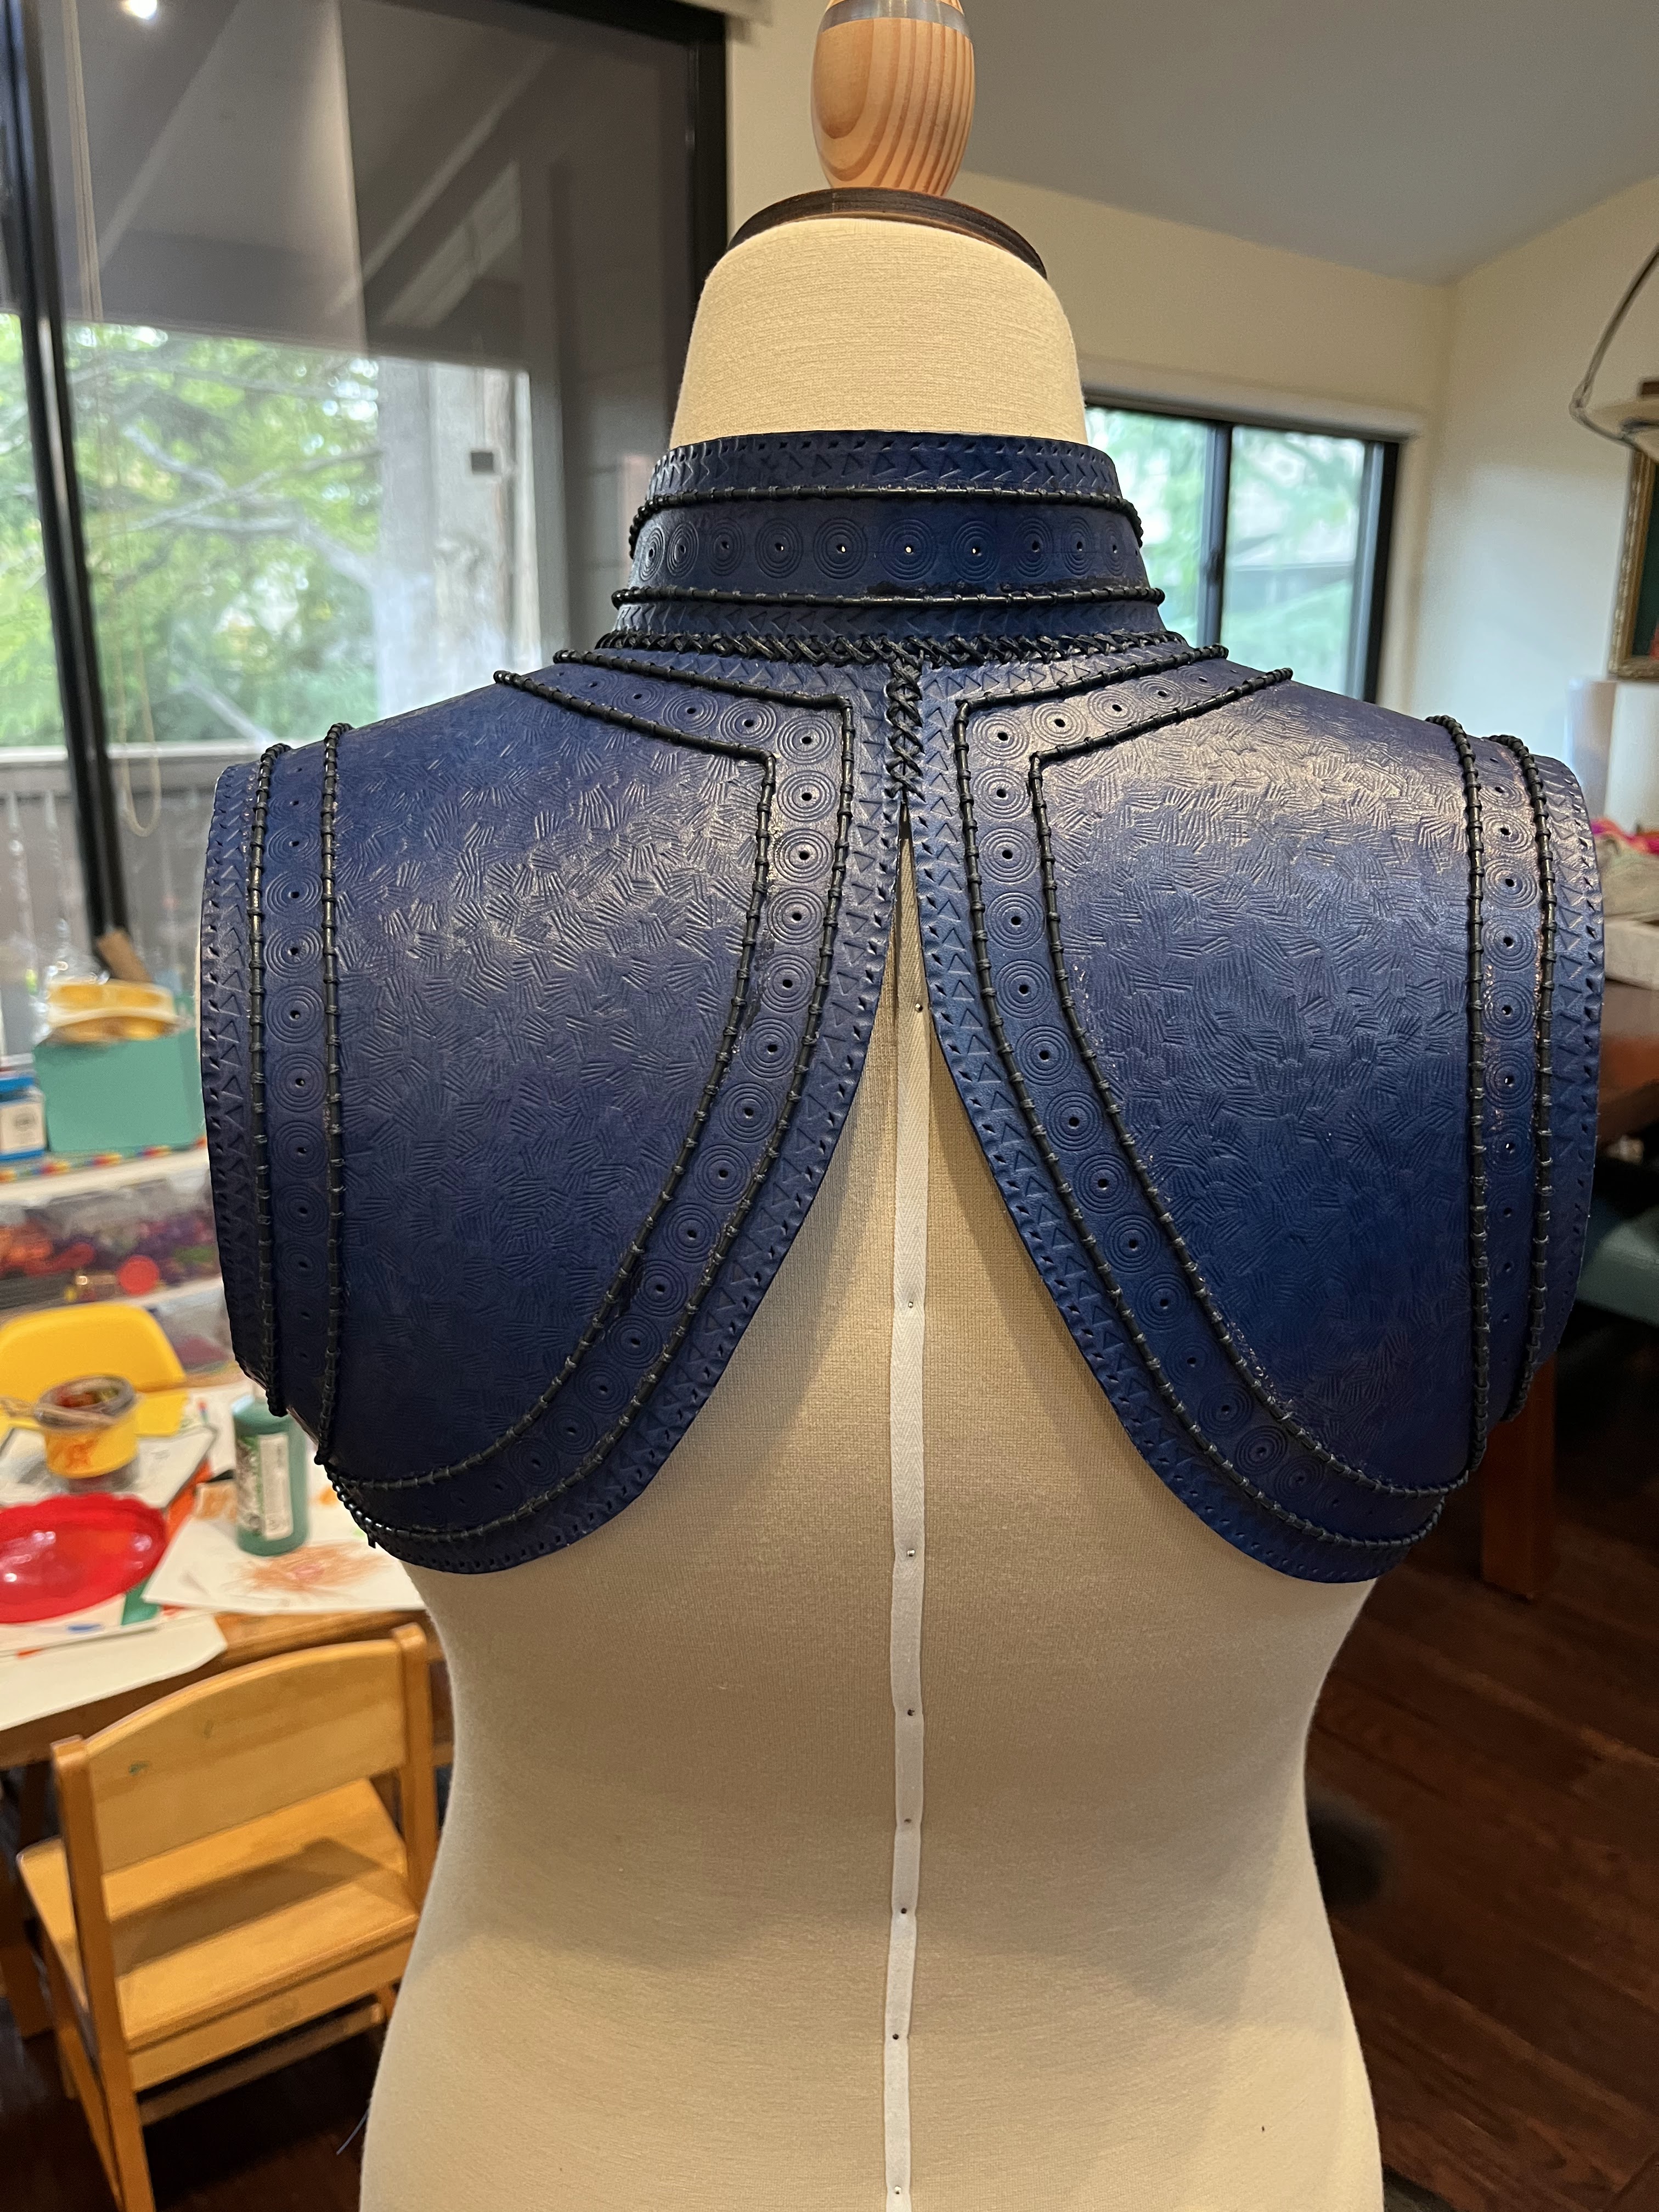
So the final order of embellishment from outside to inside of the bolero is:
- diamond shaped holes (a very standard kind of leather punch. 6mm is also a pretty standard spacing distance for hole punches, so I bought a 6mm punch set).
- equilateral triangles (which did not exist anywhere as a punch, and I had to buy one special from etsy)
- a couched cord. The actual one used a hole on each side of the couching, but for ease (aka lazyness) I went with one hole because that meant half the number of punches necessary
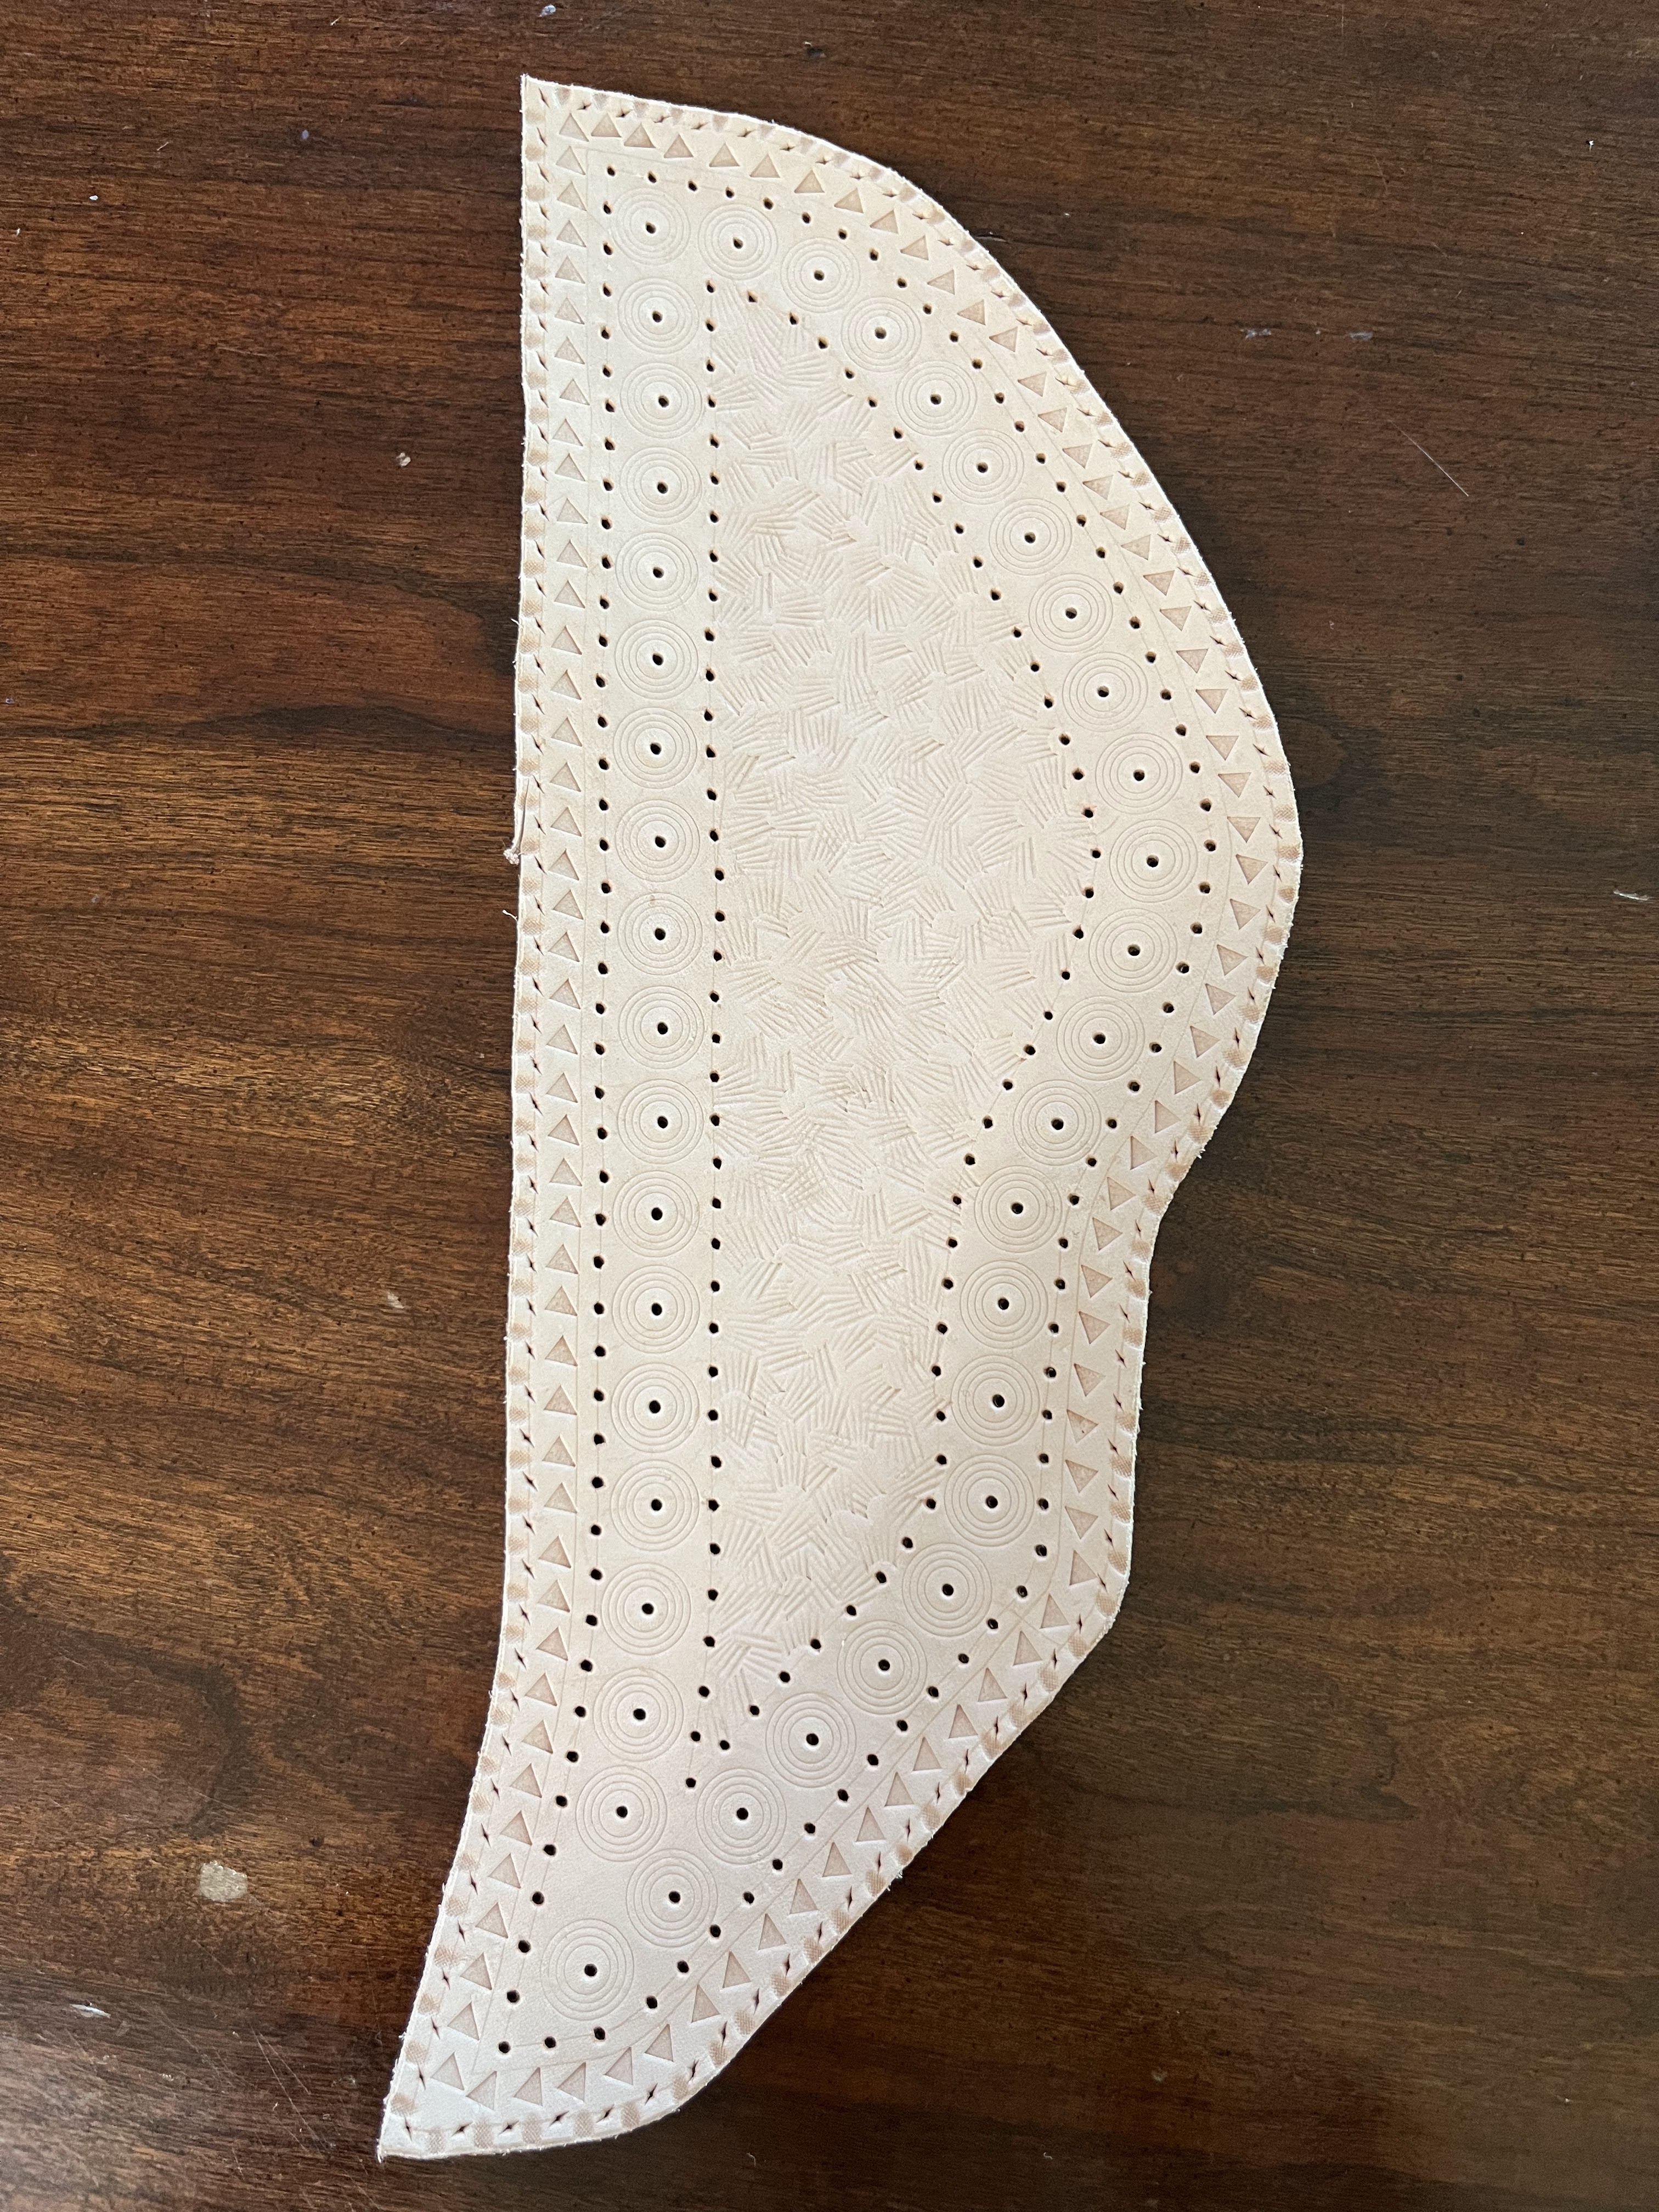
- a stamp of 4 concentric circles with a pearl chip in the middle. Turns out concentric circle stamps also don’t exist, so I ordered this custom from etsy as well (to avoid doing 4 separate stamps for each circle)
- another couched cord
- a stamp with lines in a shell shape applied randomly to add some texture
In order to make sure my spacing between all those elements was good and to get some practice, I made some arm bracers in the same pattern as a wearable mockup.
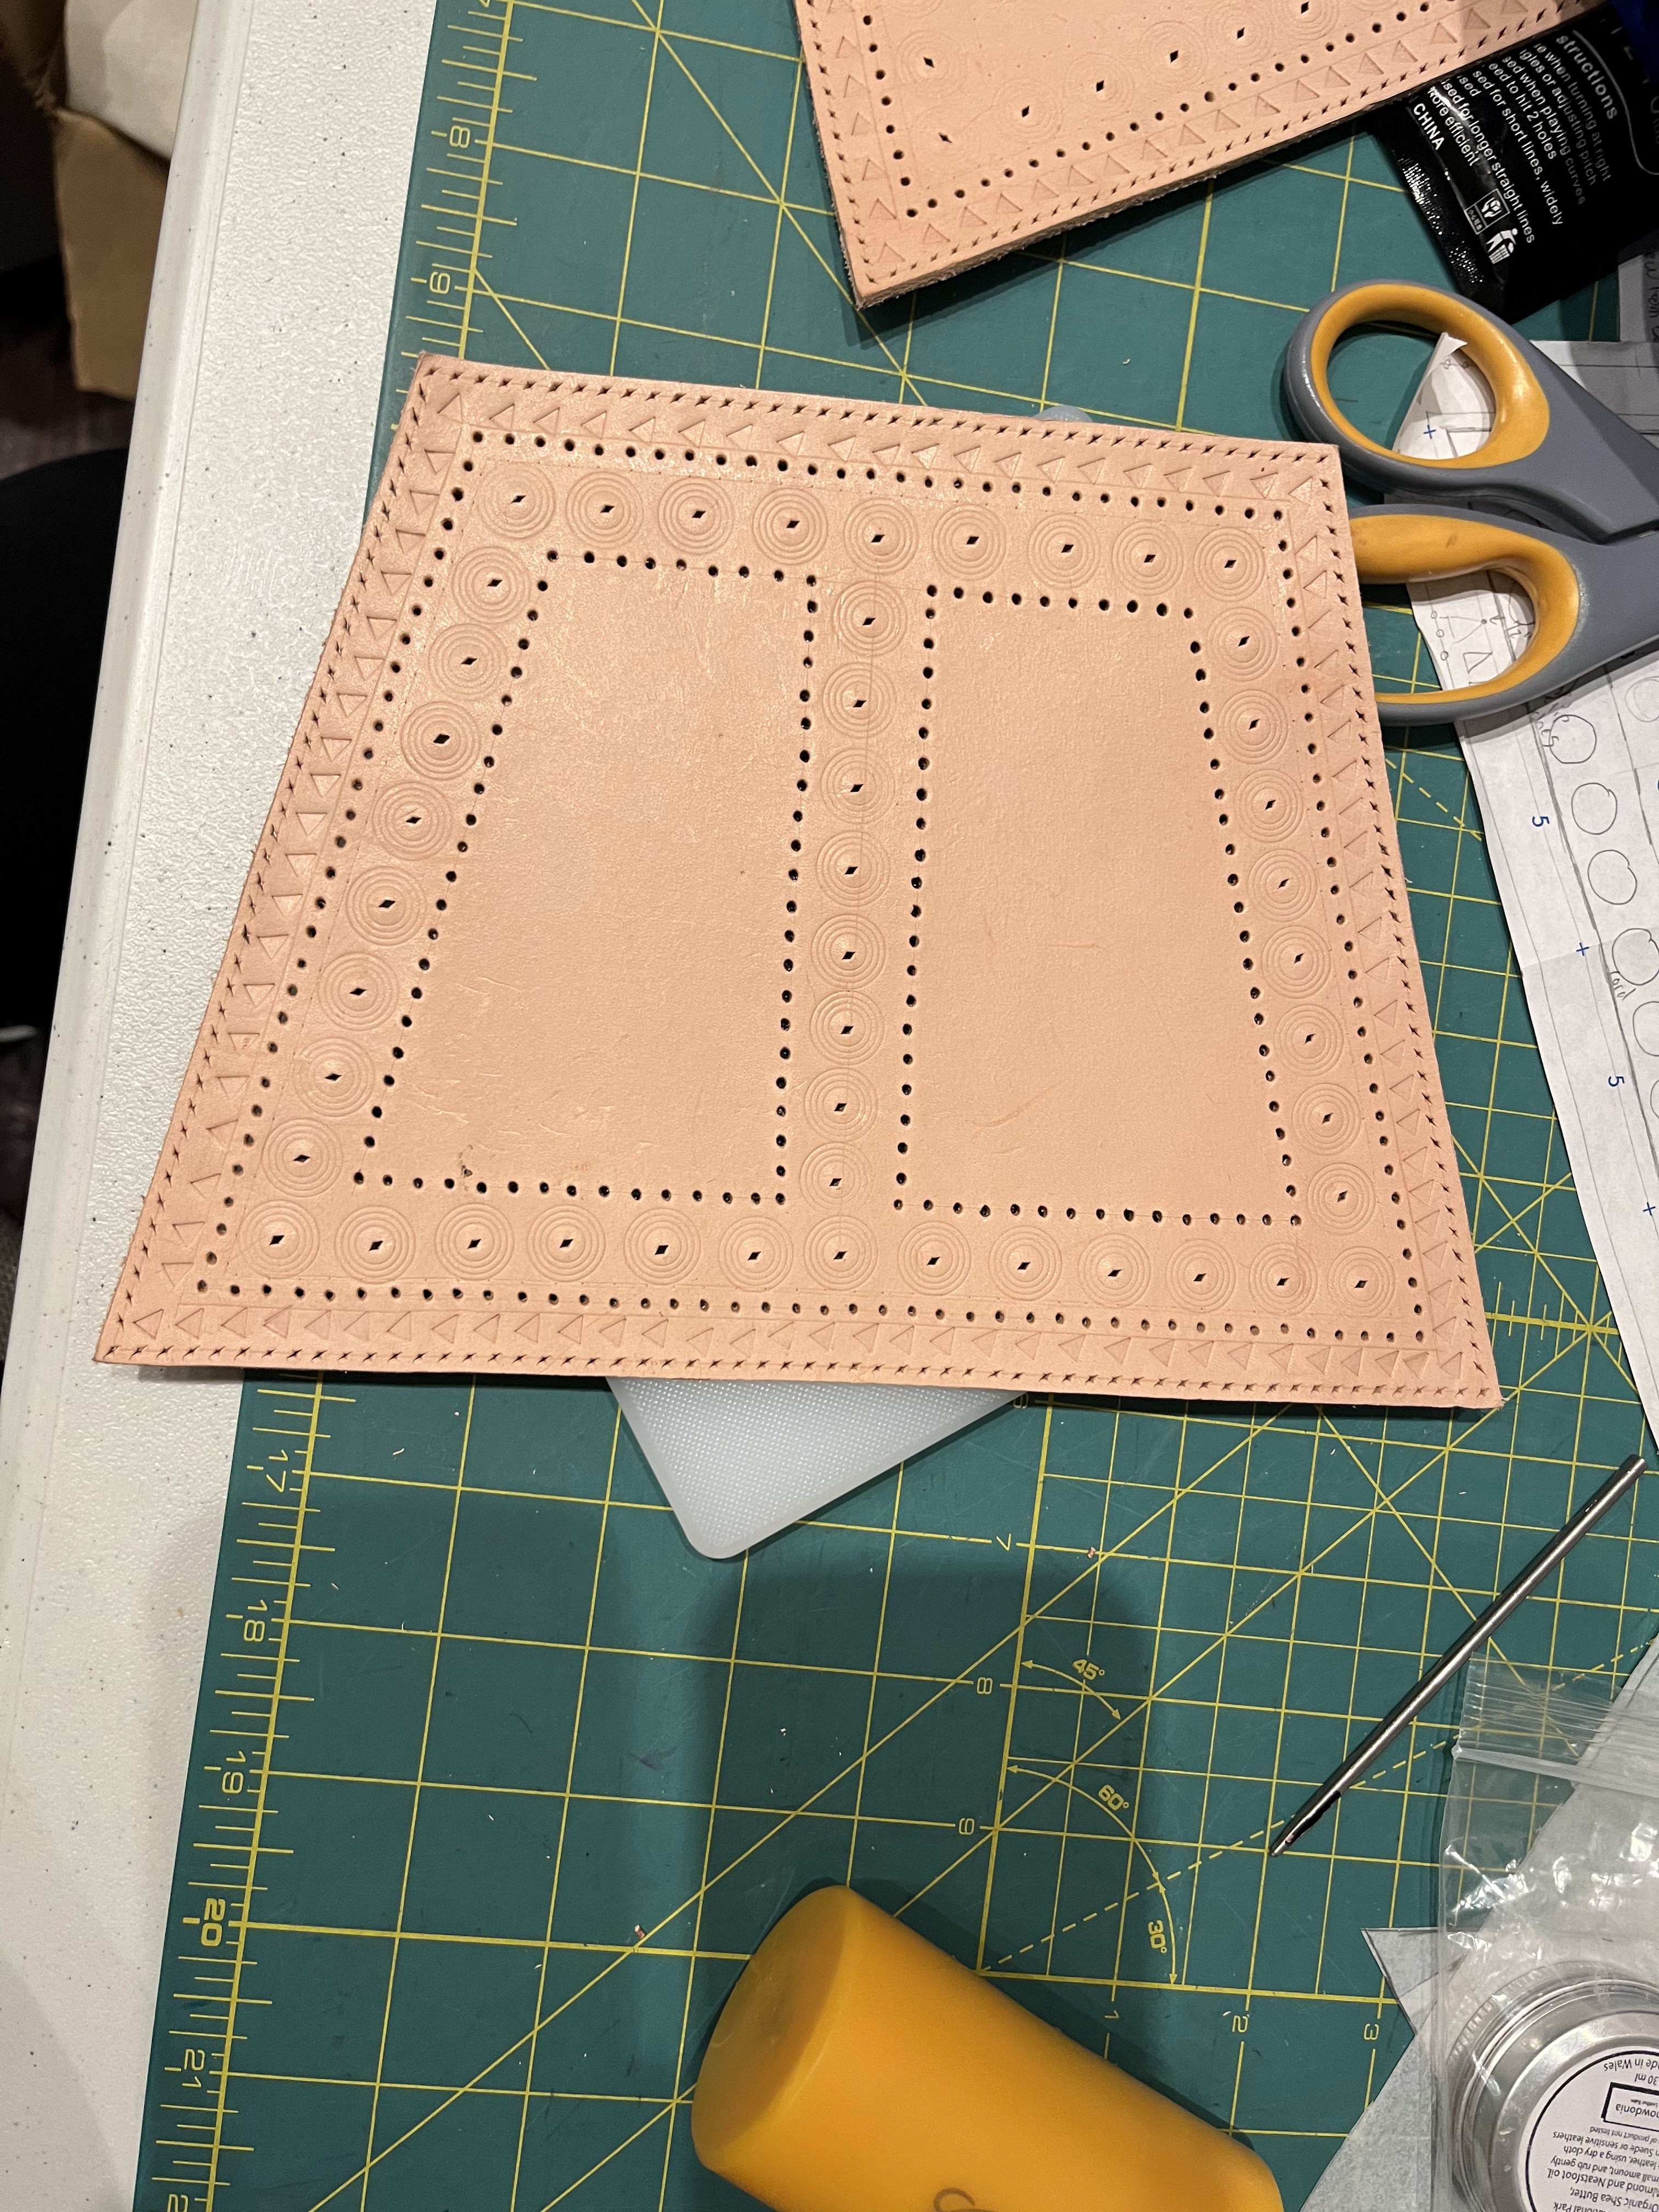
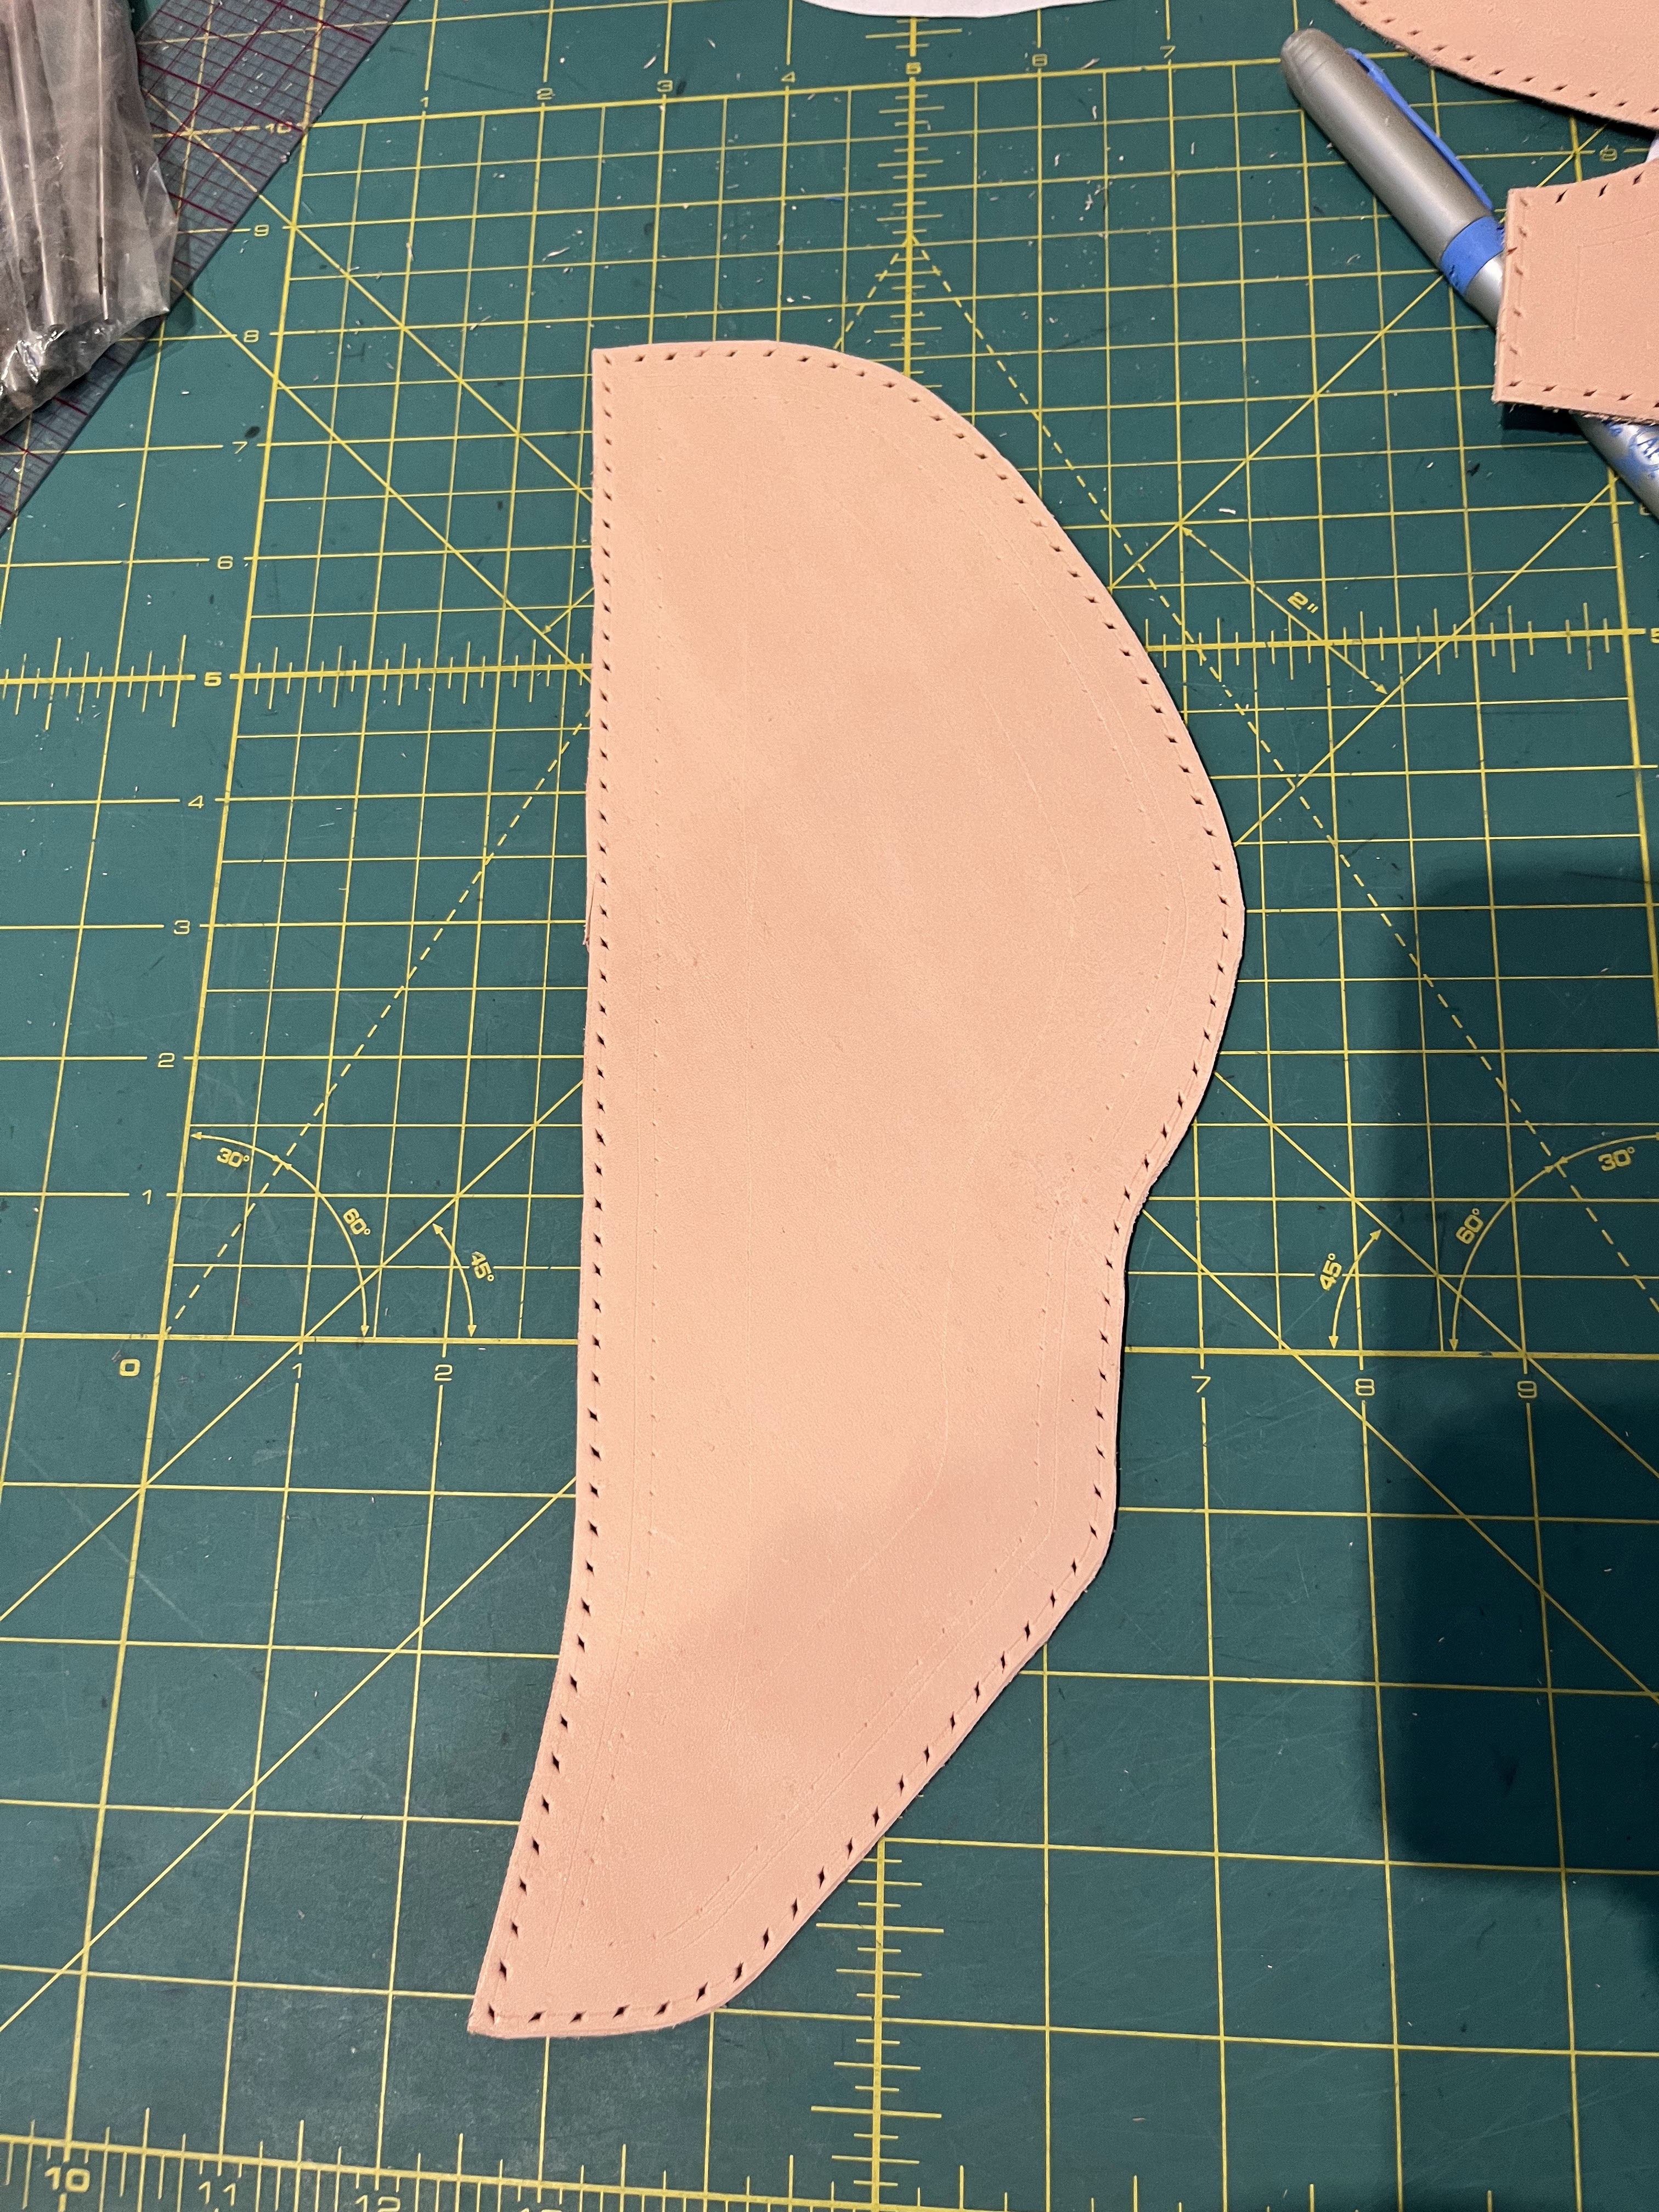
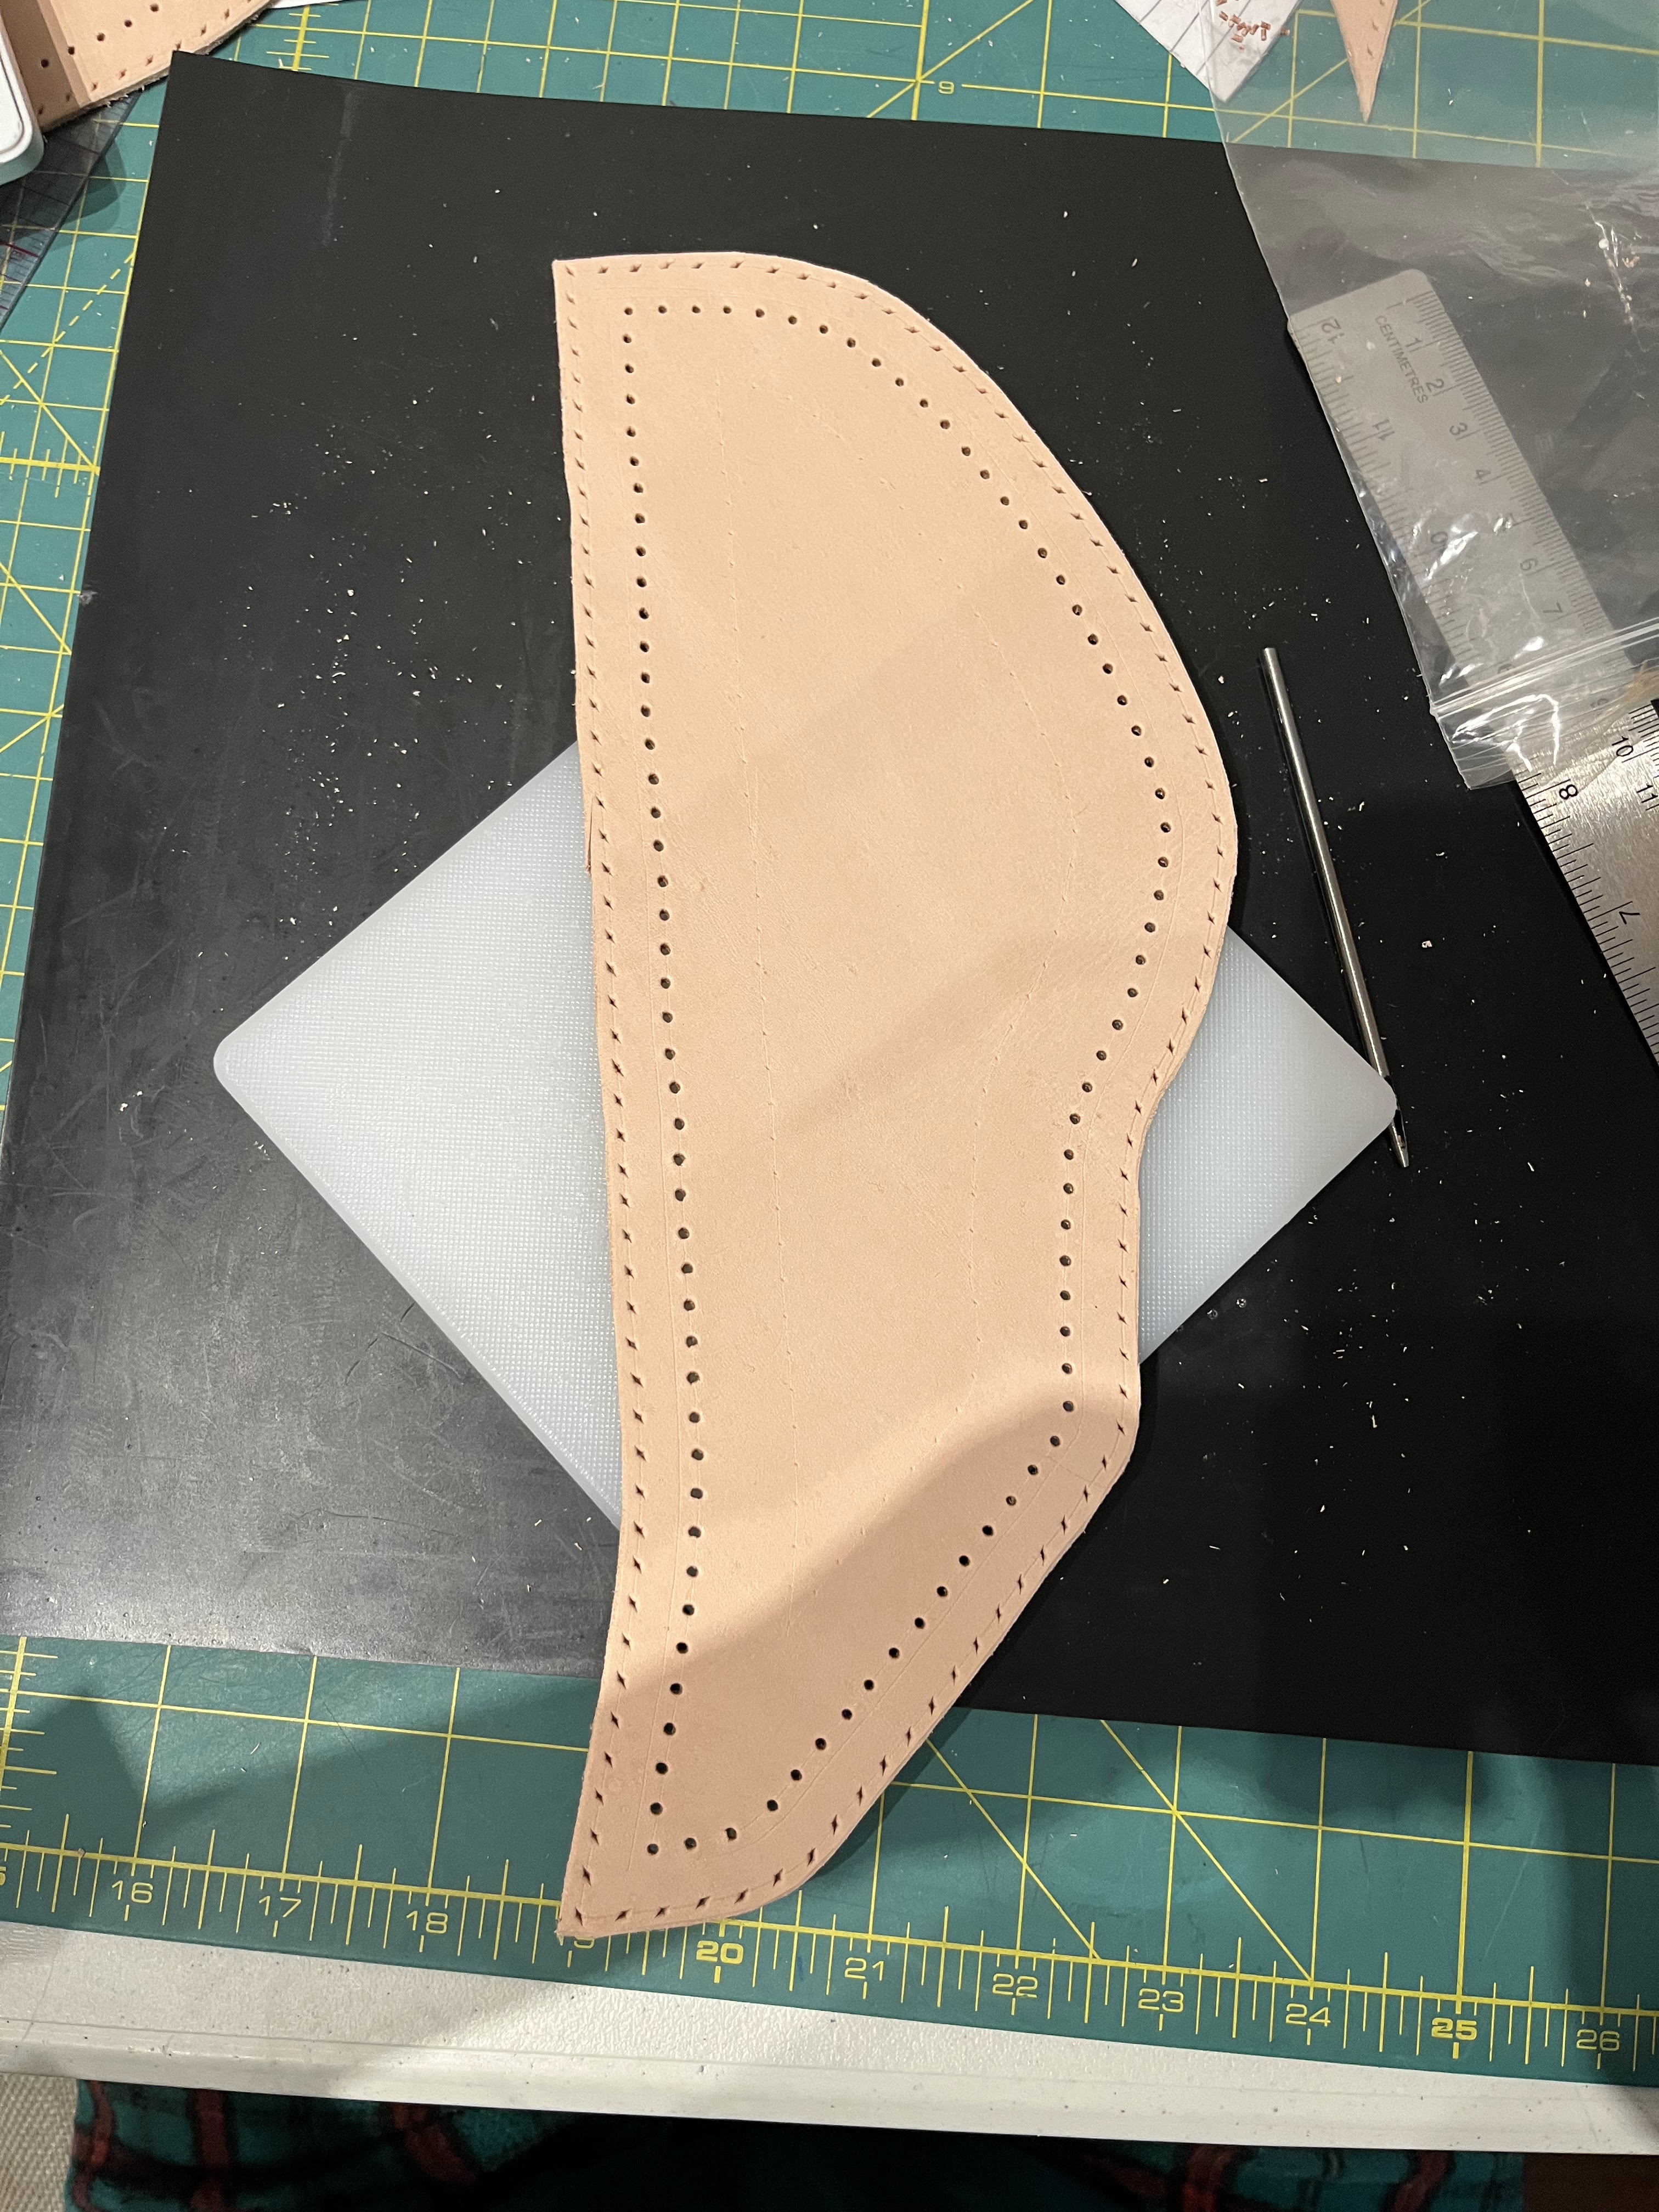
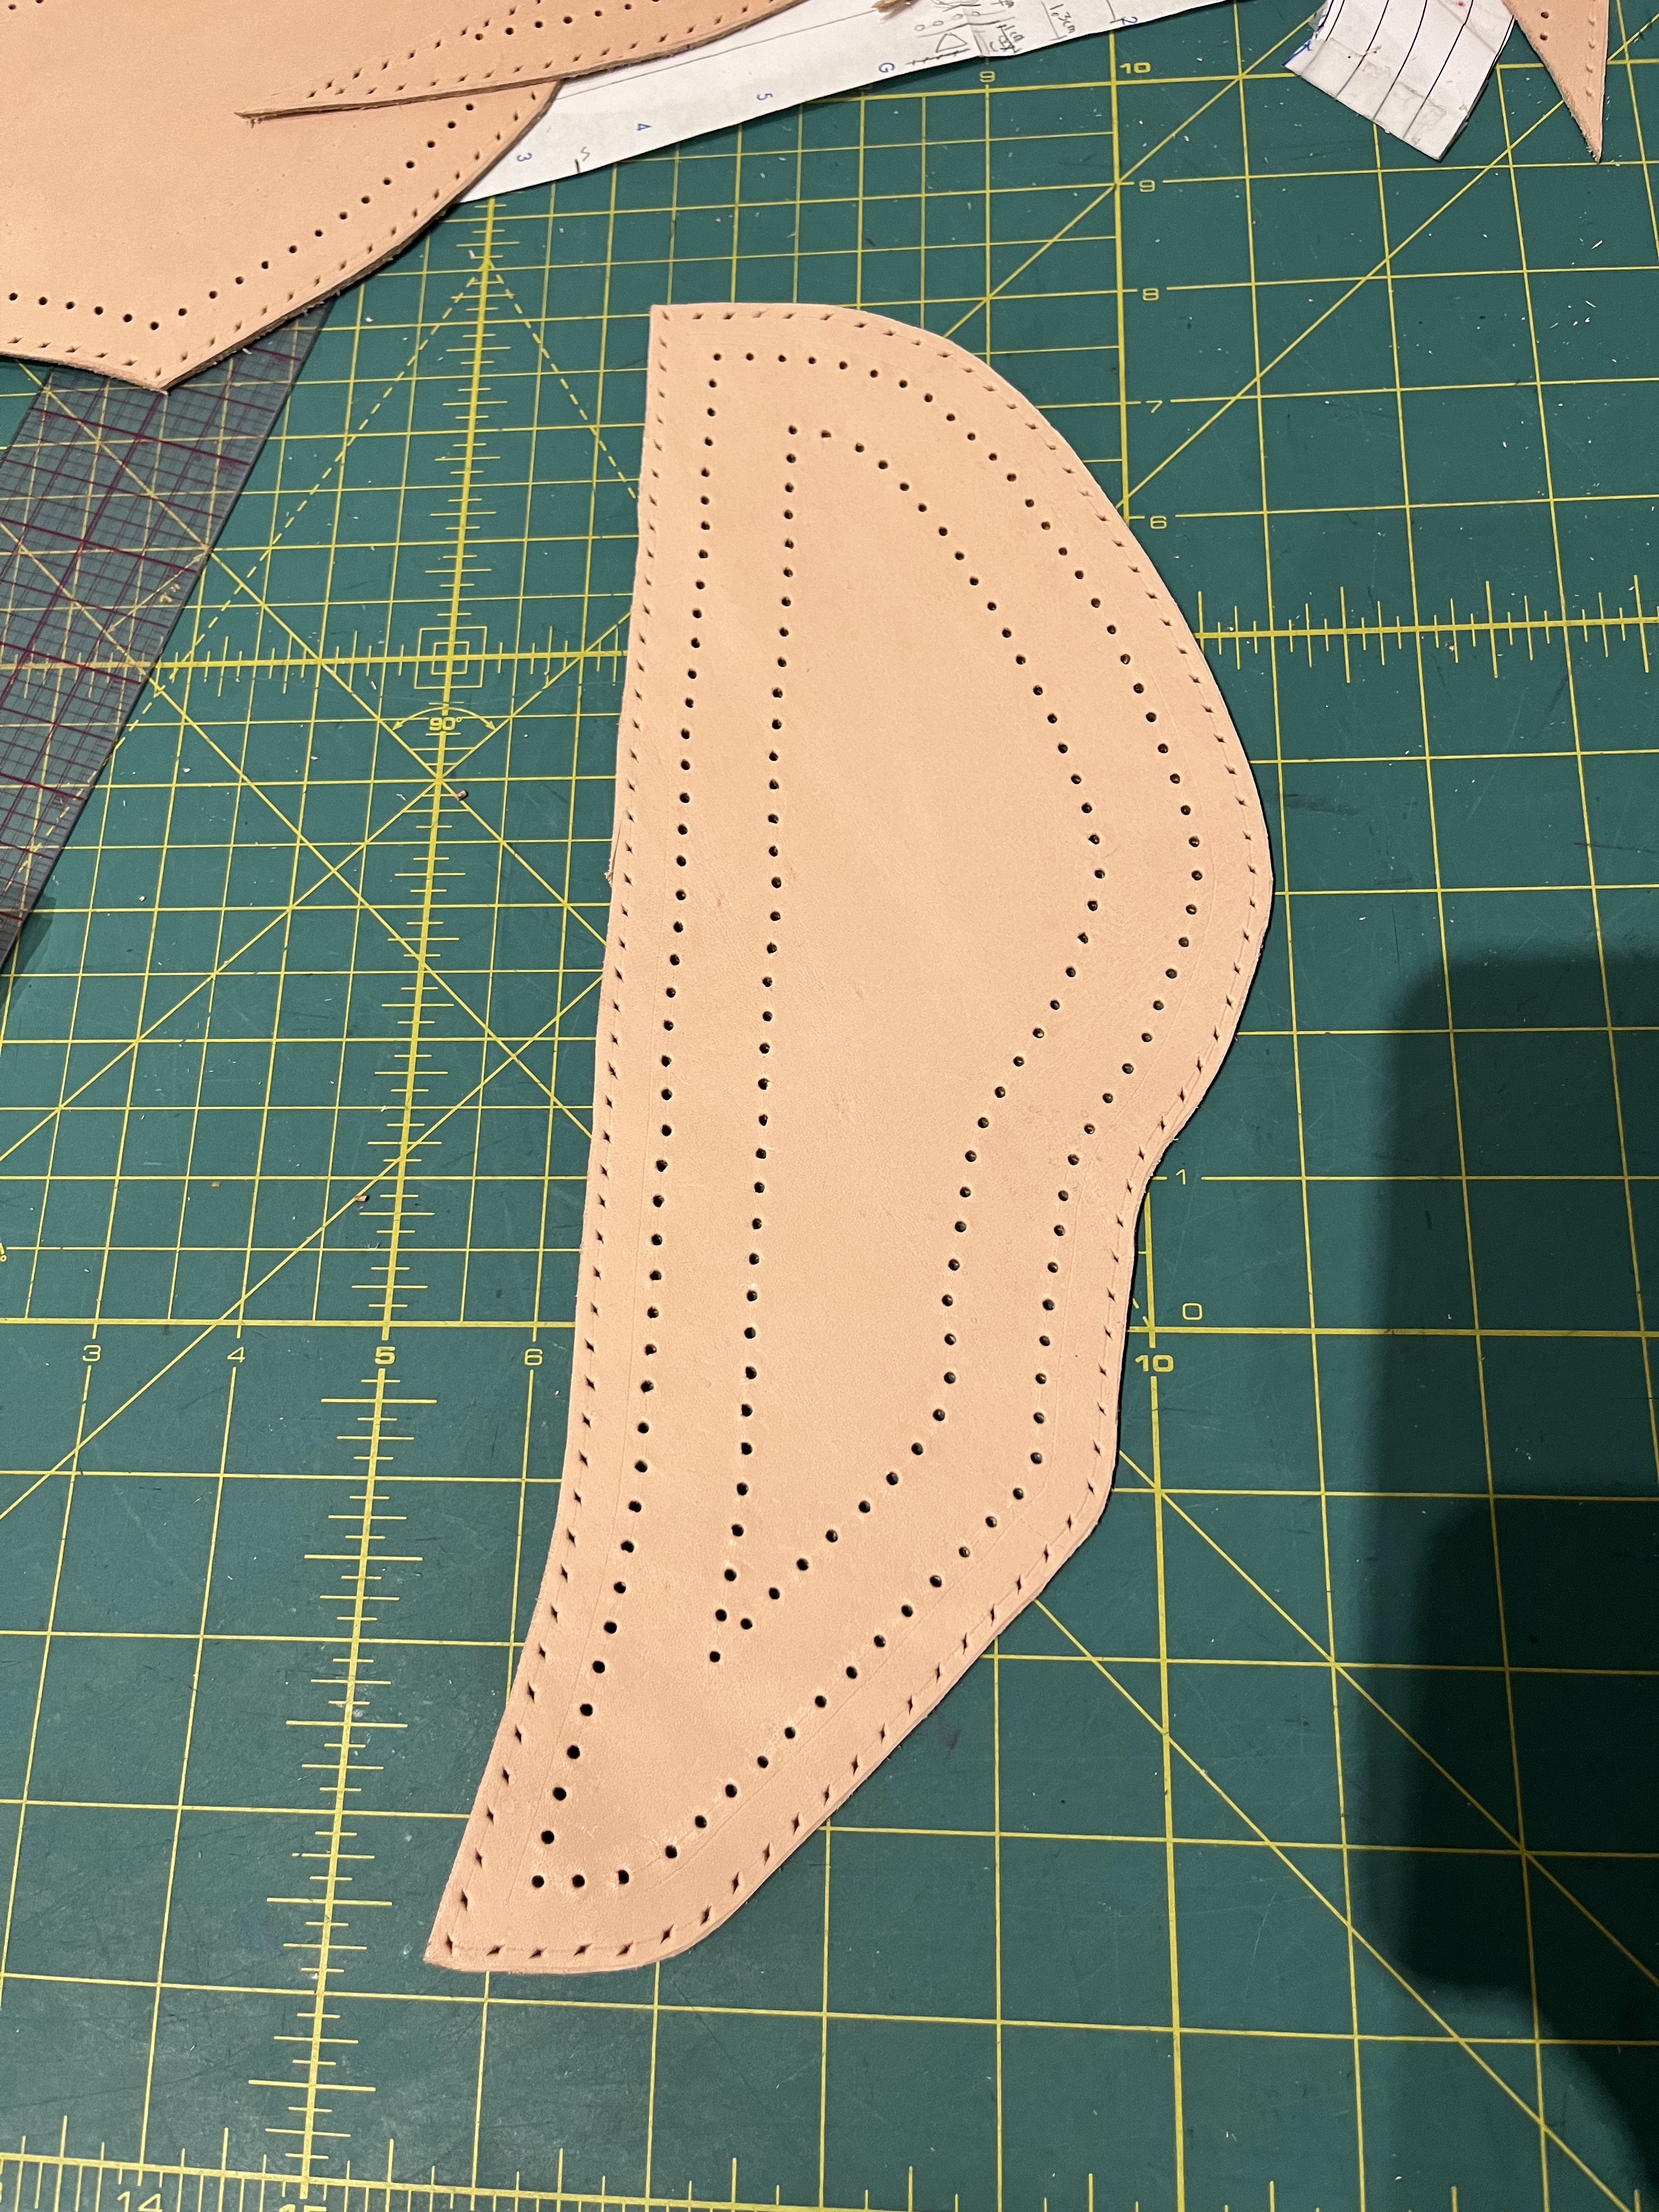
Then I cut out all my leather pieces and began the very slow process of doing the punching and stamping on each. For pieces that attached, I was very careful to match up my pieces to have a matching number of holes (man did I miss working with Dieselpunk patterns which do all this work for you…)
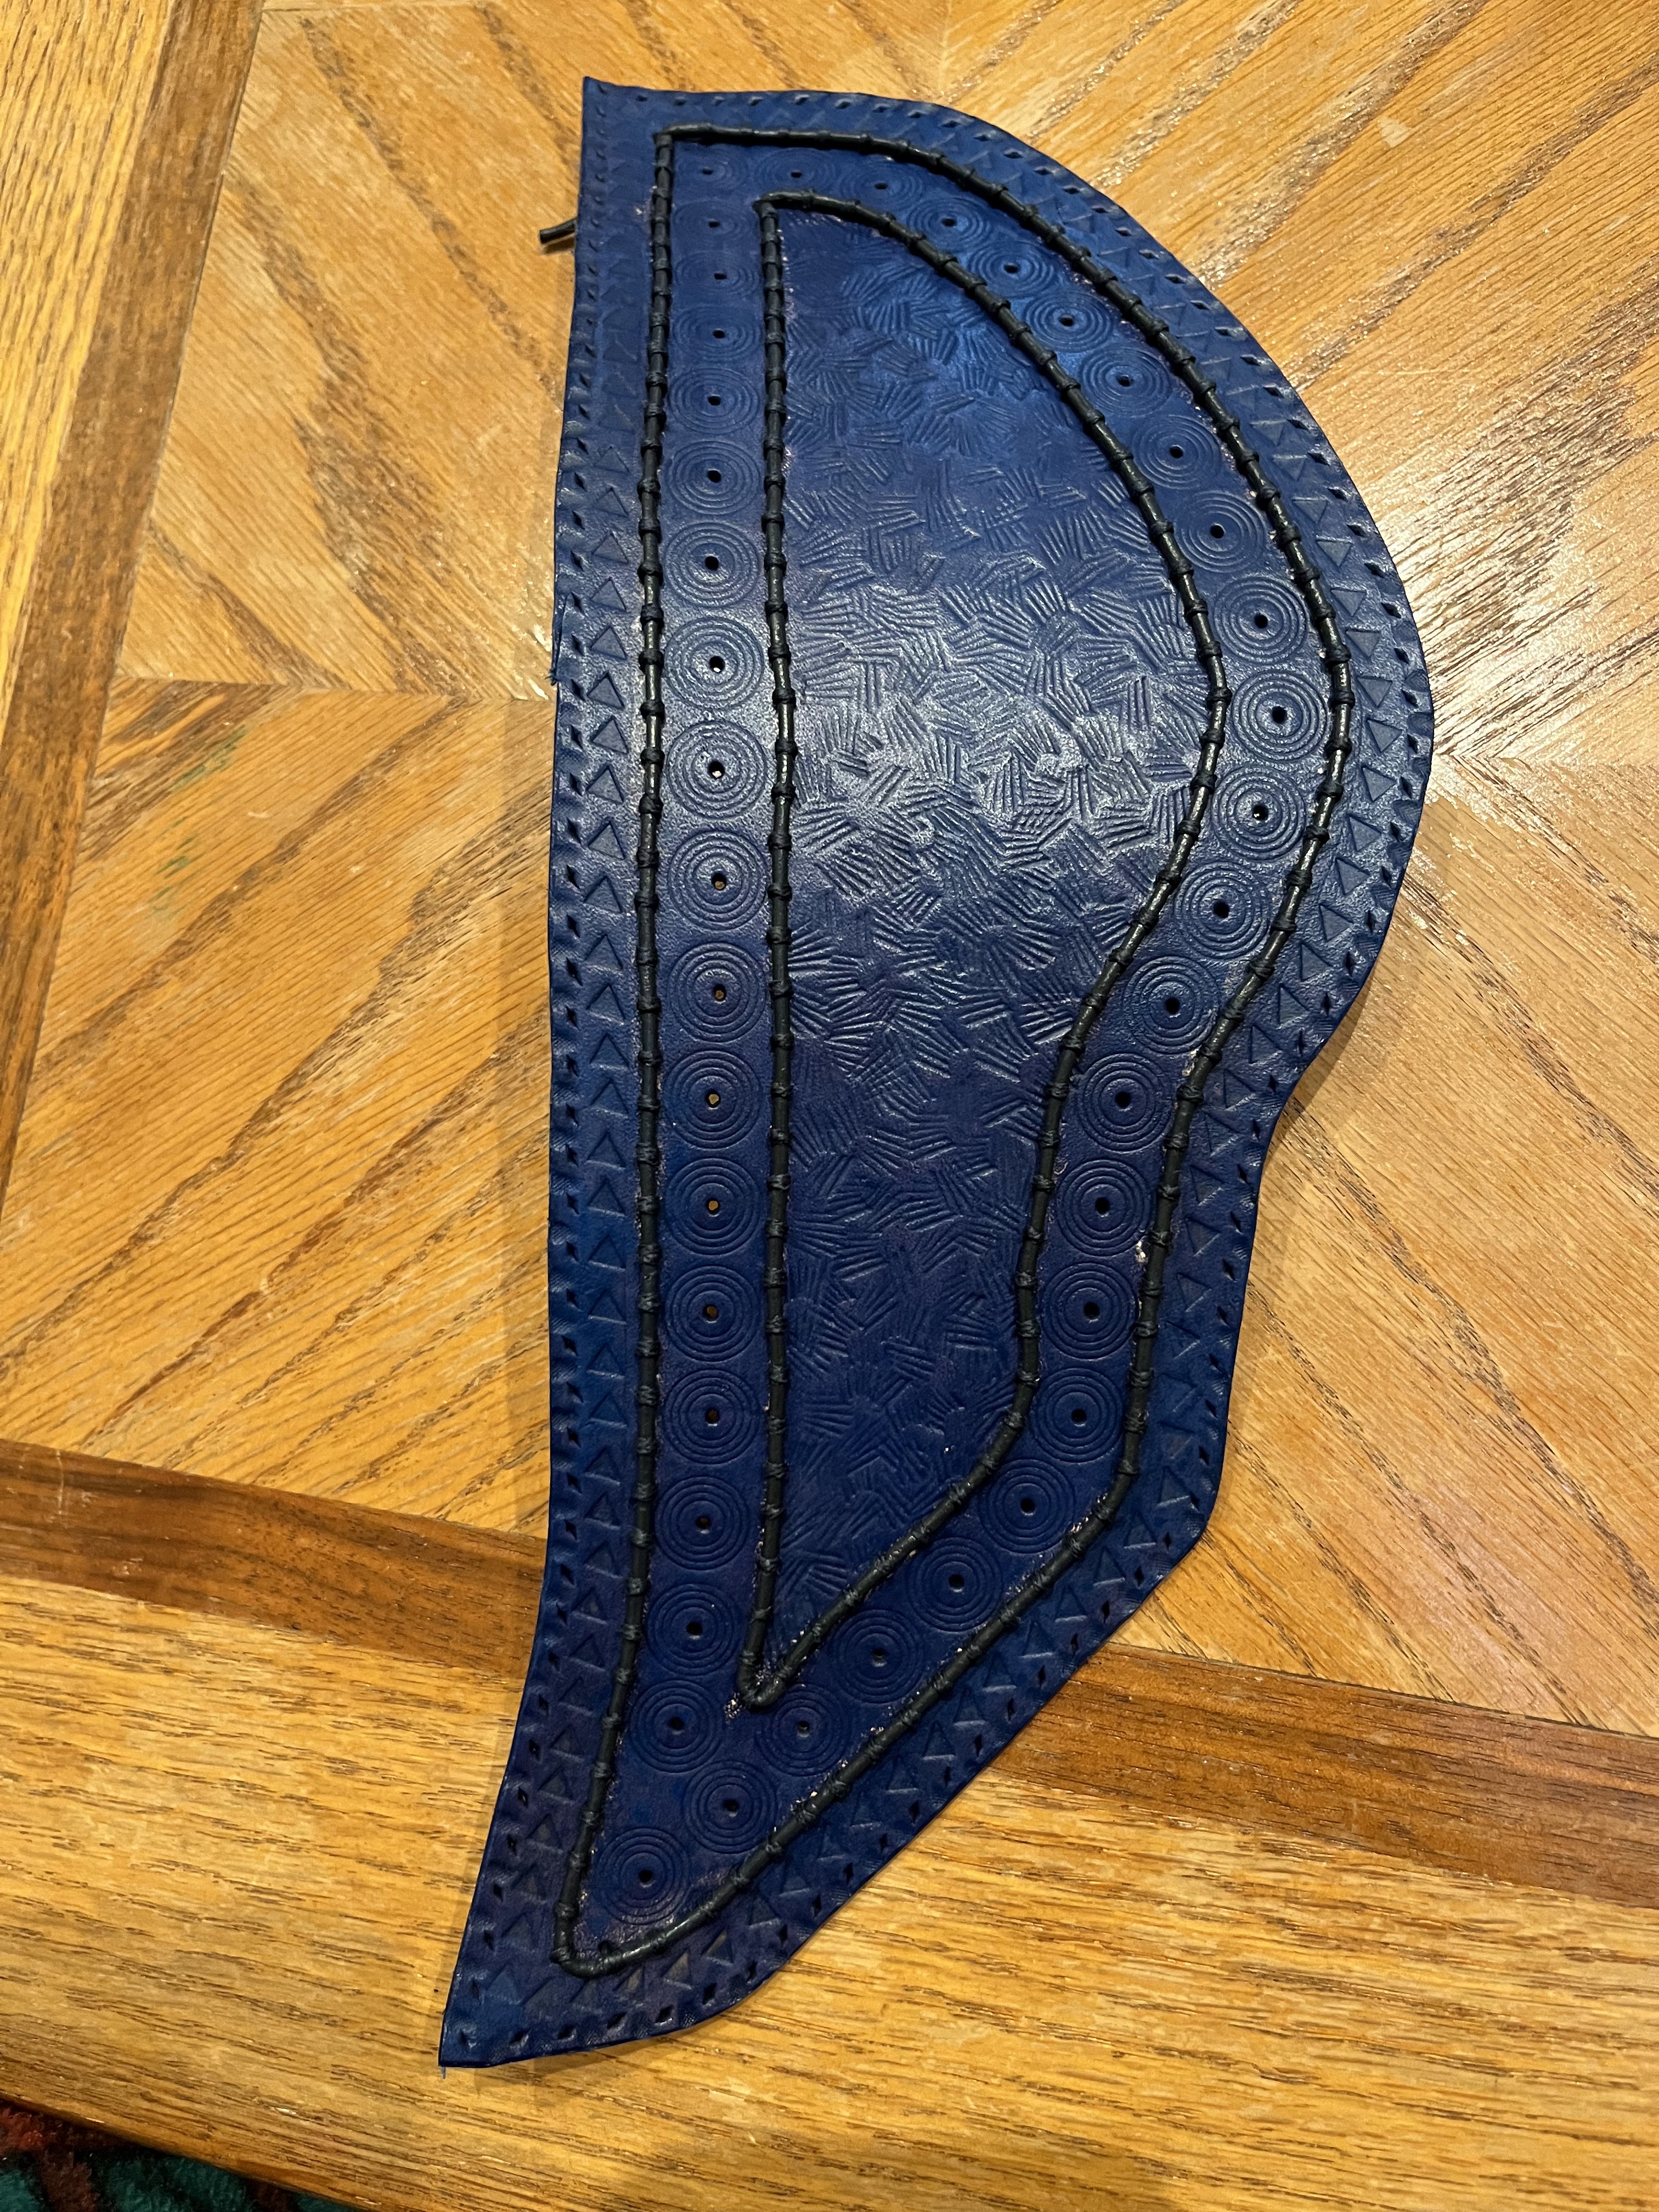
Dying time! I used navy dye with just a smidge of black to darken it. I think I ended up doing three coats. I covered my dress forms in a plastic bag and pinned the pieces on to dry in the right shape, since leather curves and shapes very easily when wet and will stay that way when dry.
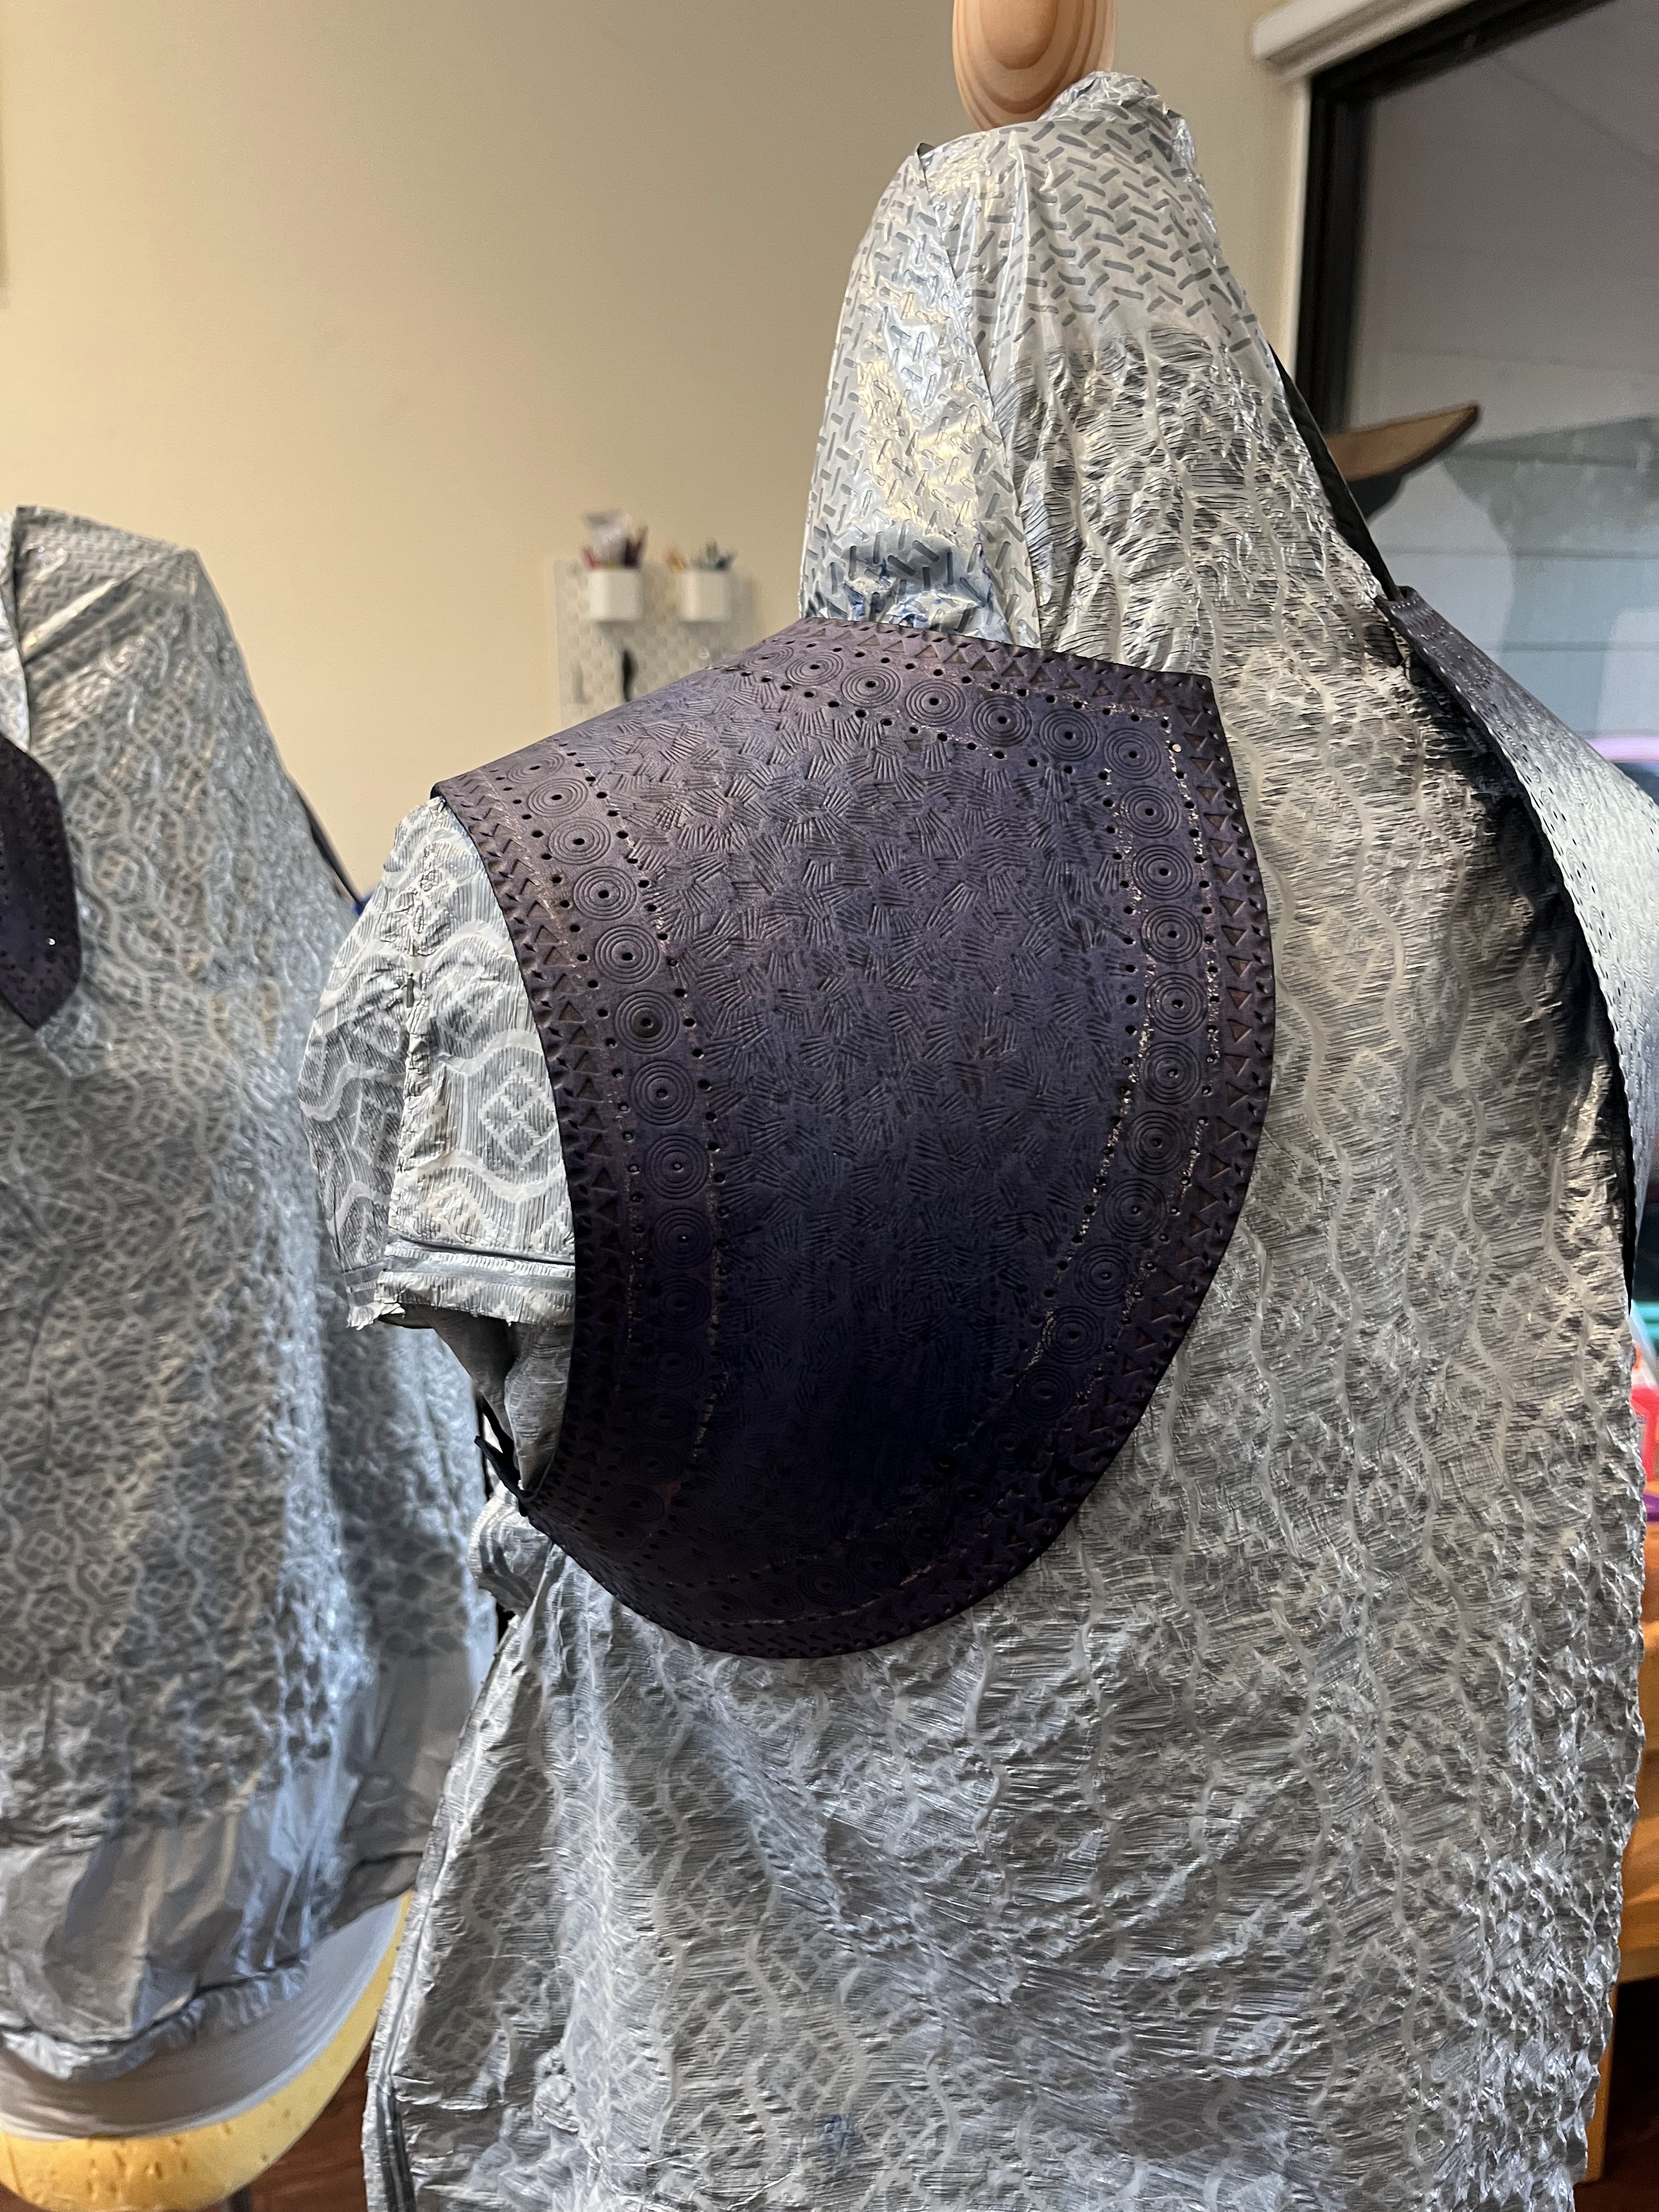

Then each piece had the edges waxed and burnished. I applied resolene to the inside (a liquid plastic) to seal it so the dye wouldn’t come off on my dress. On the outside I used mink oil to finish and condition it while keeping it shiny.
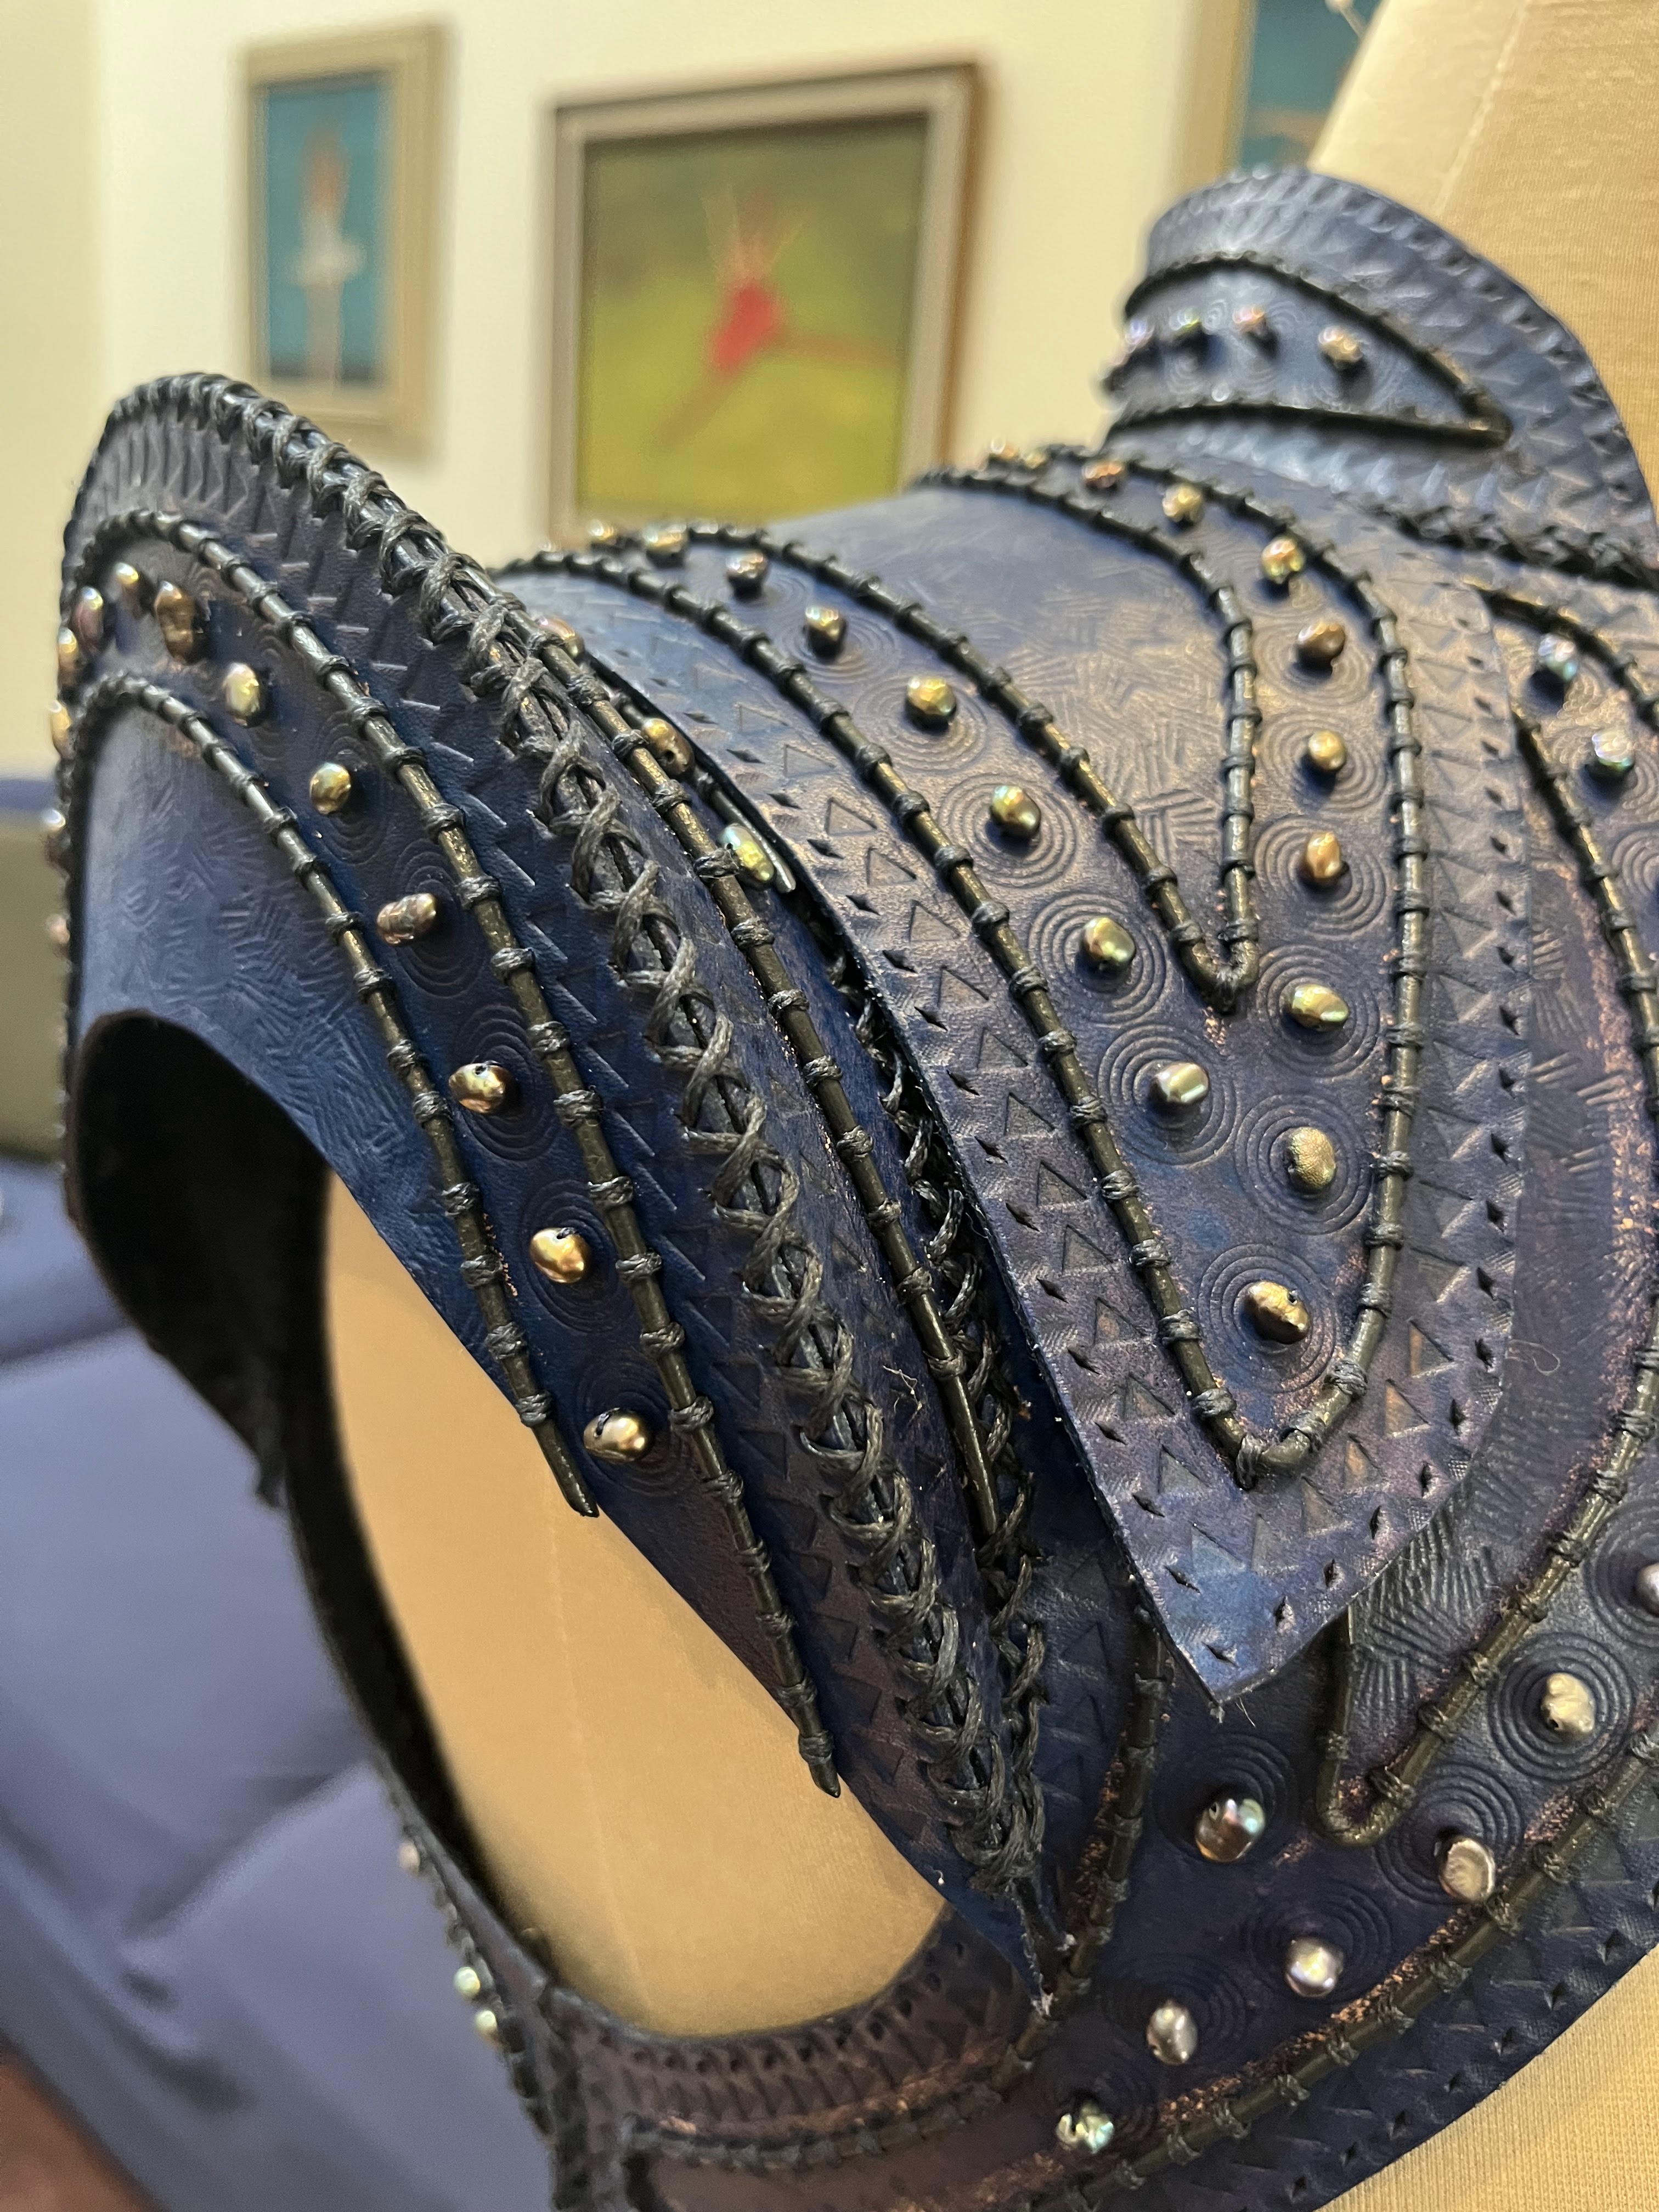
Couching on the cord took hours of meetings. I should have used a narrower thread (like a buttonhole sewing thread) instead of the heavy waxed leather sewing thread because it was too thick and I had to use a plier to pull it through the hole each time (and it was a pain to thread the needle).
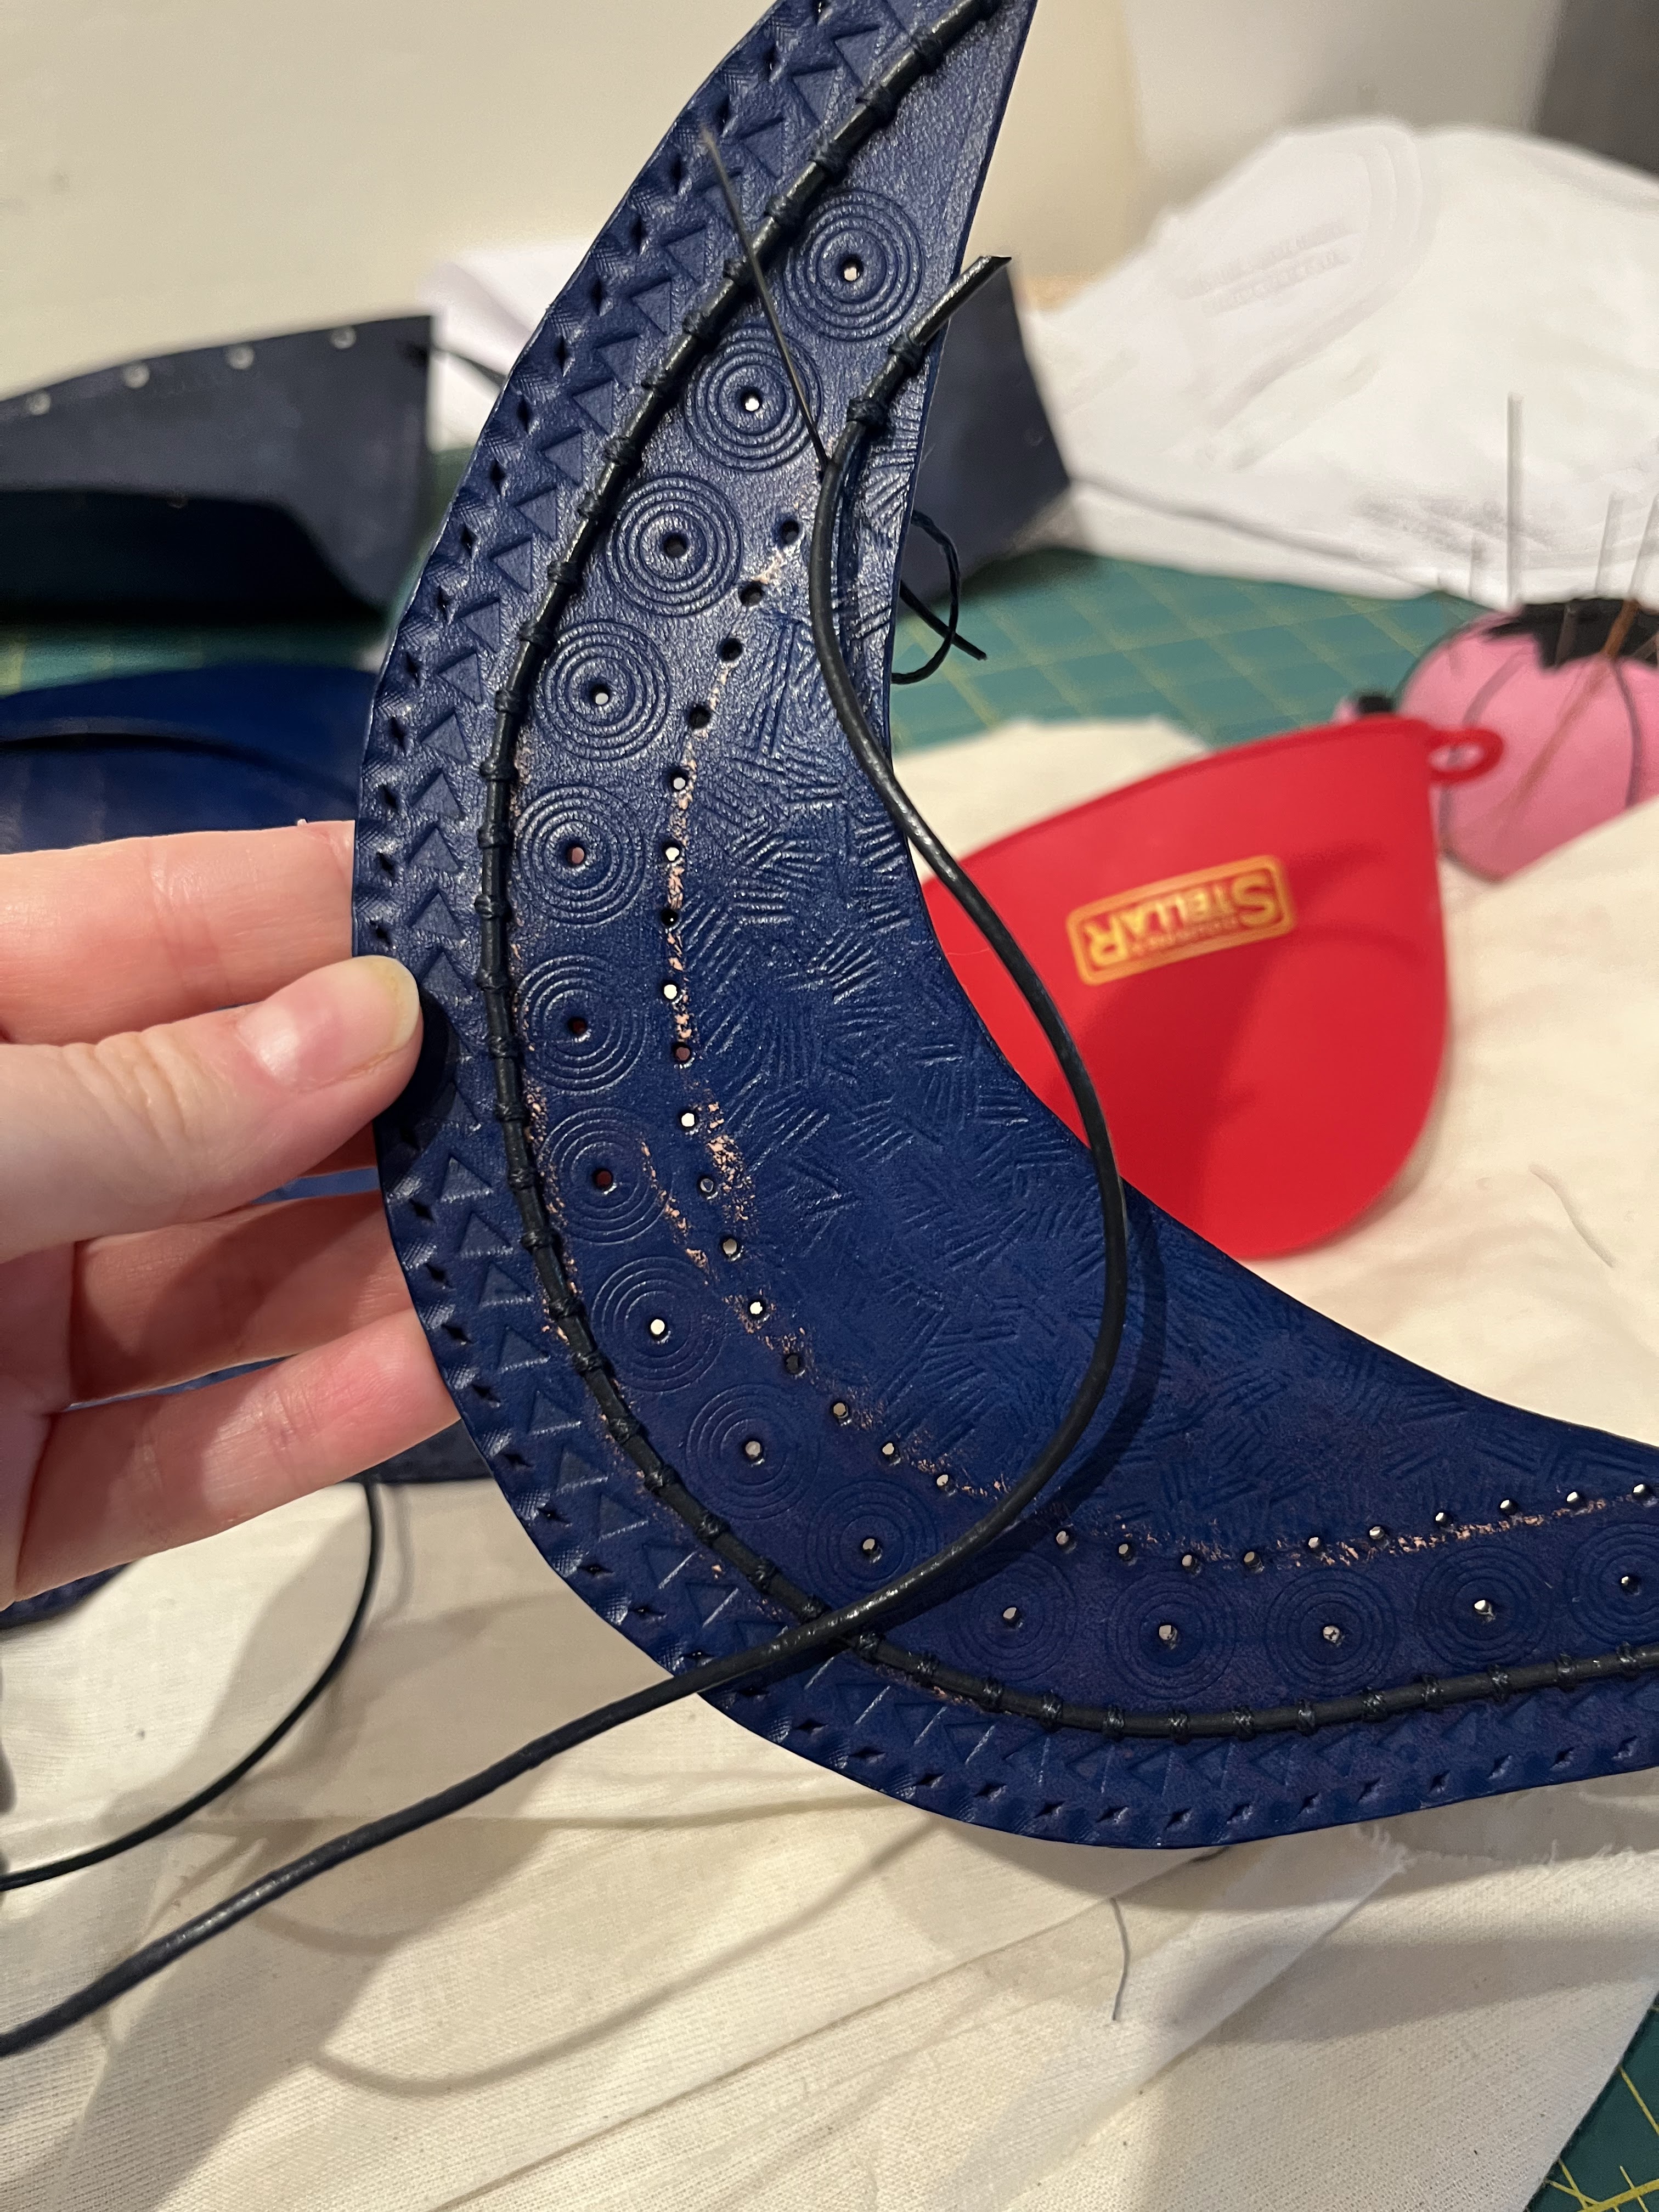

At the corners where the cord ended I punched an extra large hole and just poked the cords through:
Here’s the progression of embellishment on the same shoulder piece from beginning to end:
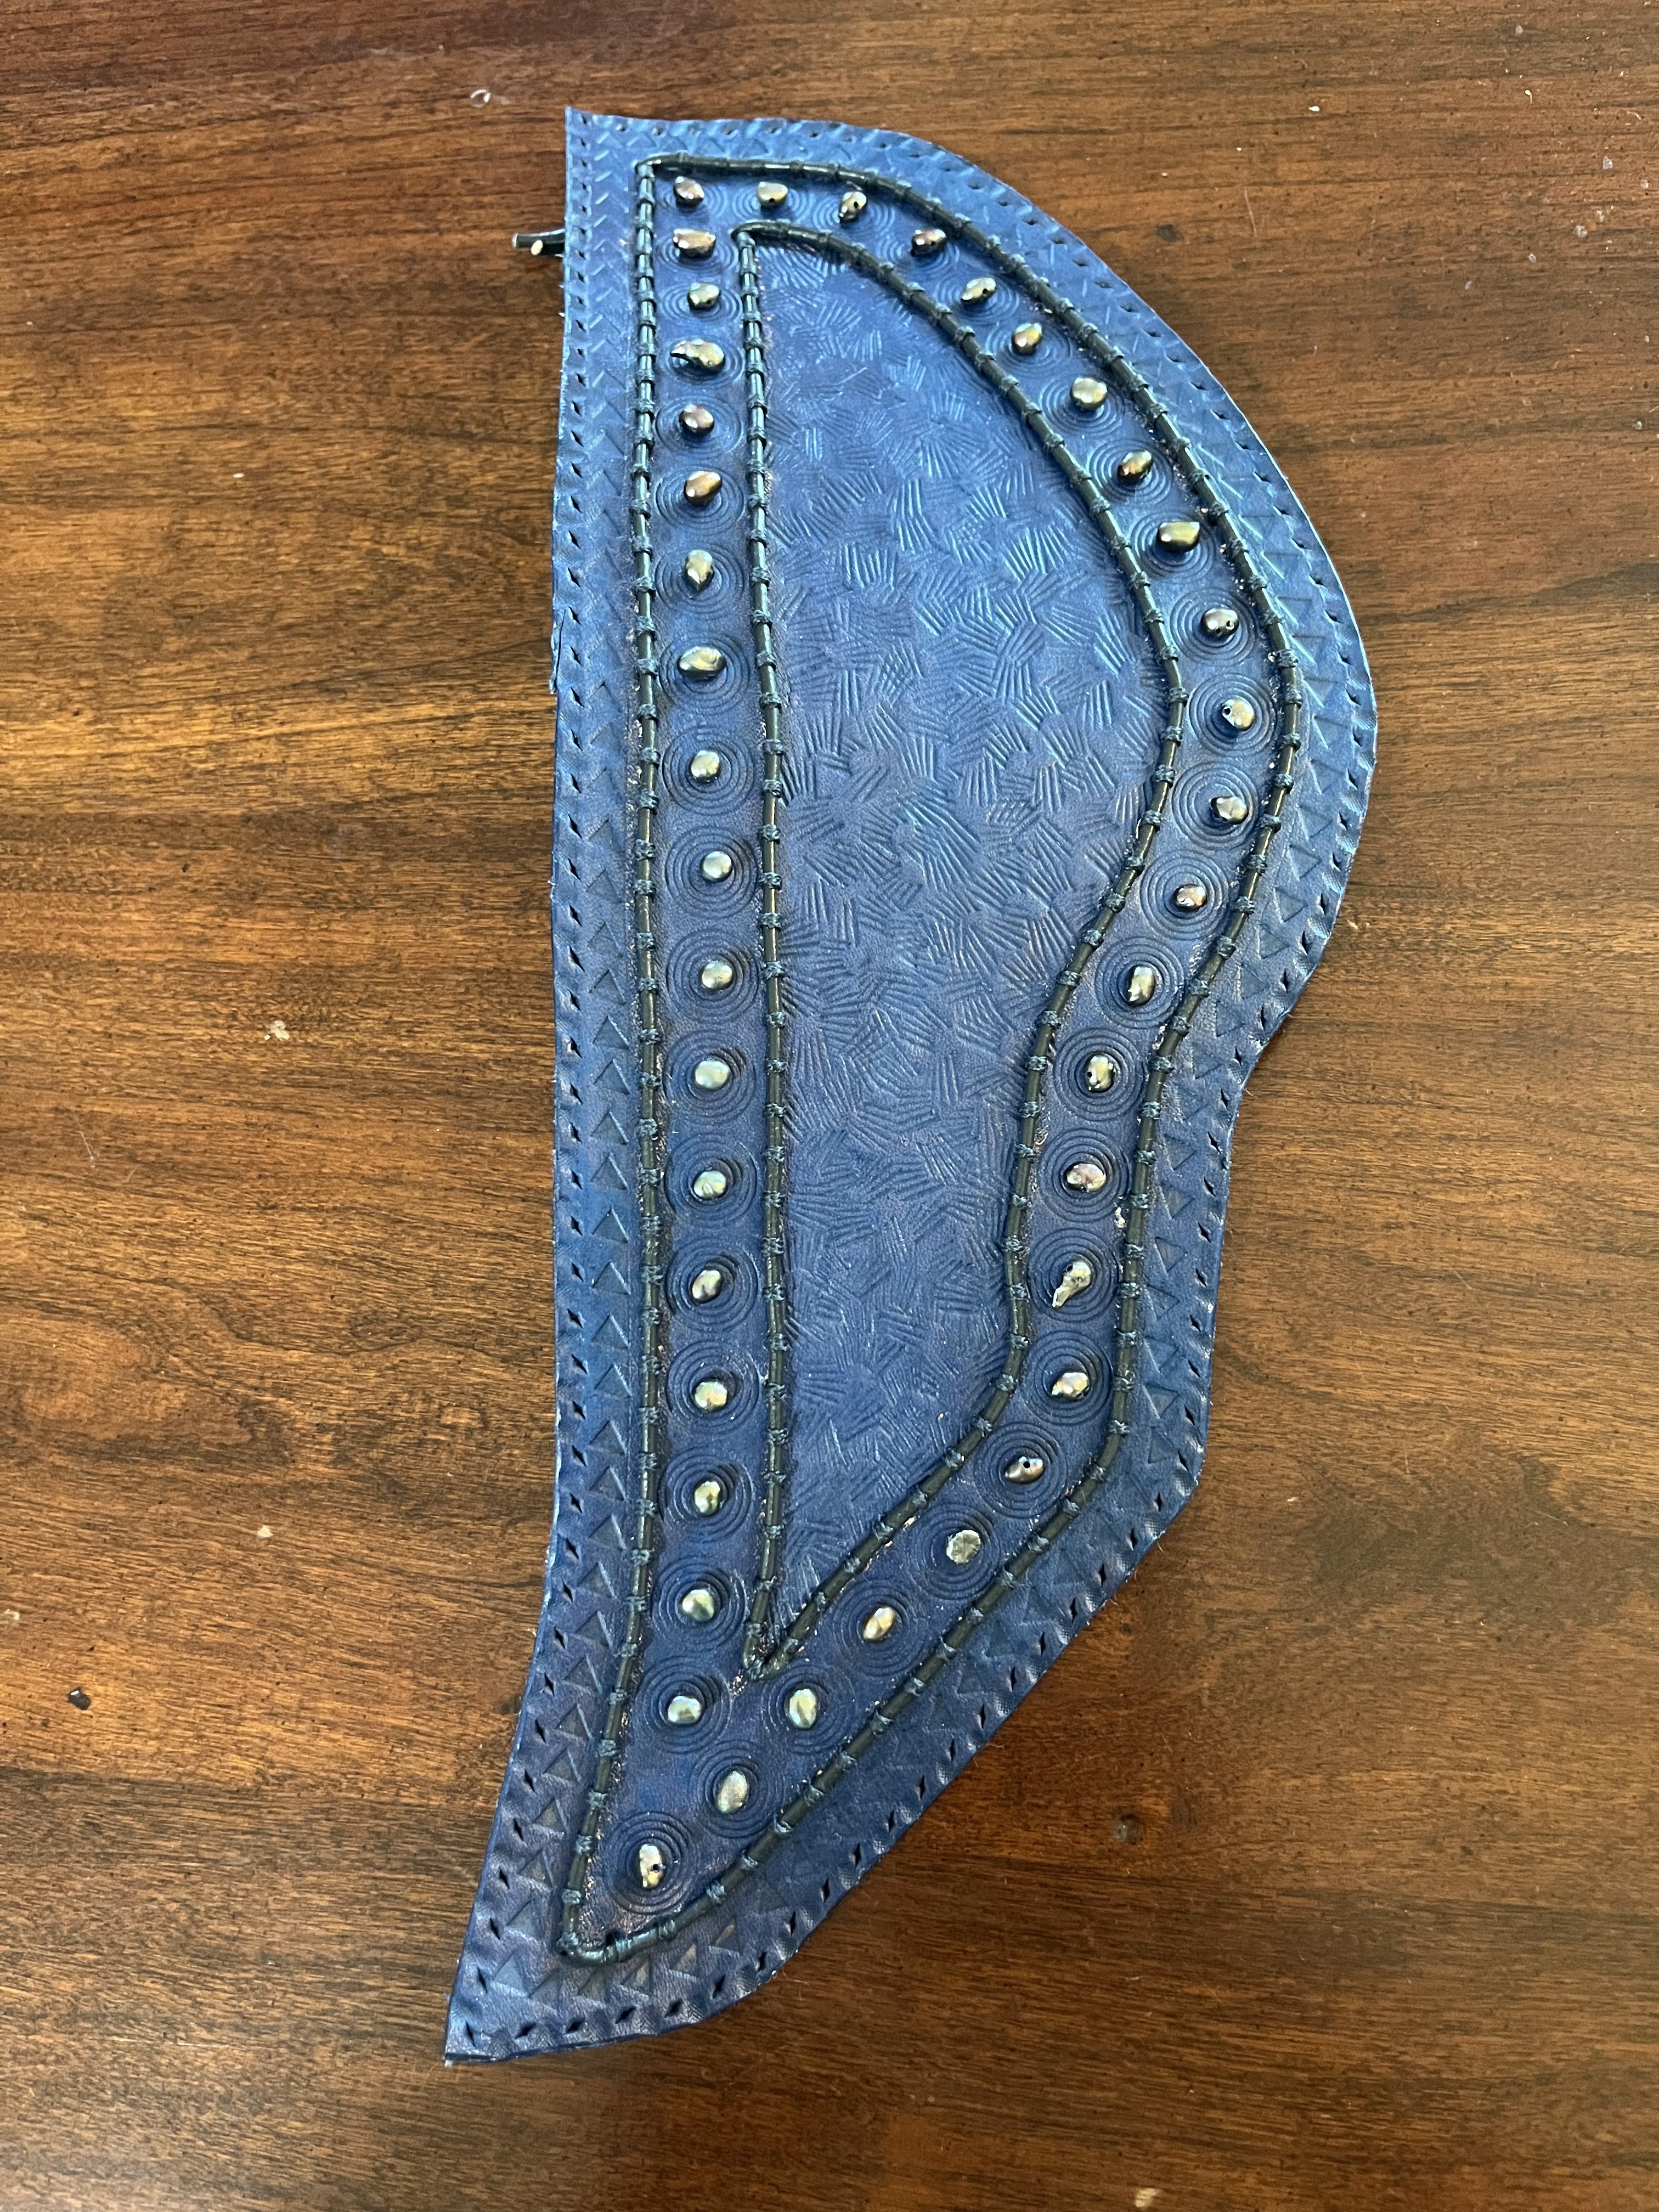
The pearl beads caught on absolutely everything. I wonder if the tv show had a version with painted dots when Moiraine had her hair down, because I had to unwind hair from them at the end of the day!
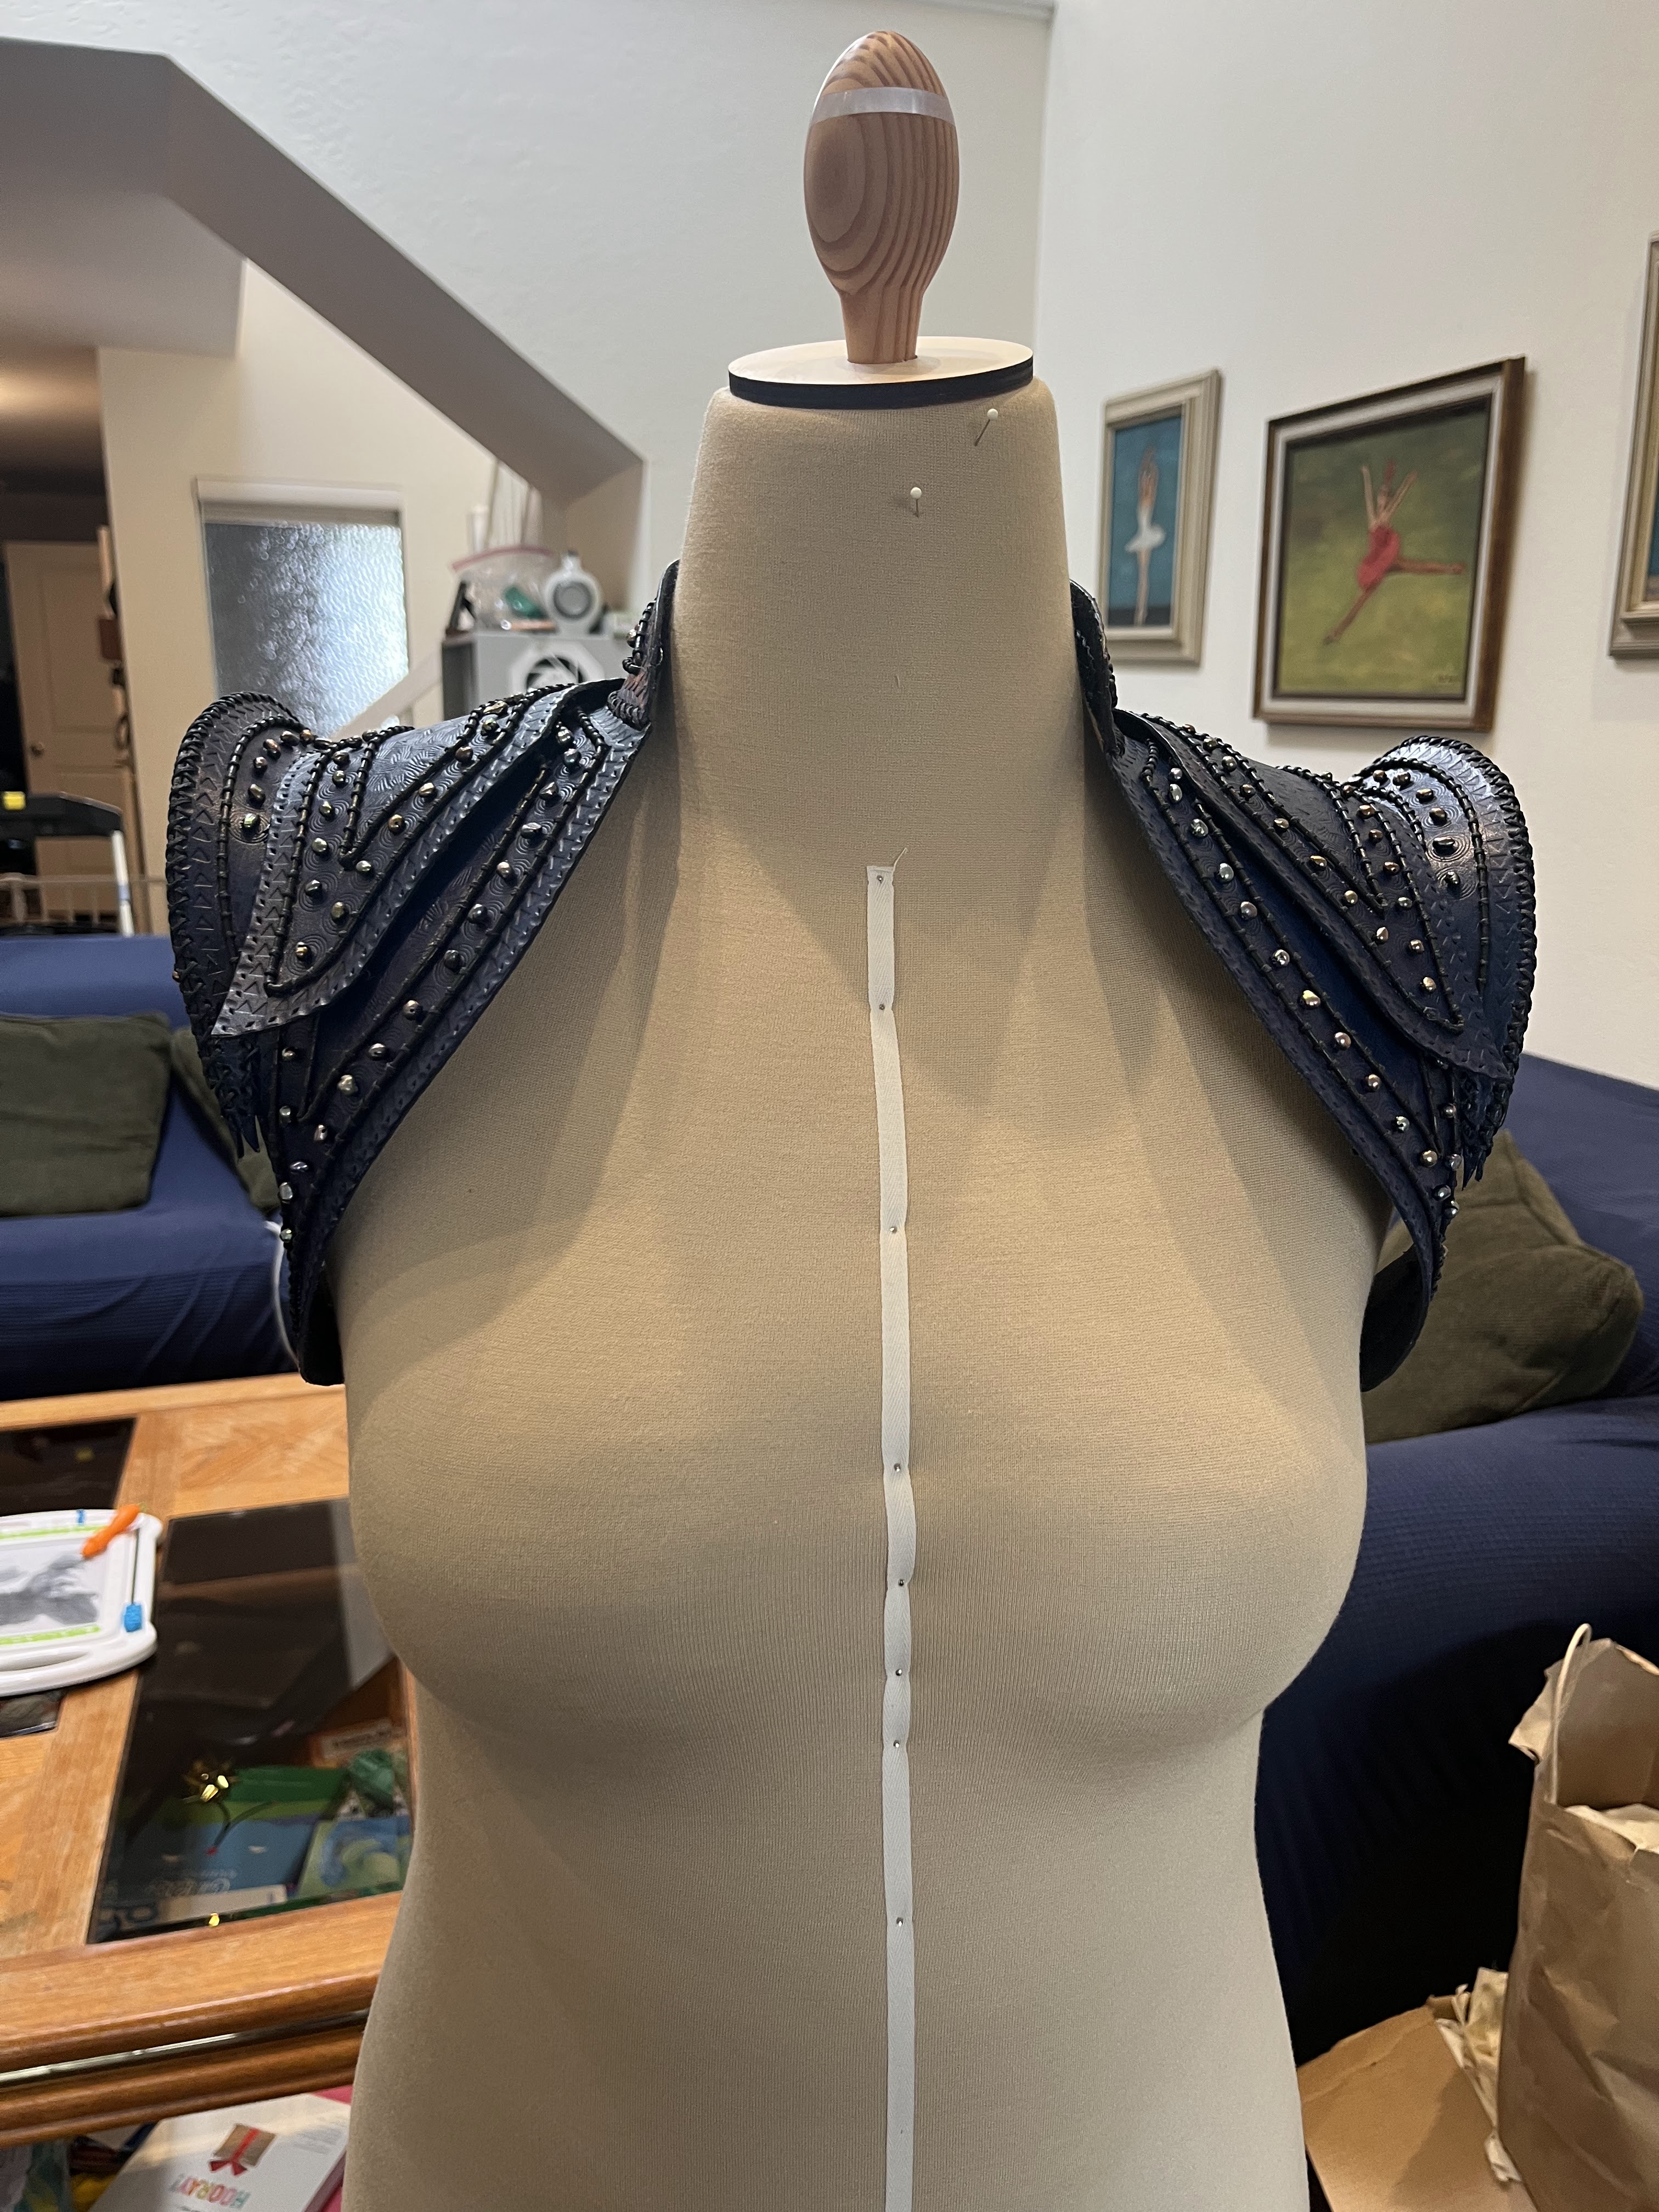
Sewing pieces together in progress.
Somewhere around this point I hit the “this looks absolutely awful and I hate it” stage, but once the shoulders and beads were on it turned back around into “!!! did I actually make this?!?”
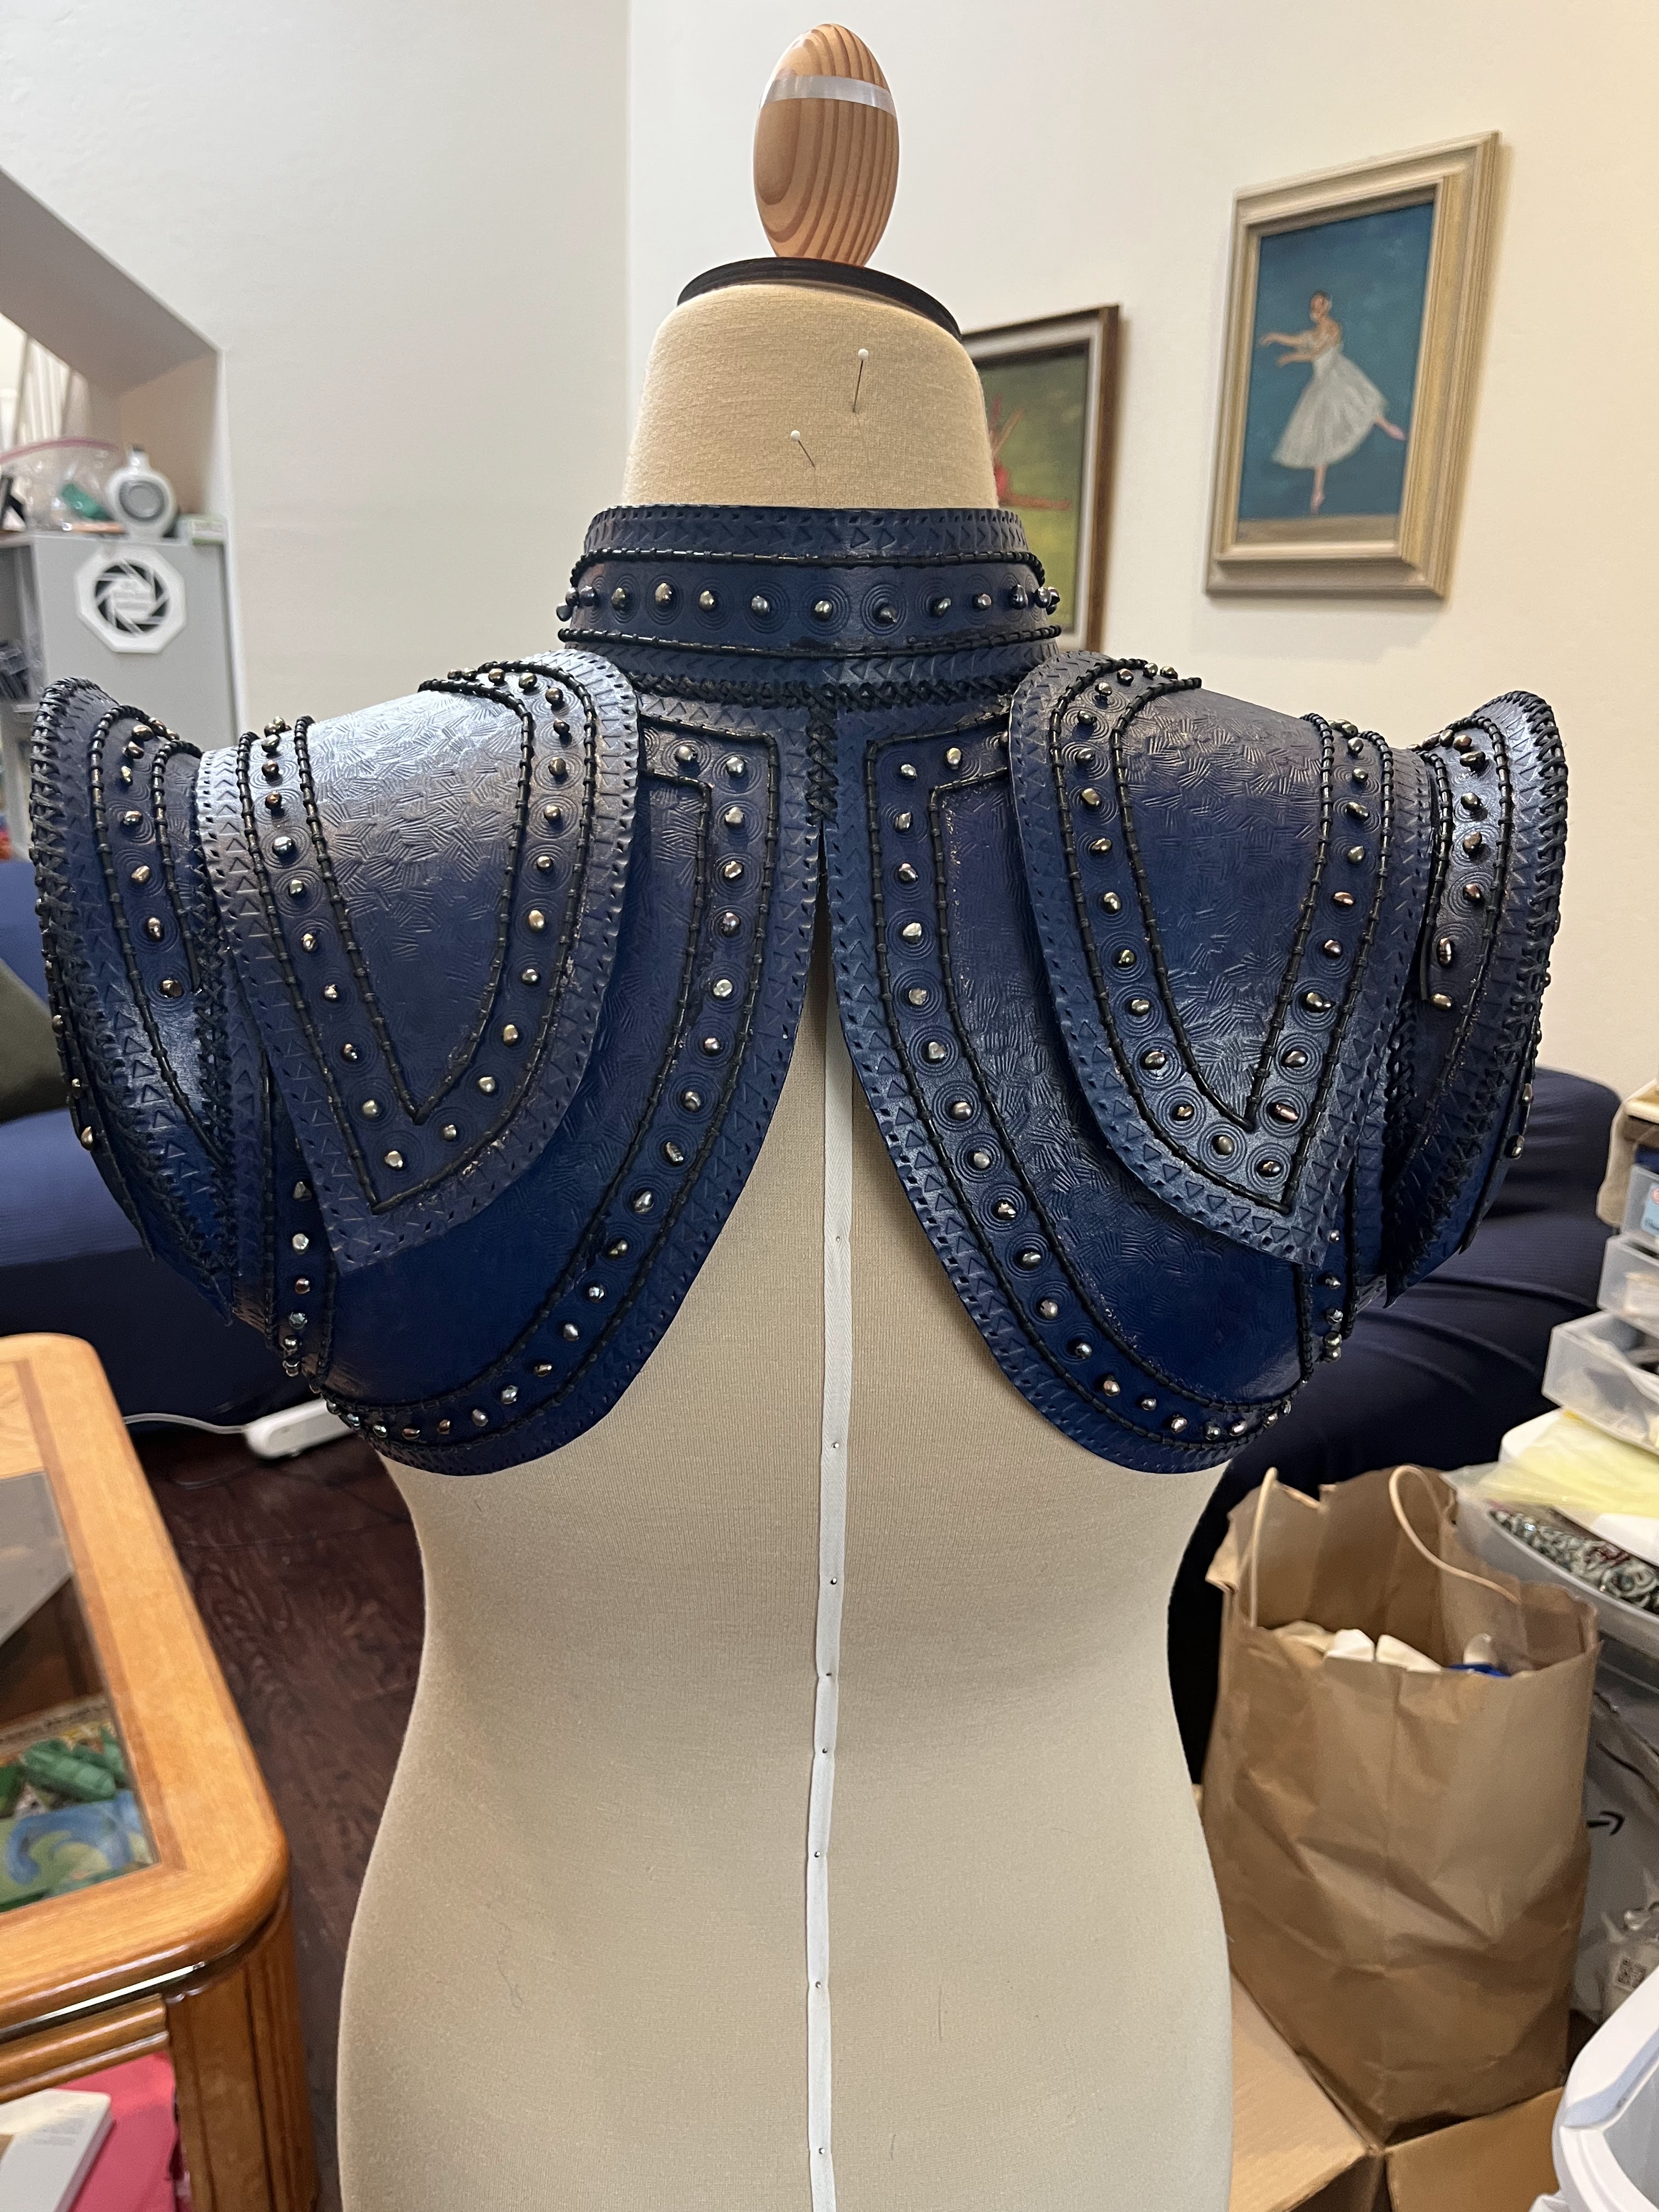
Next up, professional photos, because if any costume deserves it, this one did.

Very impressive with great results.
its just SO increidble
Jane von Halle jane.vonhalle@gmail.com jane.vonhalle@gmail.com 310-850-6212